In this 7th post of the Home Server series, after having configured a SSD drive, a working ESX environment and the RAID disks, let’s create our first virtual machine based on Debian Linux.
For the goal we want to achieve (hosting a web server, our personal files, personal streaming server, …) we do not even need the graphic environment. Therefore, I like to do it on a Linux (in this case, Debian is my personal choice) with the minimum installed so that we save resources and space and, in turn, be more secure (basic security best practice: just install the install the minimum required services). Lets go!
Download Debian ISO image
The images are from a little while ago but the installation will be exactly the same. We started by downloading the ISO image from the Debian website:
https://www.debian.org/CD/netinst/
Specifically, I used the amd64 architecture iso, which at the moment of publishing this post is:
https://cdimage.debian.org/debian-cd/current/amd64/iso-cd/debian-9.8.0-amd64-netinst.iso
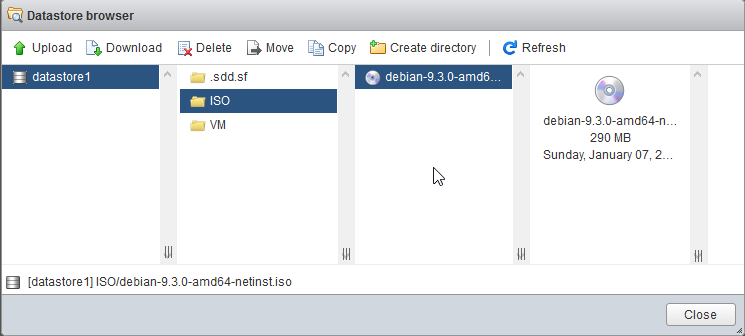
Upload ISO to datastore
Once downloaded, lets upload the file to the datastore. Select the datastore in which you want to upload it, and click no “Datastore Browser” option.
I recommend using the SSD drive based datastore

(The pictures are only showing a single create datastore because I create the RAID array and the datastore based on it after creating the virtual machine)
Create f.e. a ISO directory and upload the ISO.
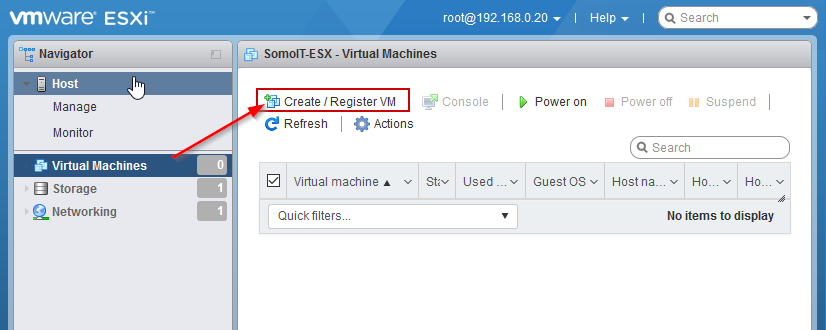
Create Virtual Machine
Lets start with virtual machine creation process. In “Virtual Machines” section, click “Create / Register VM”.
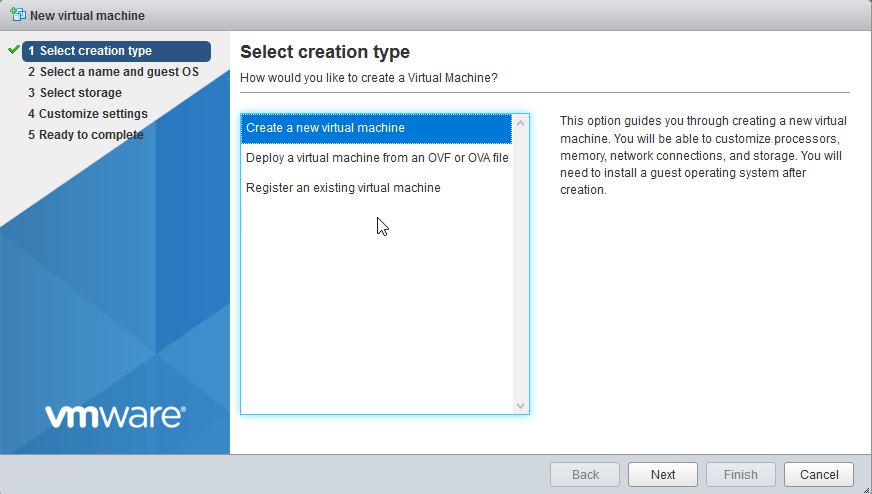
Select the “Create a new virtual machine” option
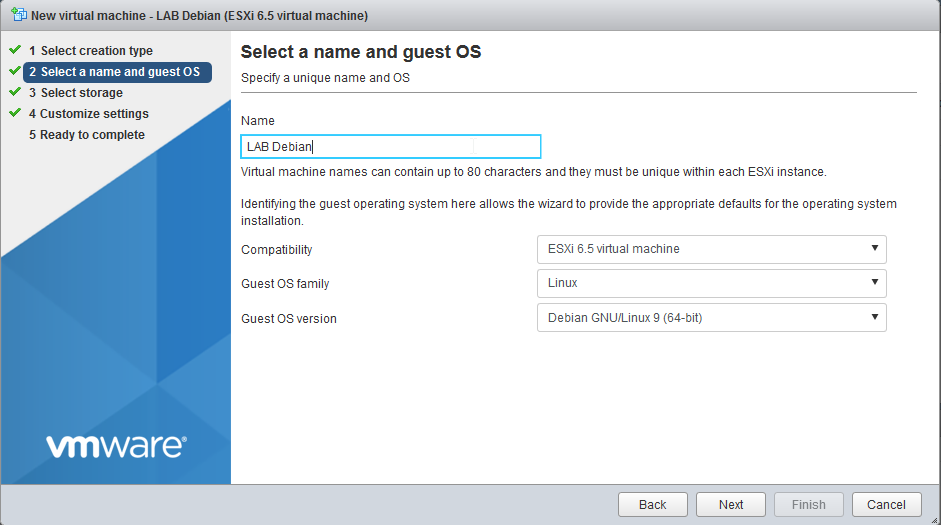
Name the virtual machine, and select de OS family (Linux) and version (debian GNU/Linux 9 (64-bit)).
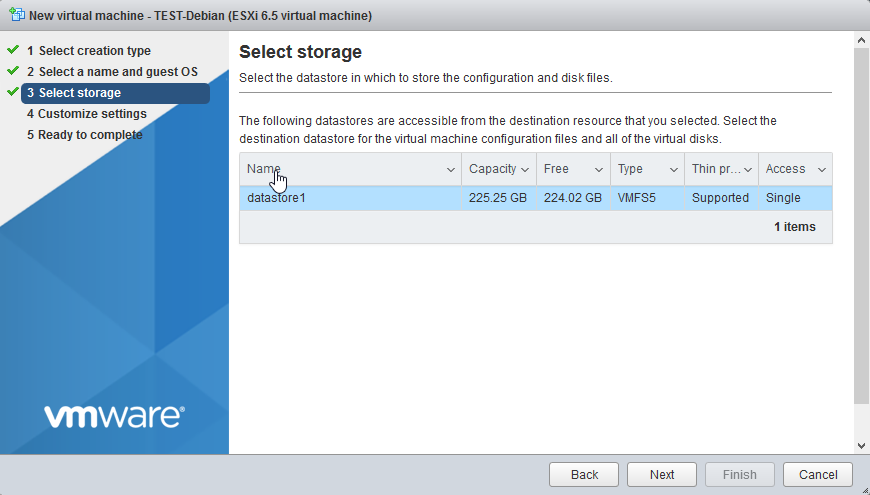
Select the SSD based datastore
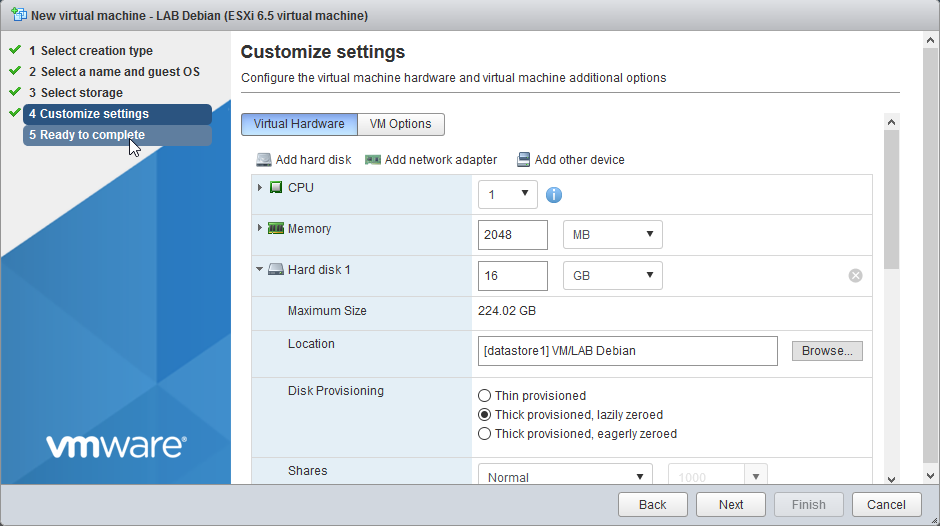
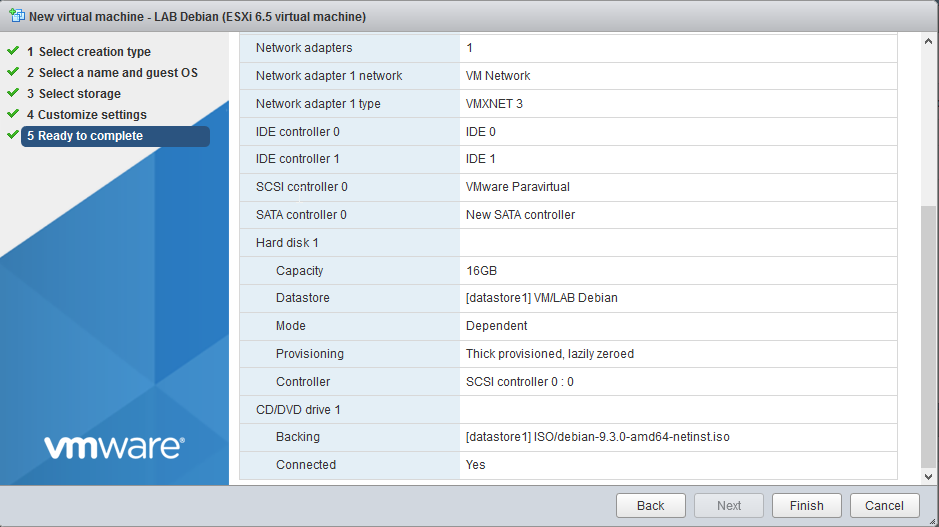
In the hardware configuration:
– CPU and memory can be changed after created and installed the Linux, so no problem.
– The DISK can also be extended (it depends on enabling Linux LVM that we’ll see a bit later in this post).
– Disk provisioning: I recommend the thick provisioned (so that the virtual machine file size does not provision the configured space from the beginning, but the used one).
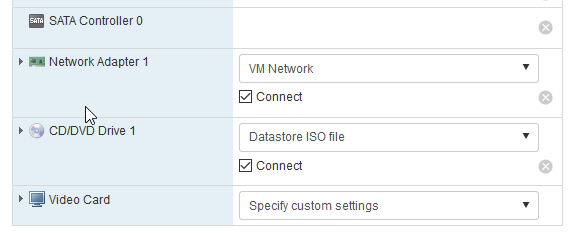
Dont forget to connect the network adapter to your single VM Network and the CD/DVD Drive to the Datastore ISO file that was downloaded in the previous step.
After checking the summary of configurations, click the “Finish” button:
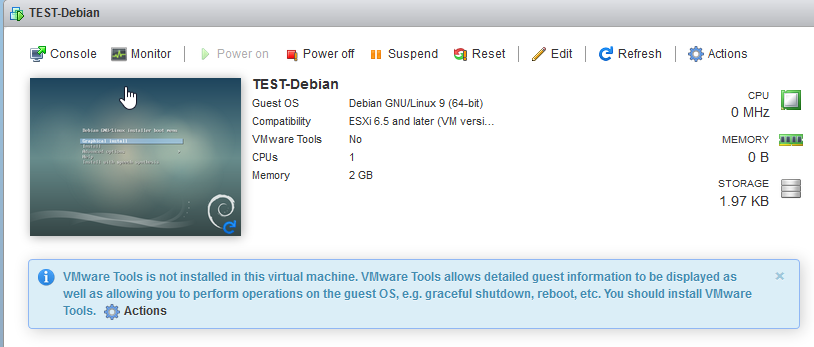
Now you can “Power on” the virtual machine to start with the Debian Linux OS installation:
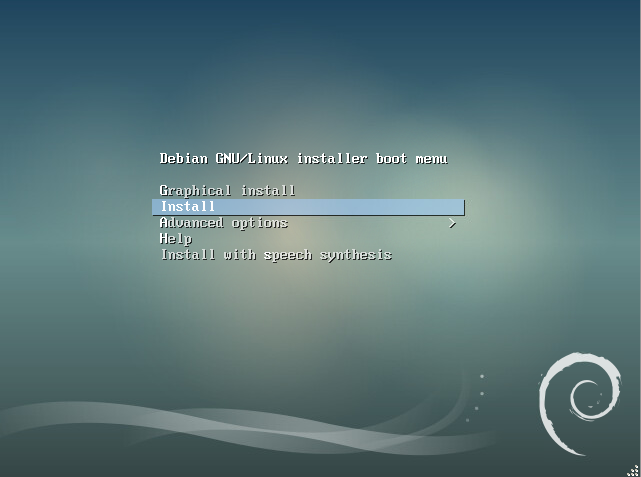
Debian Linux Installation
Before starting, dont forget to adapt the ESX console window to your keyboard layout in case you don’t use English layout
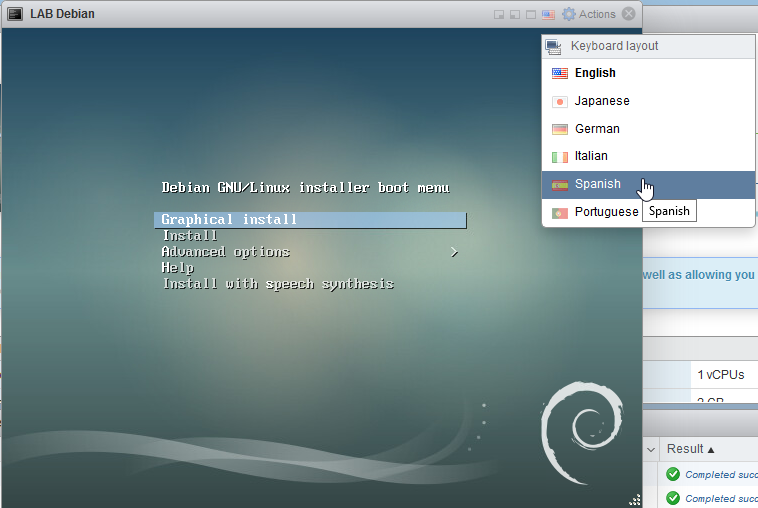
I usually choose the standard installation (instead of the graphical one)
Basic settings (location and passwords)
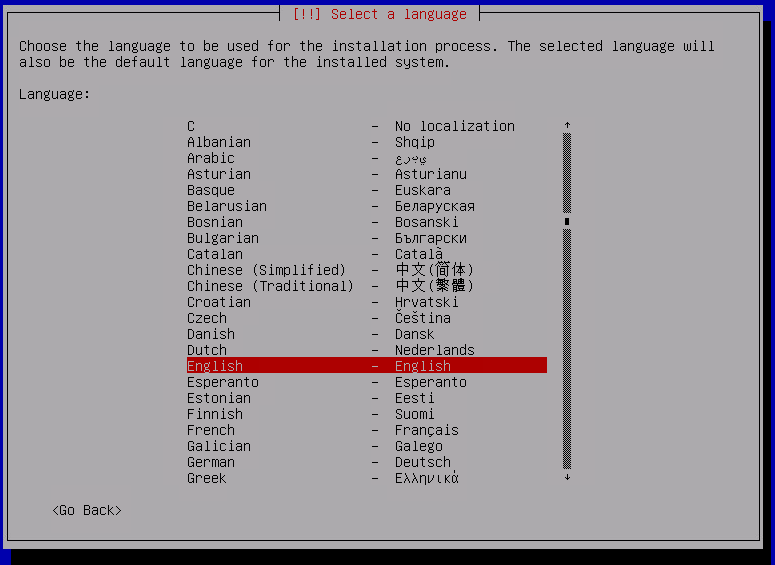
Language
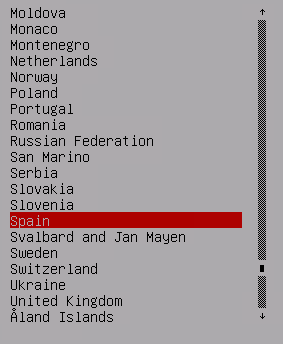
Location


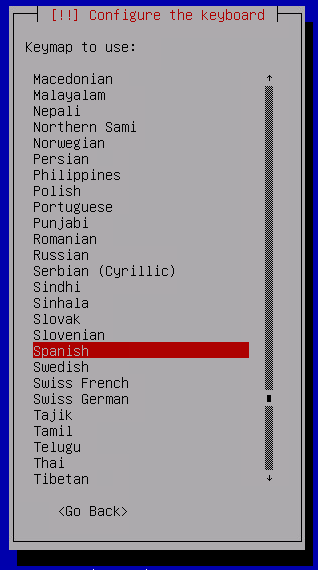
Keyboard layout
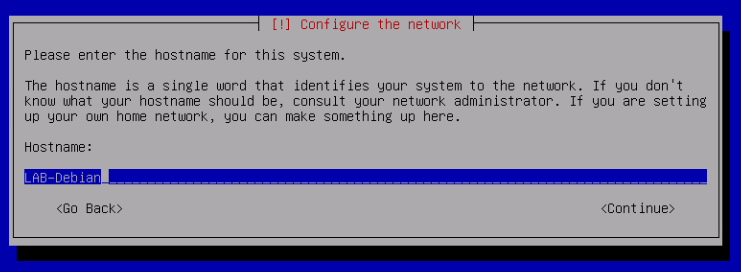
Network hostname
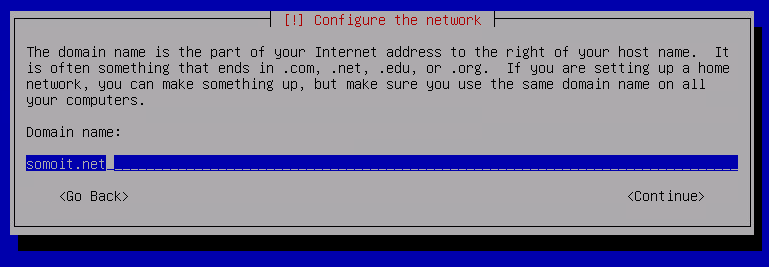
Network domain
Set root password
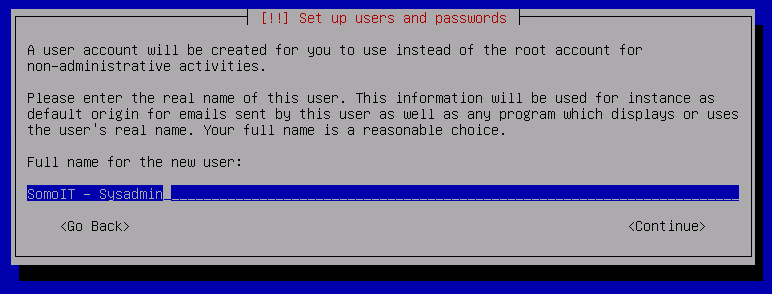
Set user account full Name
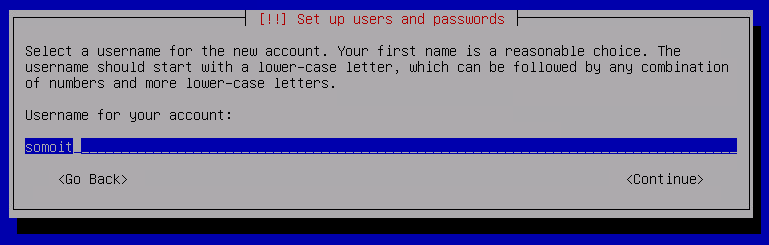
Set user account name
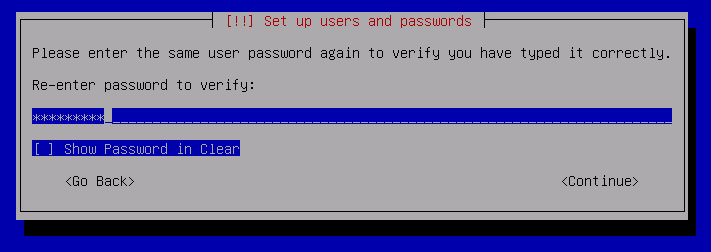
Set user account password
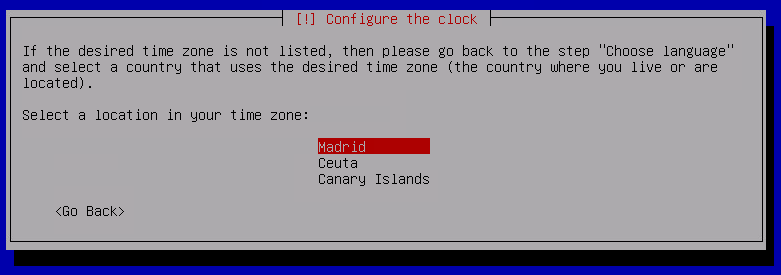
Time zone
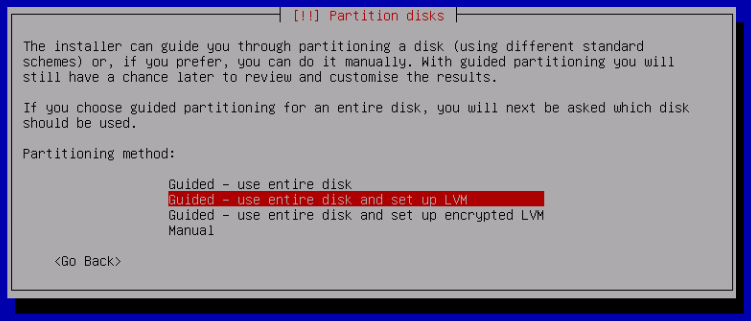
Disk partitioning
Choose between:
– standard (Guided – use entire disk)
– LVM (Guided – use entire disk and set up LVM).
For a testing or lab machine use the standard partitioning. But for a “production” machine i encourage you to use LVM because that allows to extend the partitions size in case you need more free space.
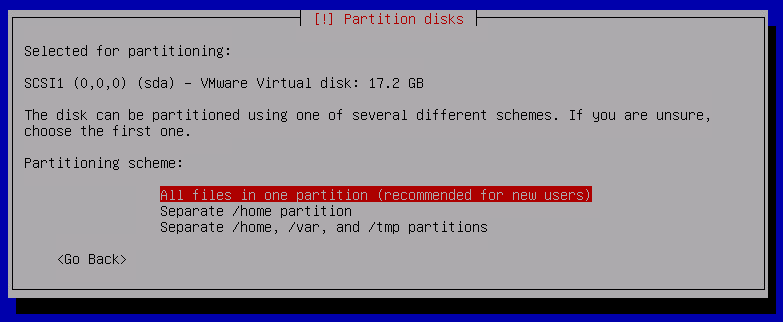
Select the disk (the one VMWare presents)

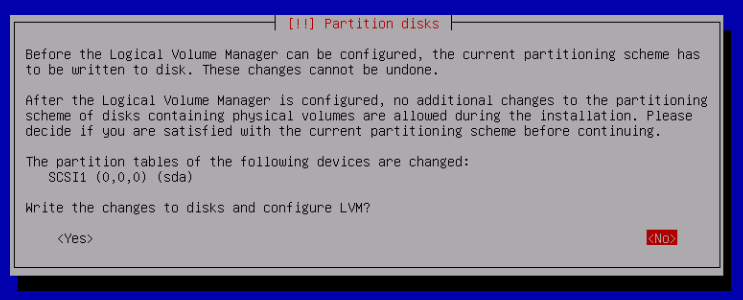
Write the changes and configure LVM -> Yes
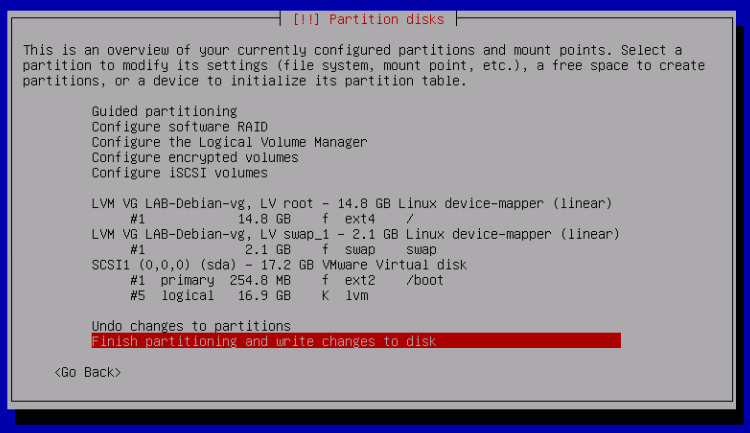
Here you can see how the guided partitioning has mapped the the partitions.
Click Finish partitioning and write changes to disk
Reconfirm

Software installation
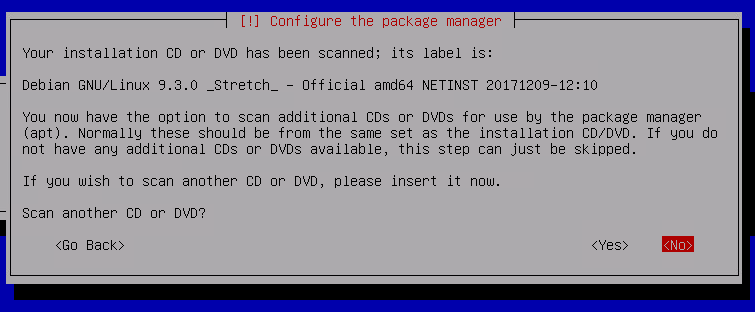
Do not scan another CD
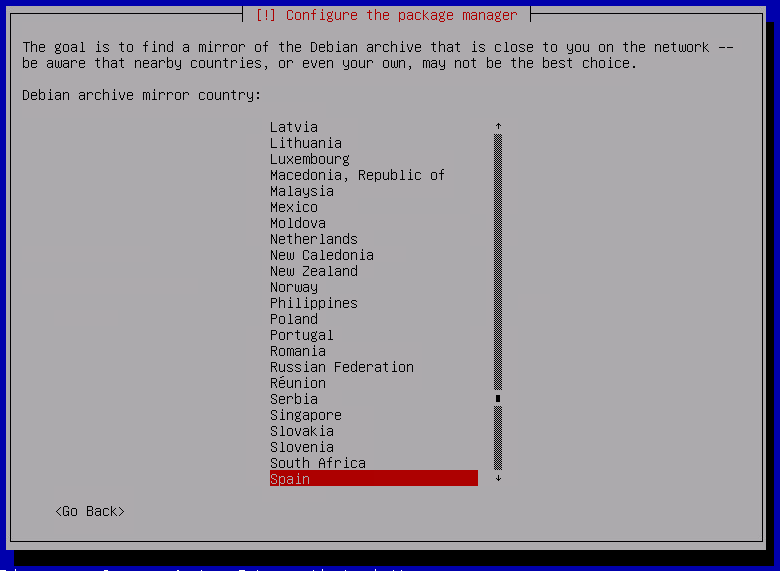
Select a nearby country
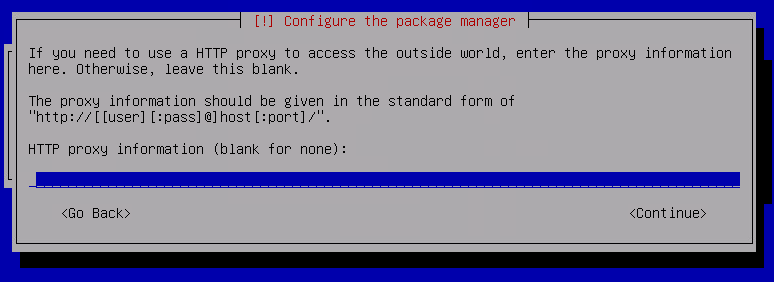
Probably you can continue without proxy if not in a corporative environment
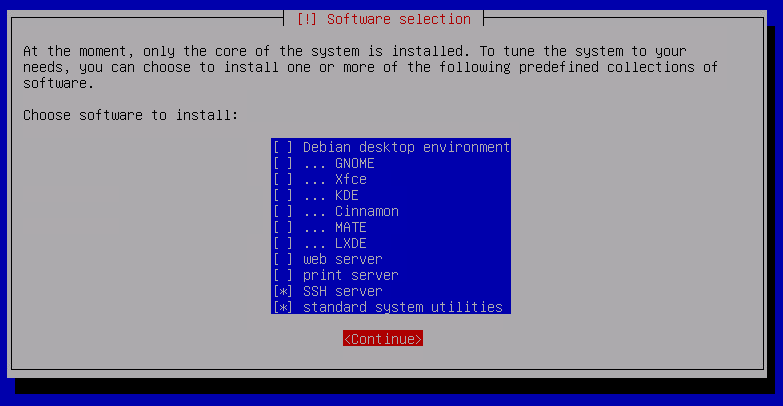
Depending on your needs you can choose software collections. I usually choose “standard system utilities” + “SSH Server”. In case i need more extra software (like a web server) I install it manually after OS installation.
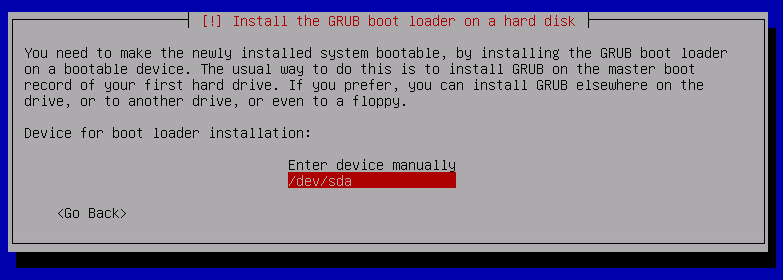
Yes, install GRUB in the MBR

Yes, install it in that disk
Continue
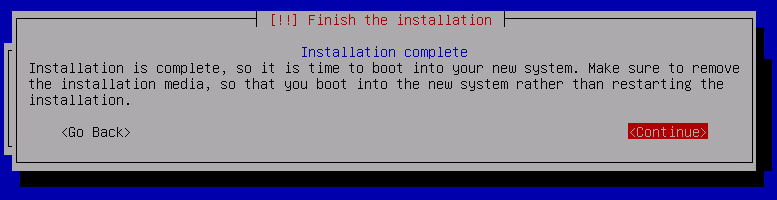
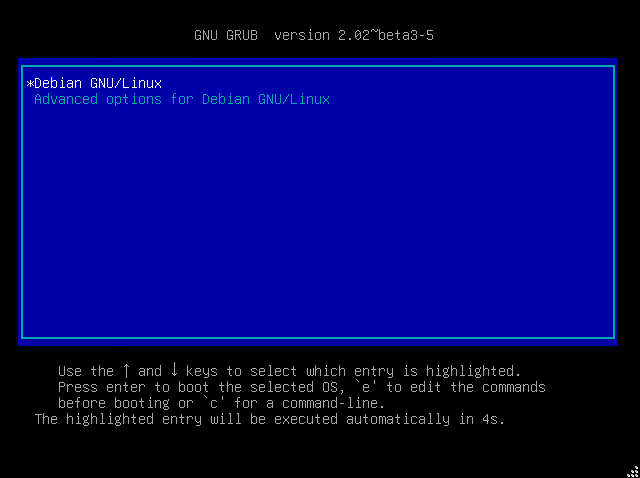
And thats all!
Now, after rebooting, the GRUB menu will show up and your recently installed Debian Linux will boot up.
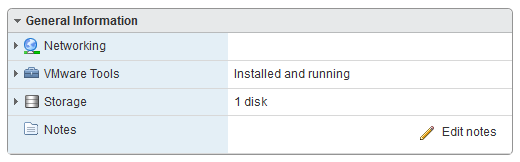
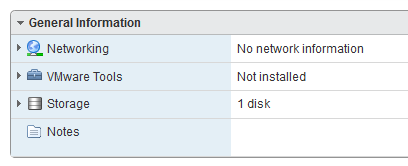
VMWare Tools
In the virtual machine general information you can see the VMWare Tools are “Not installed”
To install them, simply install the open-vm-tools package.
apt-get install open-vm-toolsBefore installing the package, if you still havent done before, update the package list by executing…
apt-get update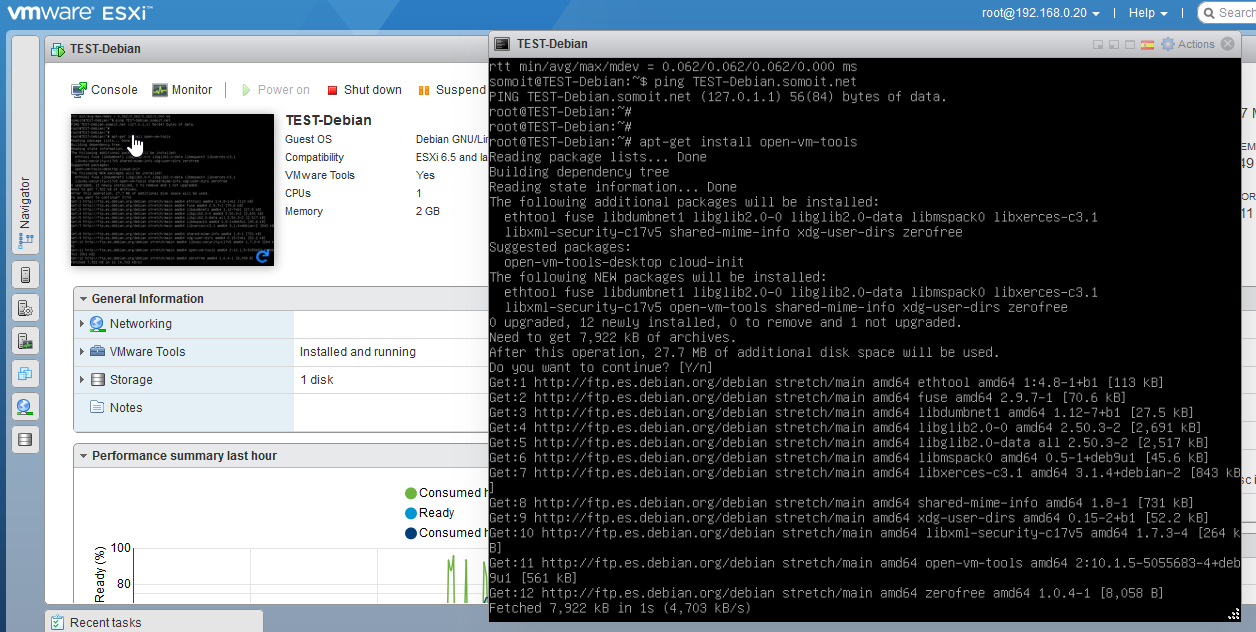
After installing, the VMWare tools shoould show the “Installed and running” message