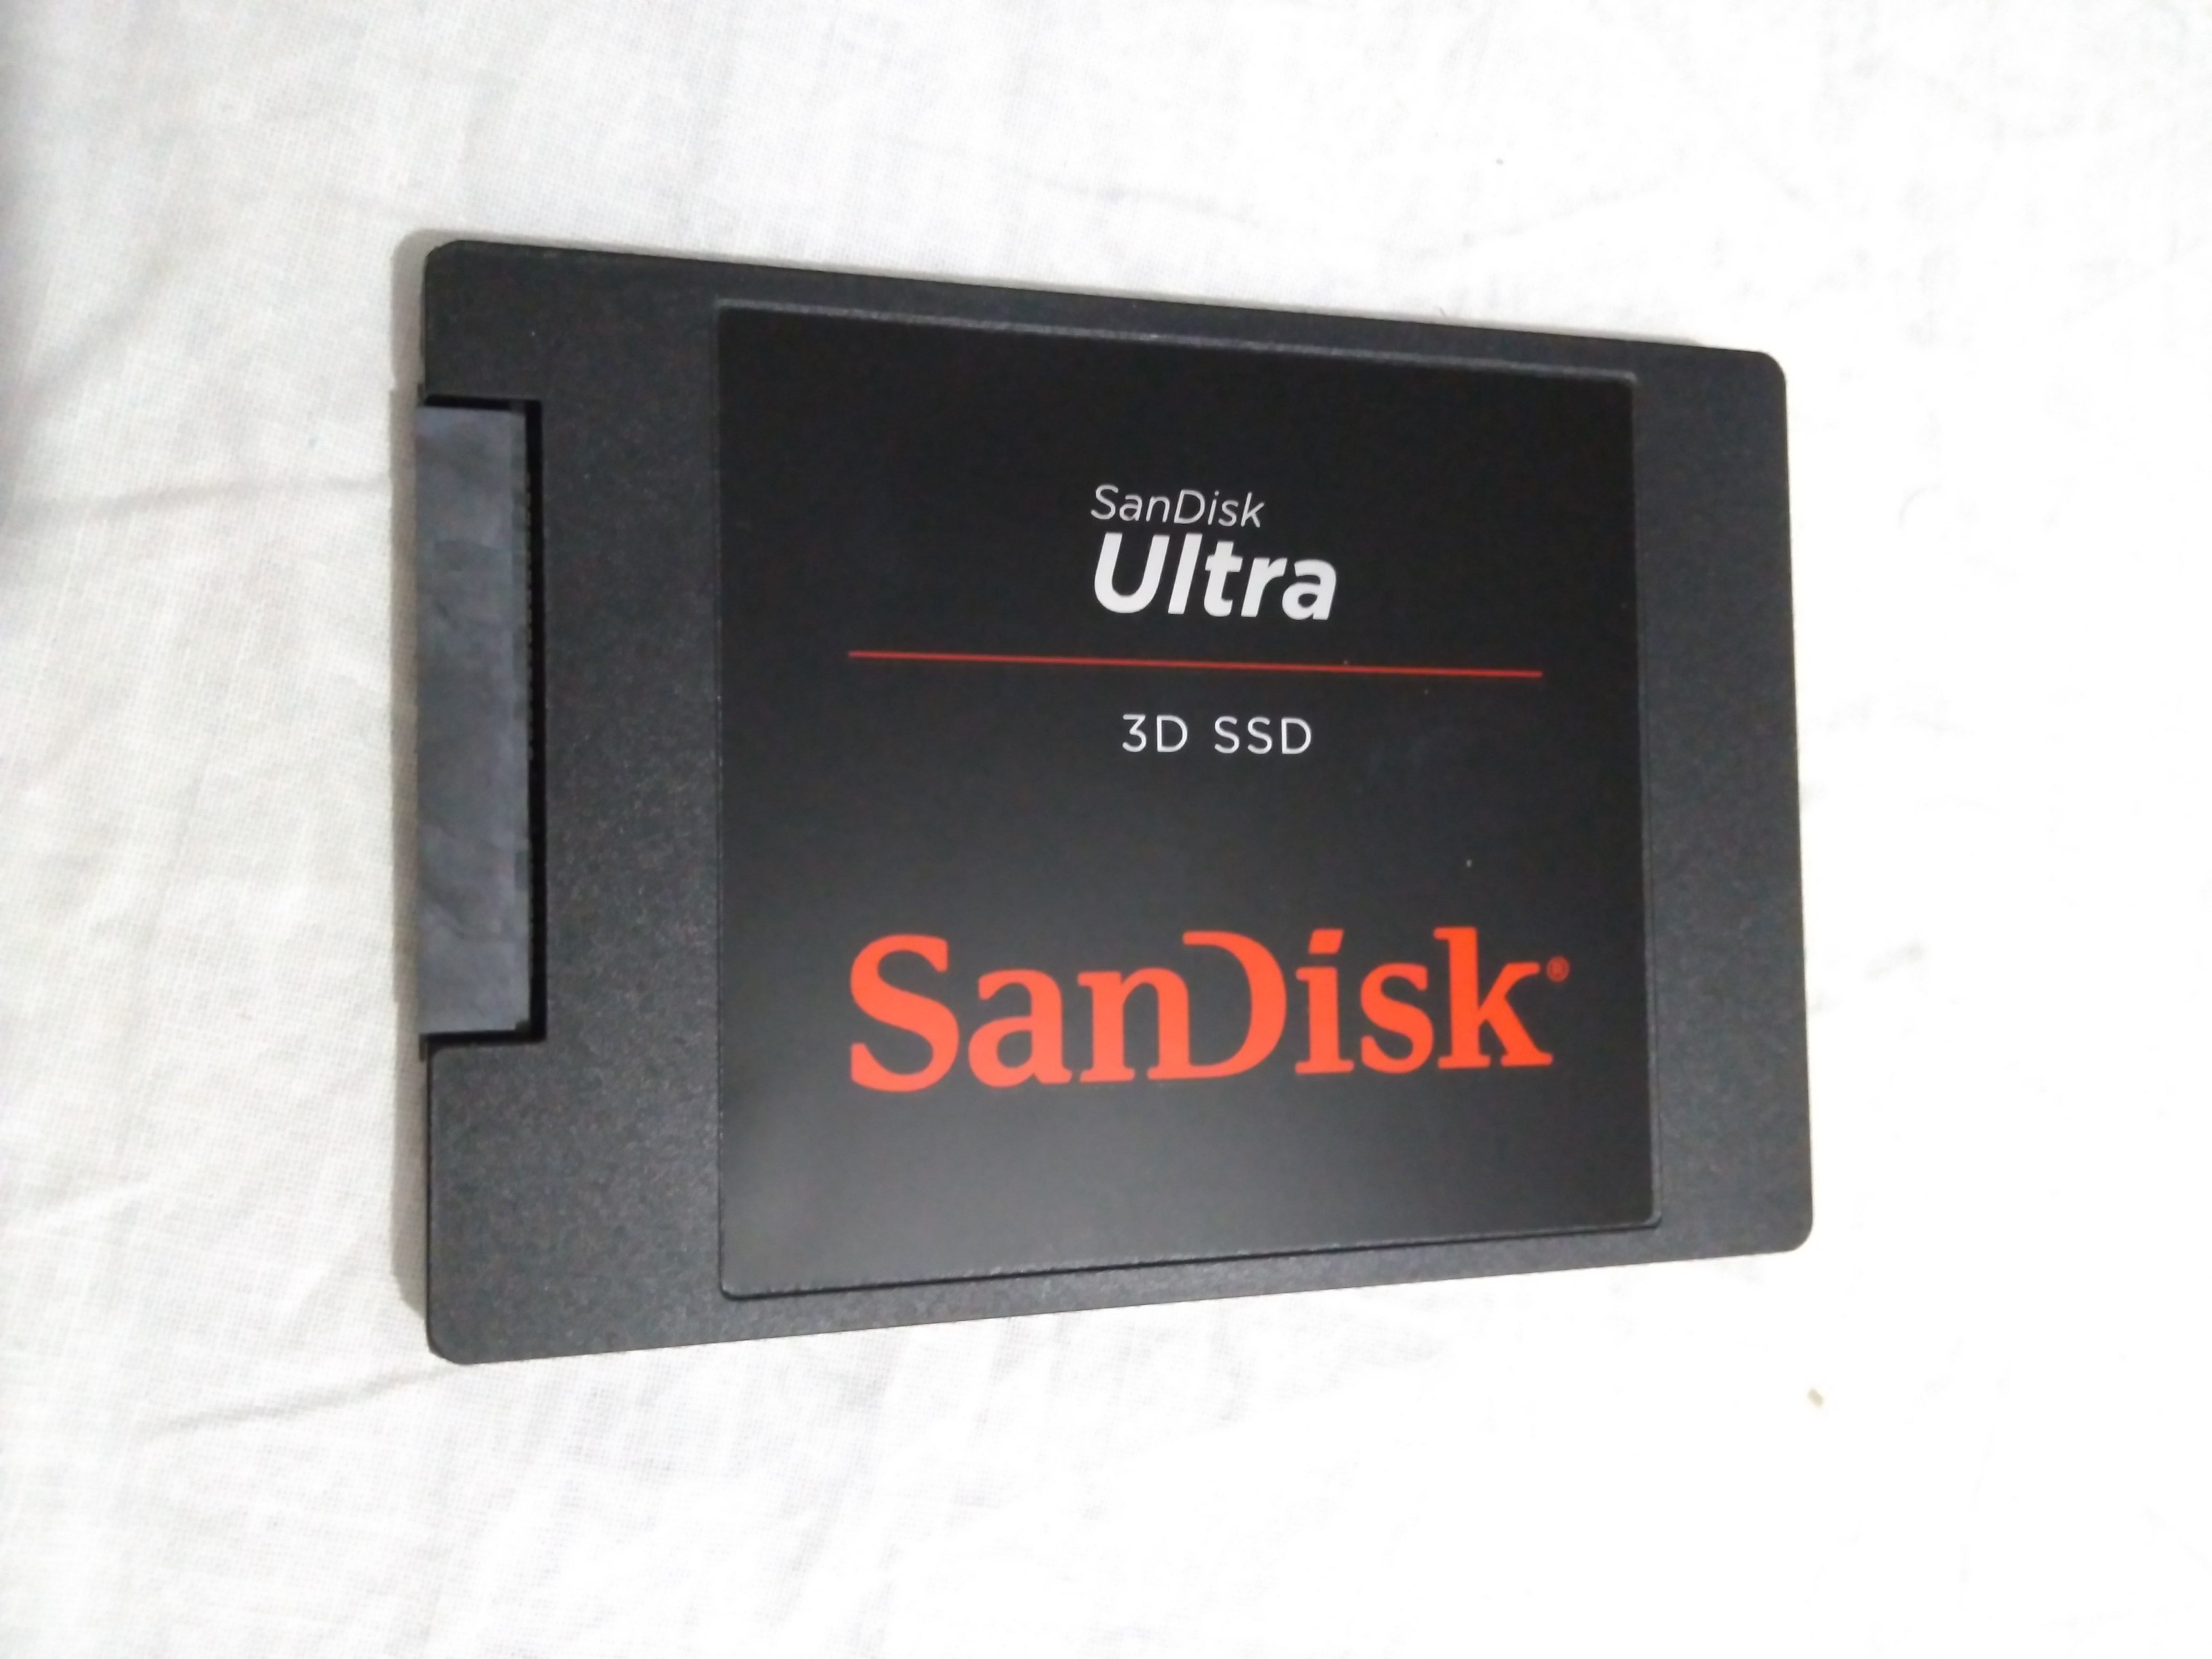
Although it is not essential I strongly encourage you to install an SSD disk to your HP Microserver Gen8 to host the system you want to run. I will use it for a VMWare ESX and the virtual machines that will create in it. As I said in the previous post, since the prices are more than affordable, the price/performance ratio is very good.
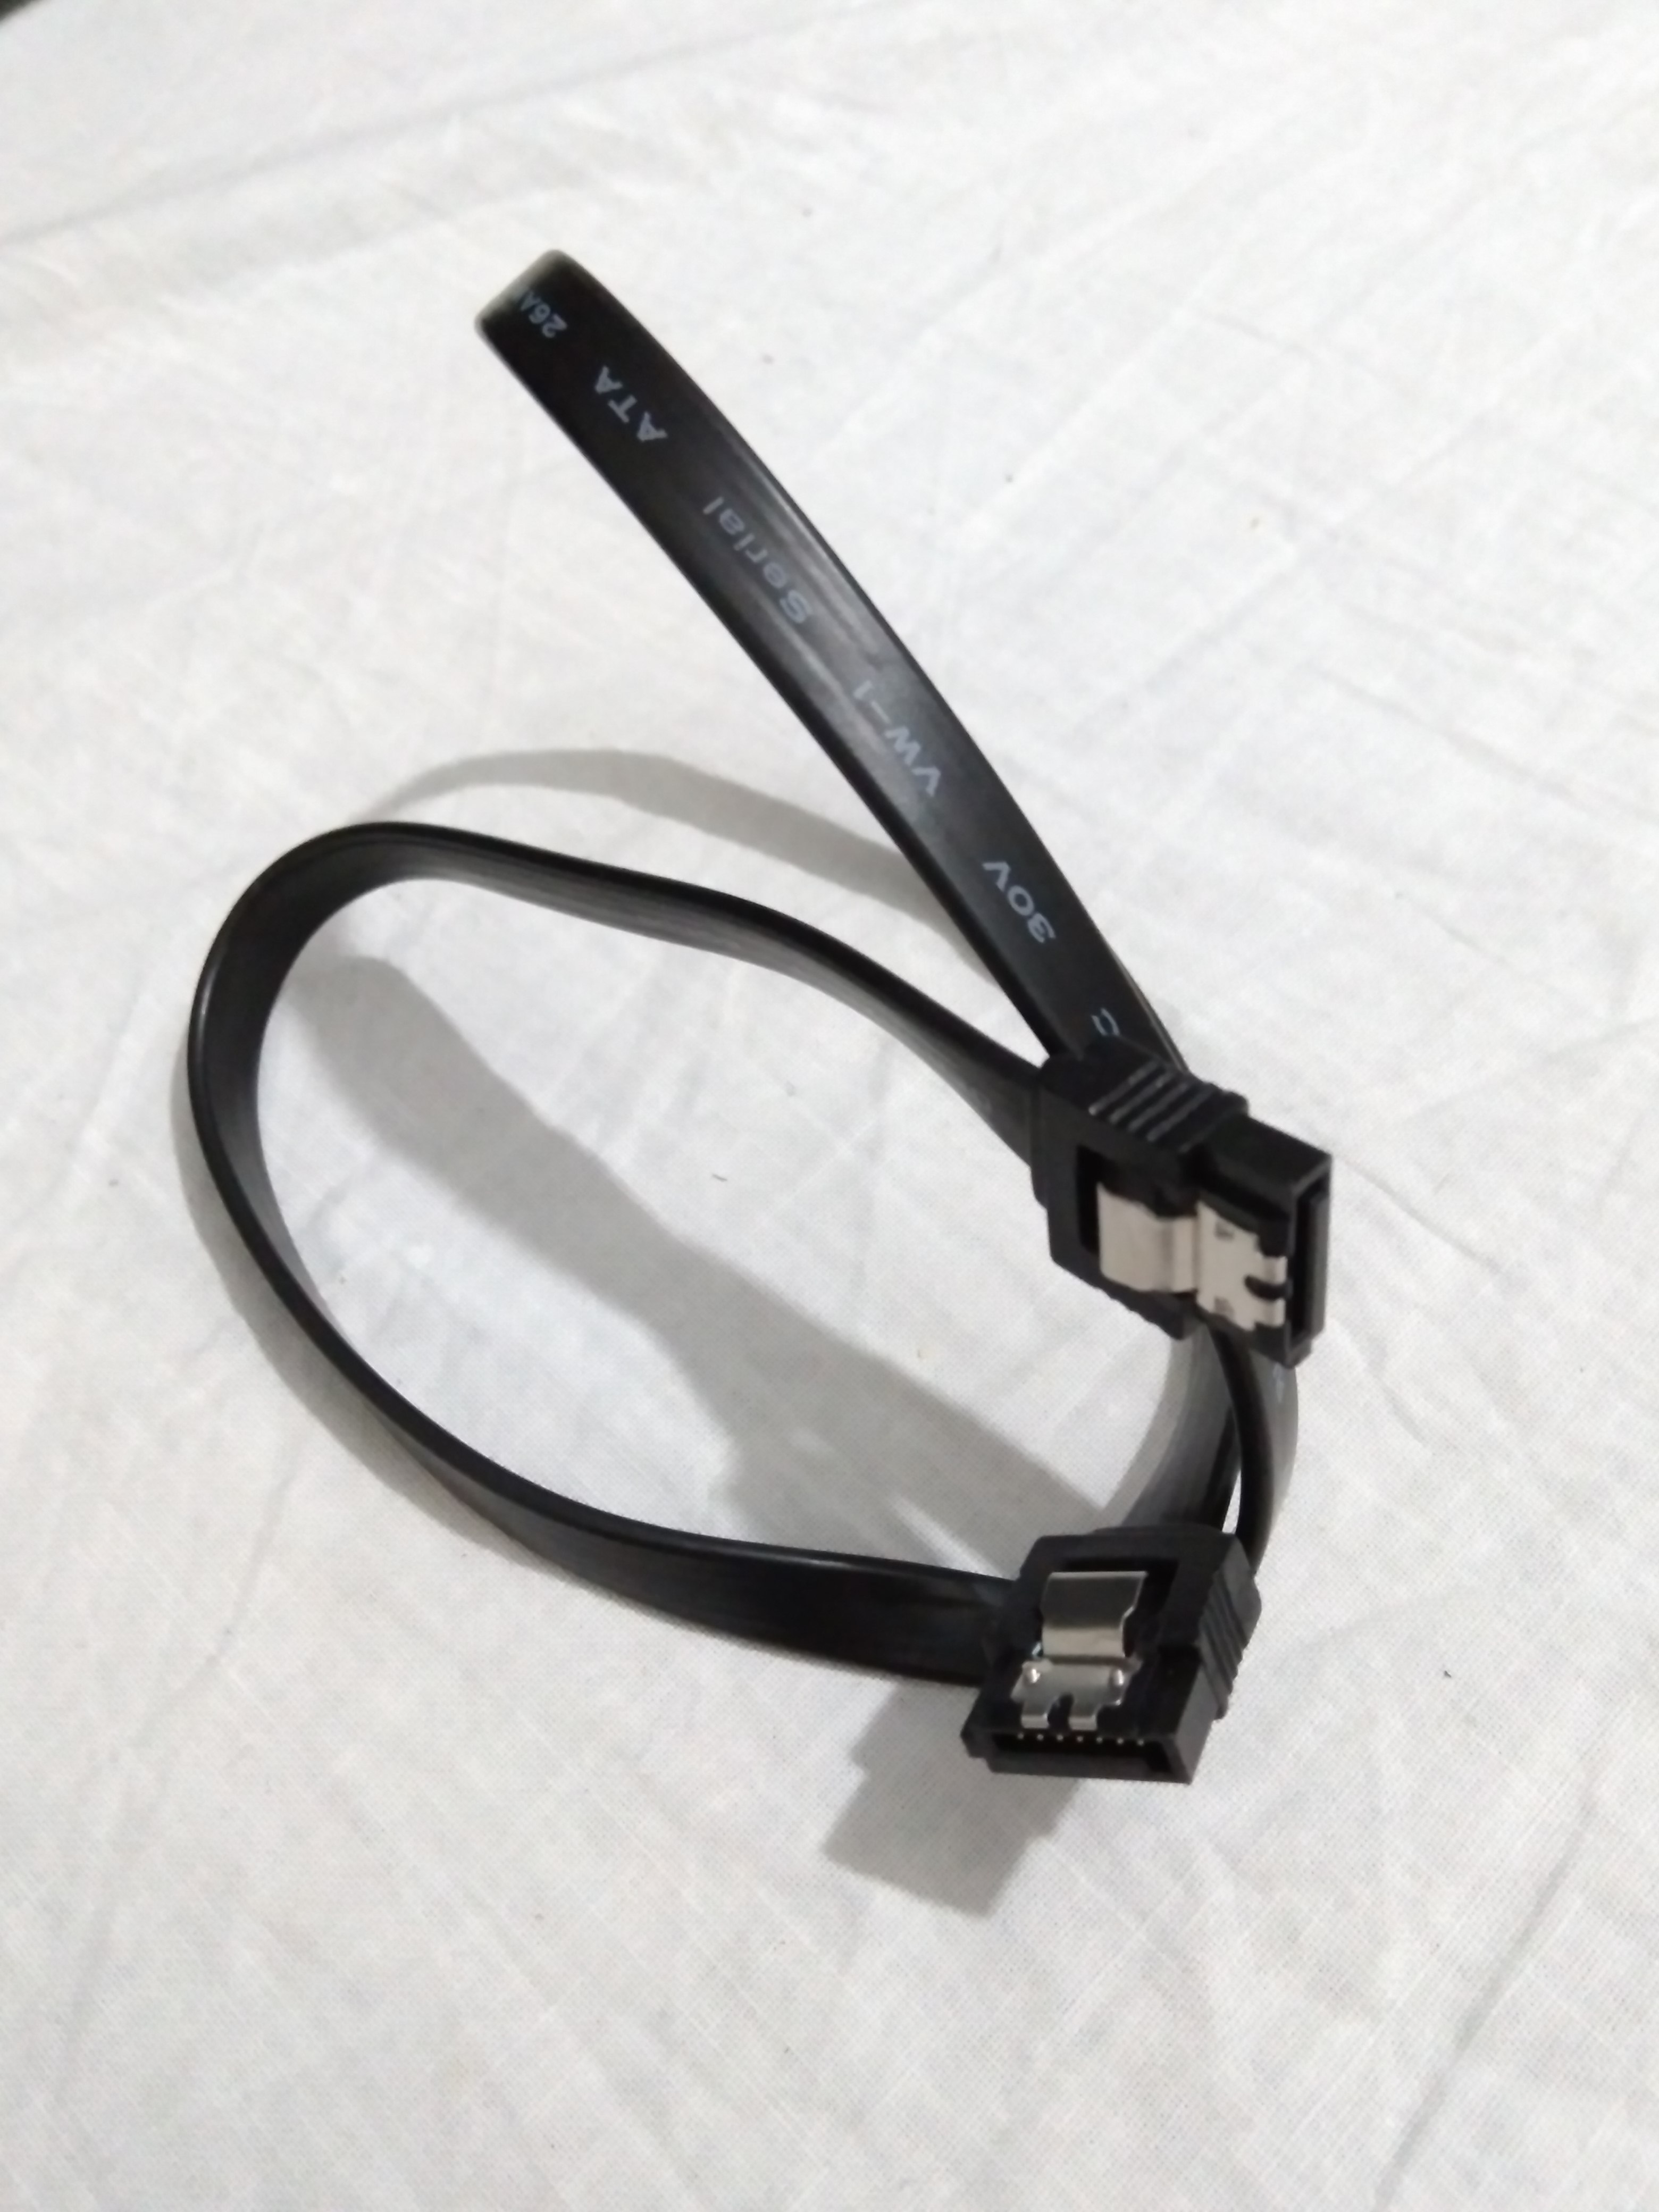
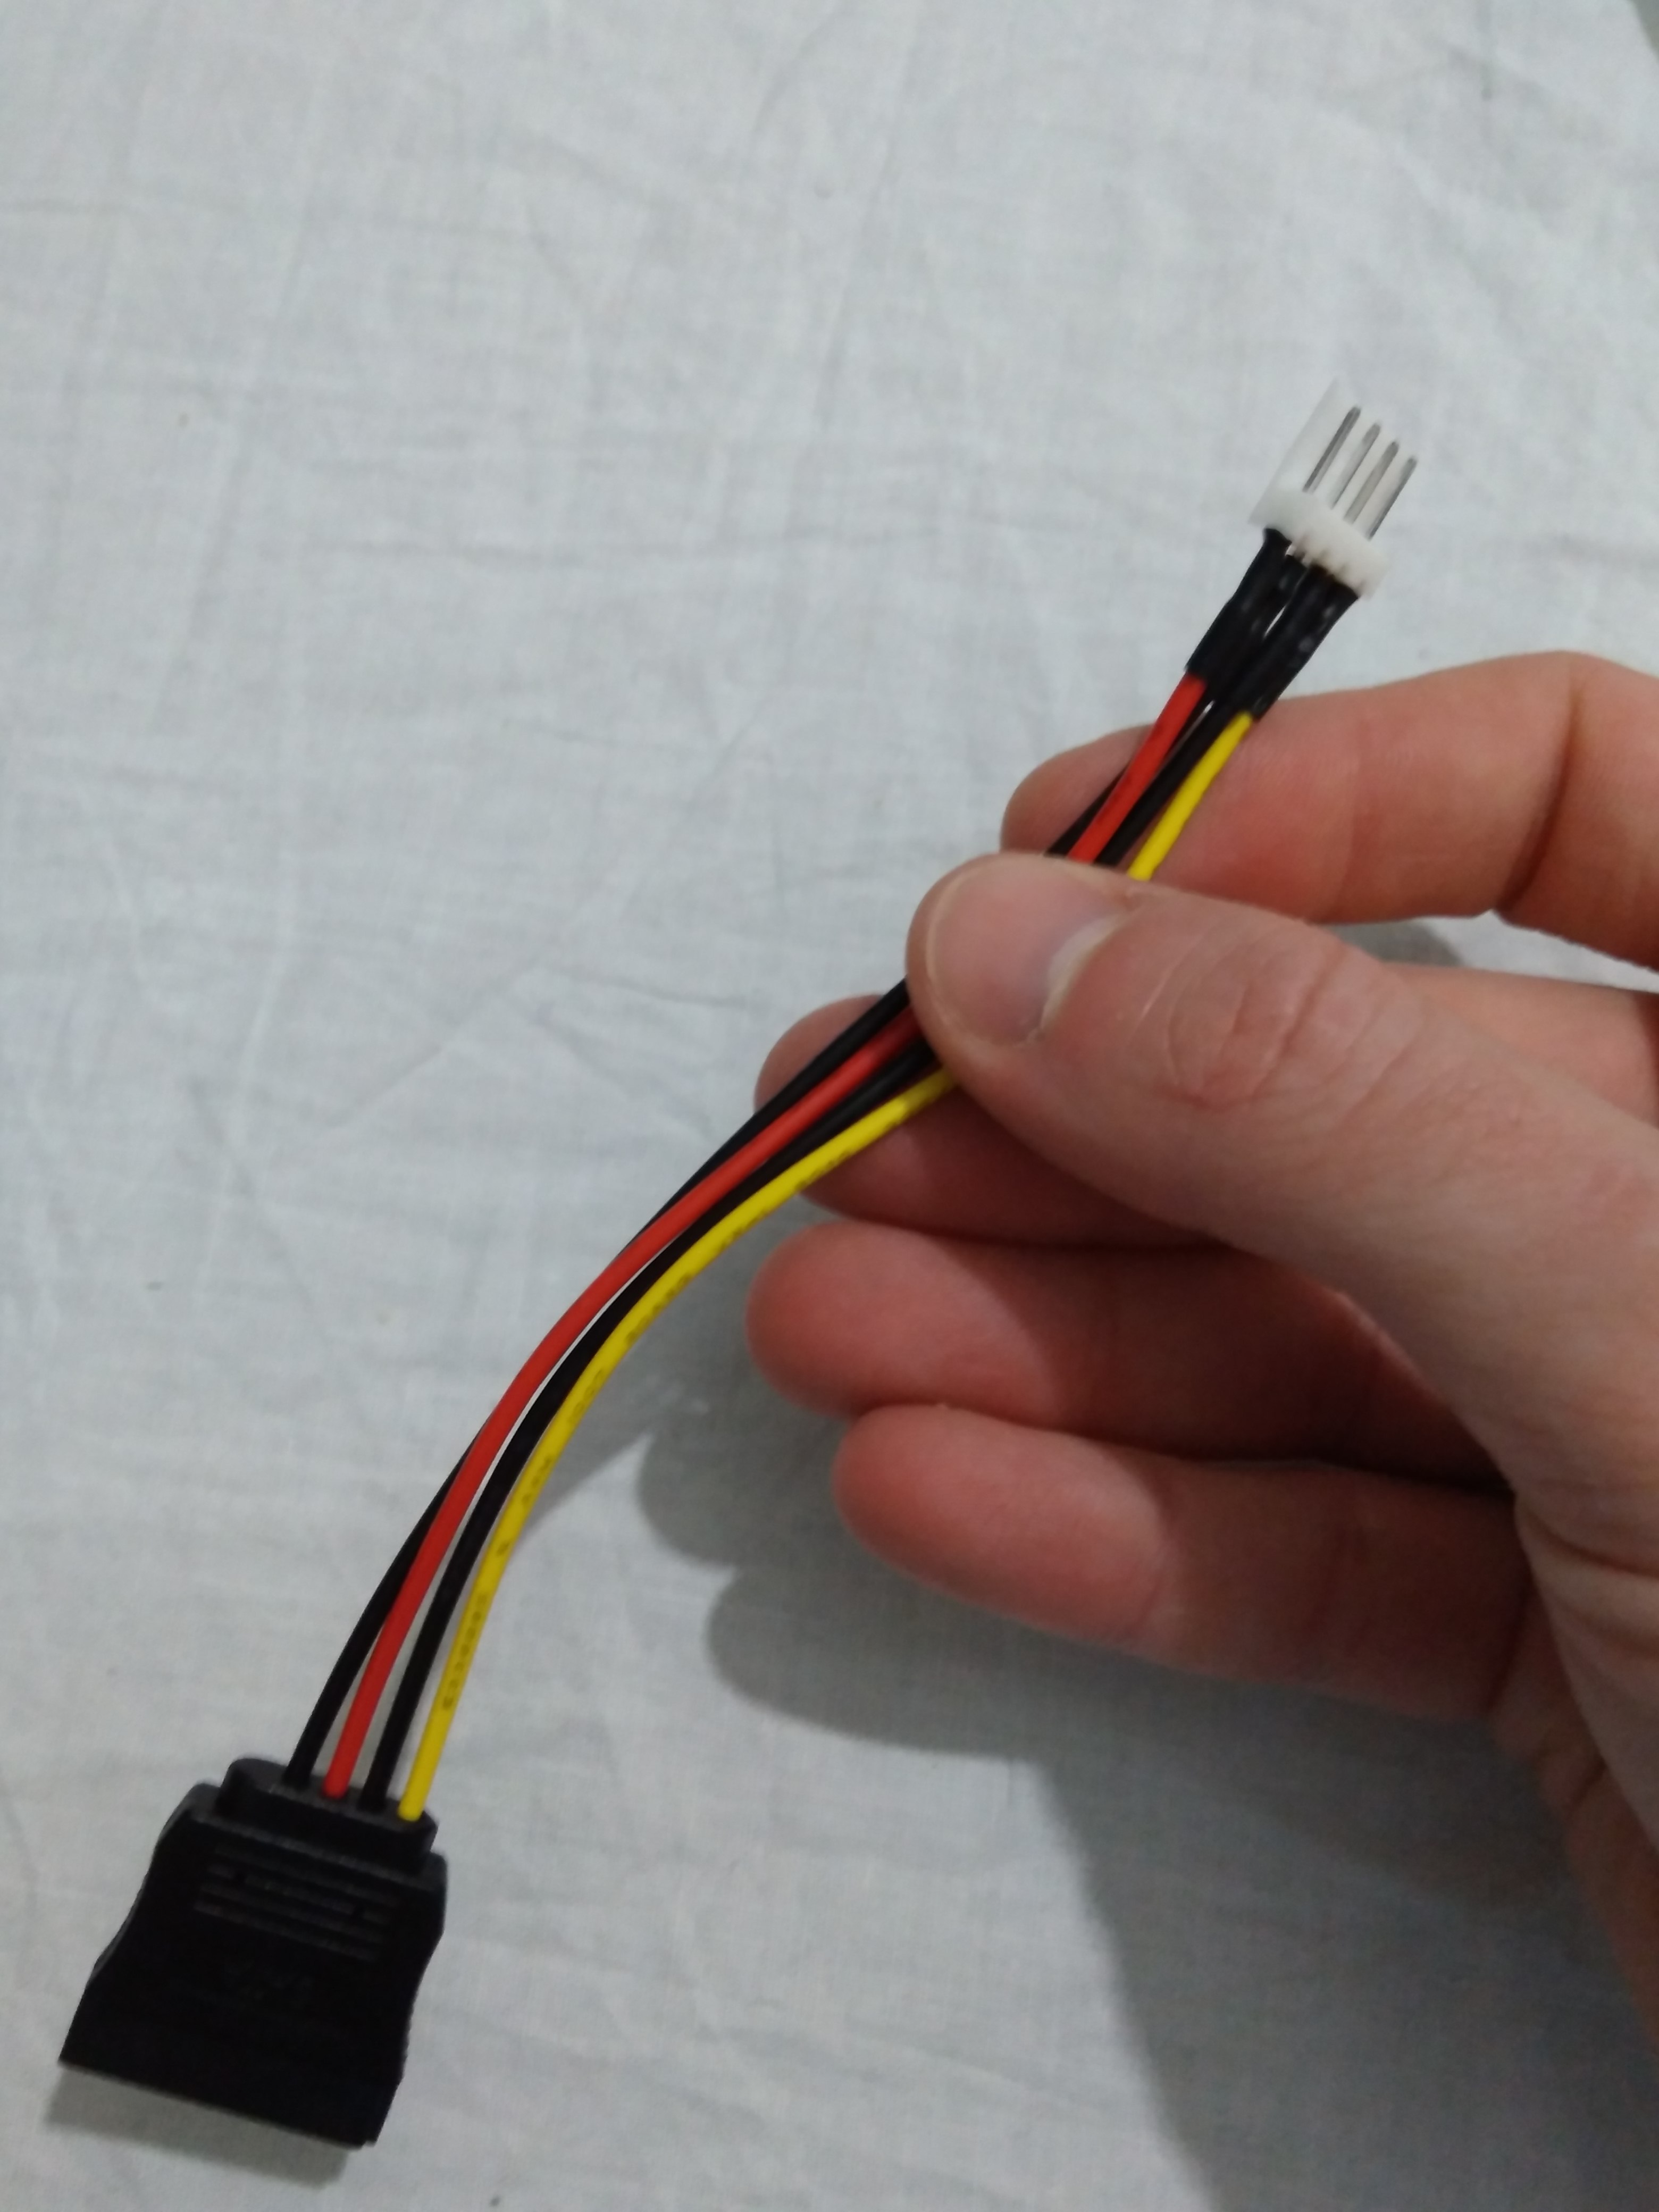
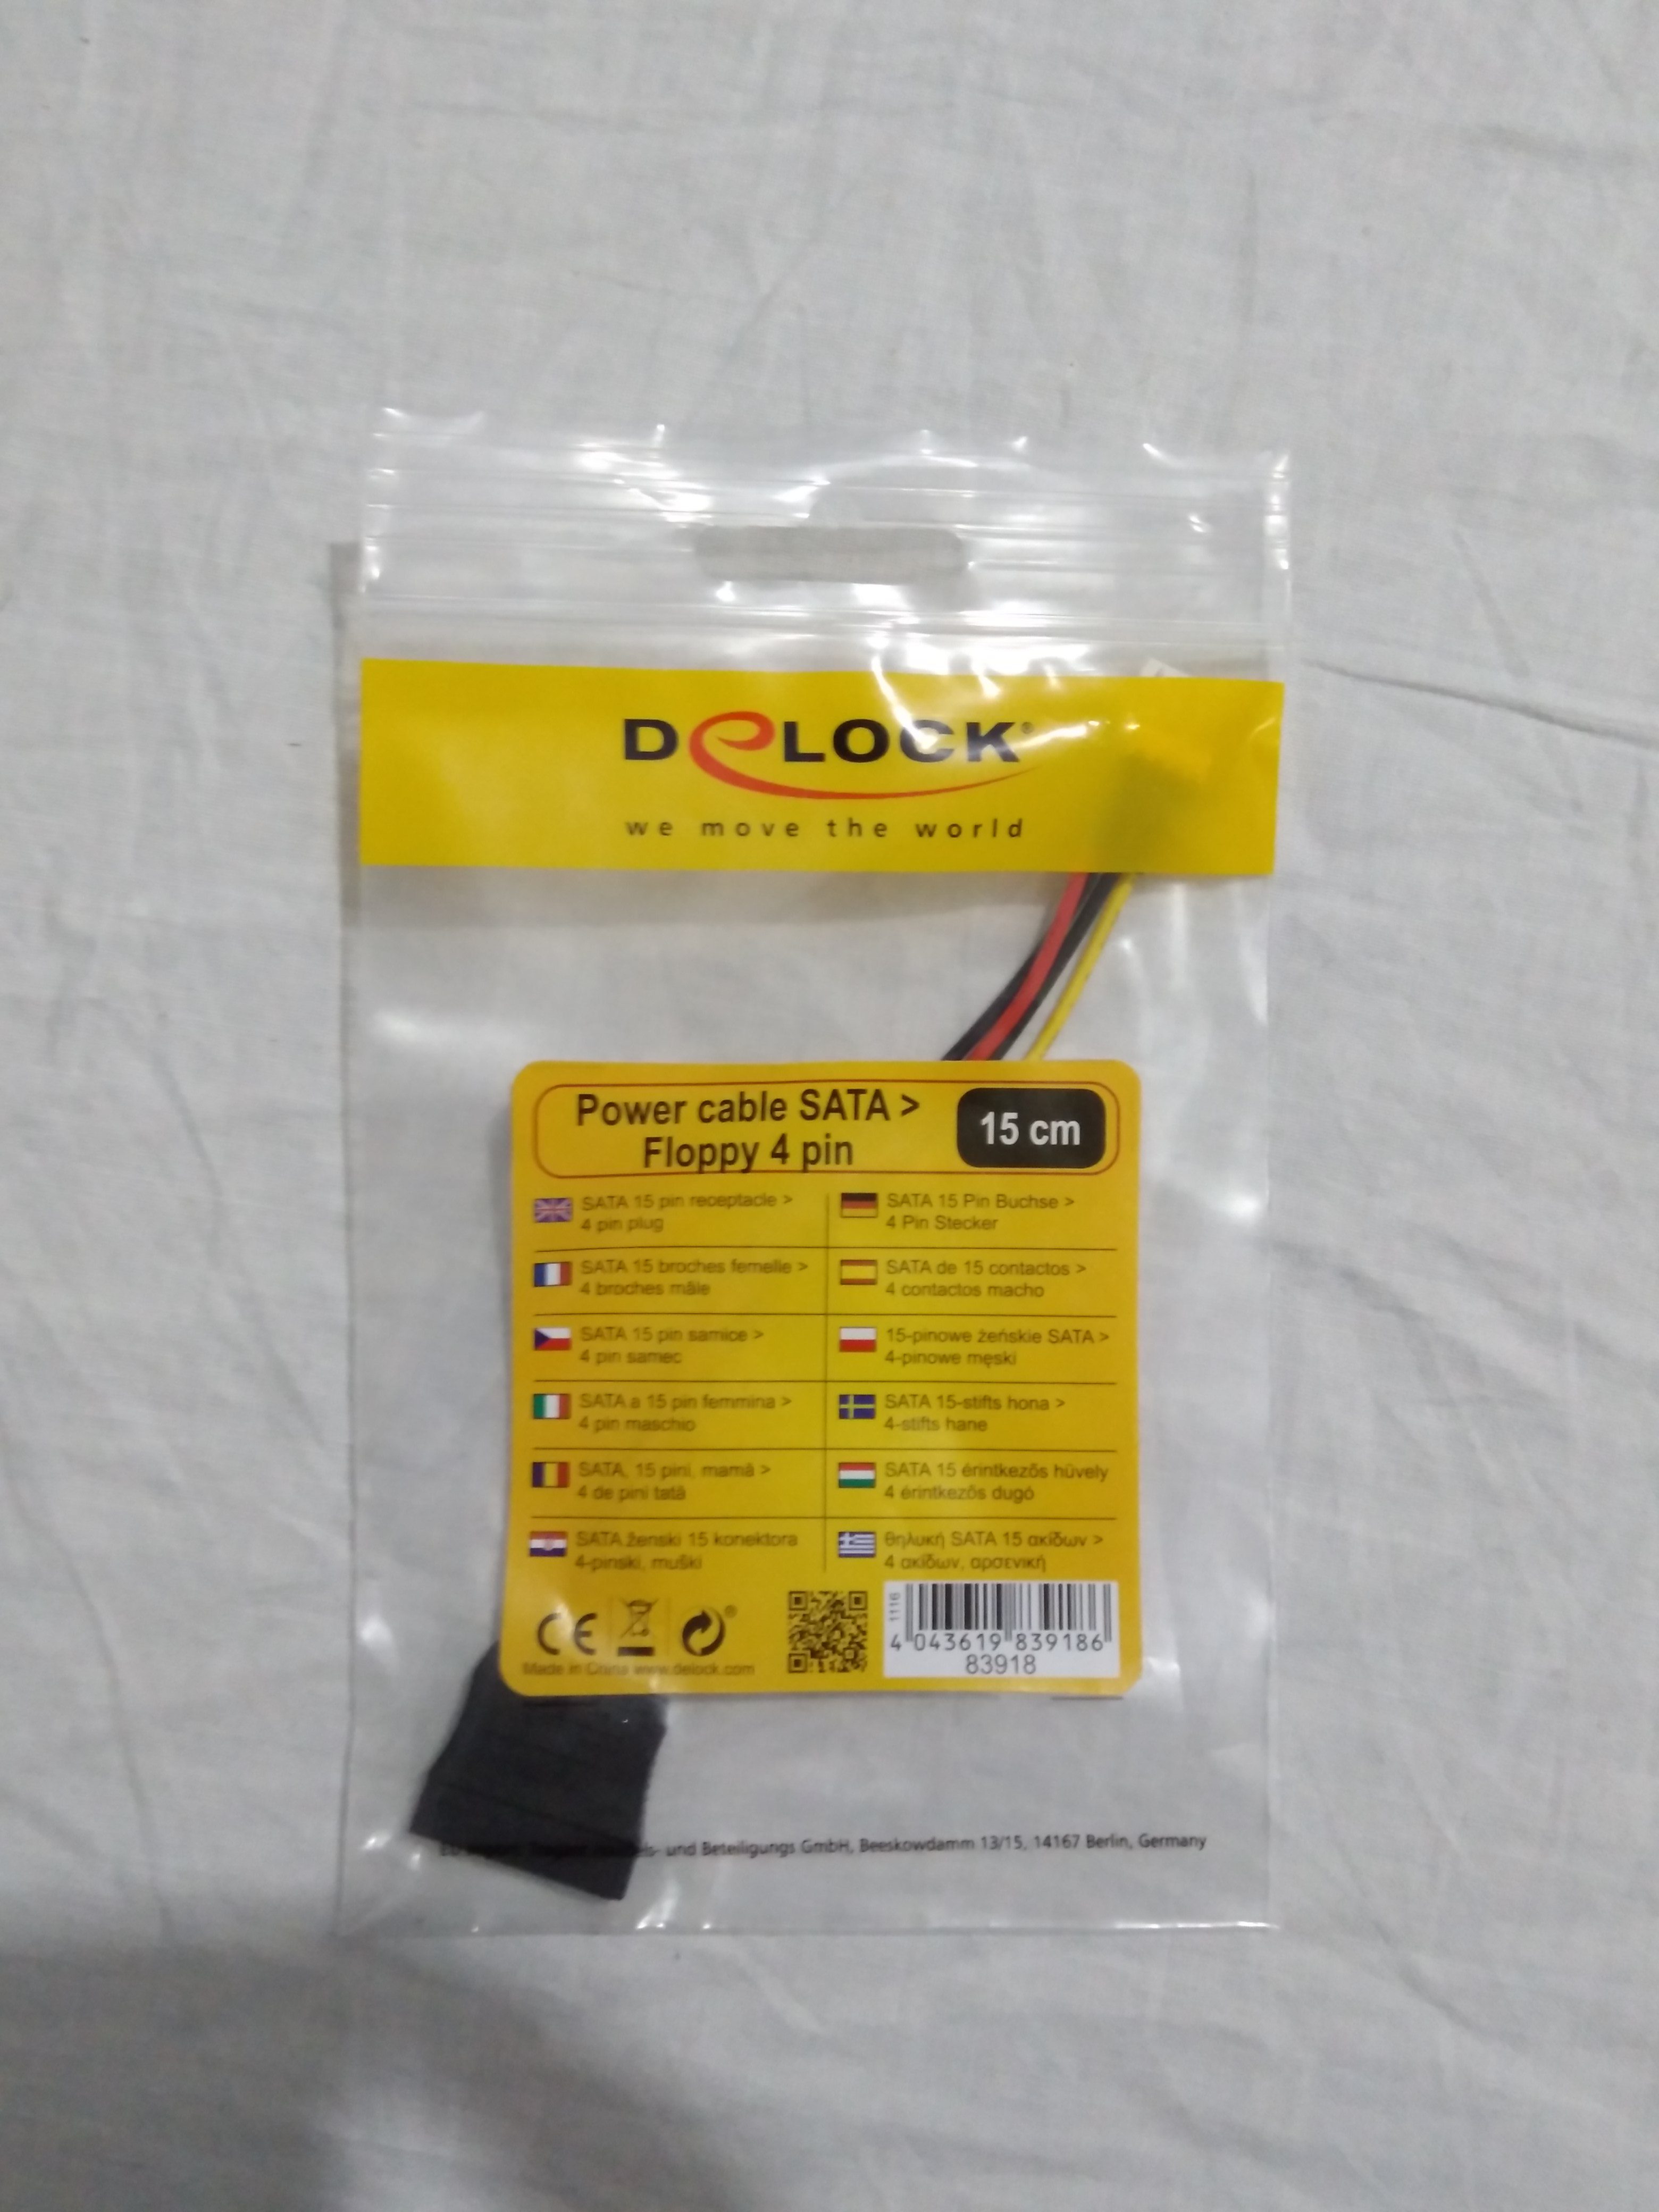
As indicated in a previous post, it is also necessary a SATA data cable and a SATA power cable (4 pin 15 cm).
SATA Data Cable
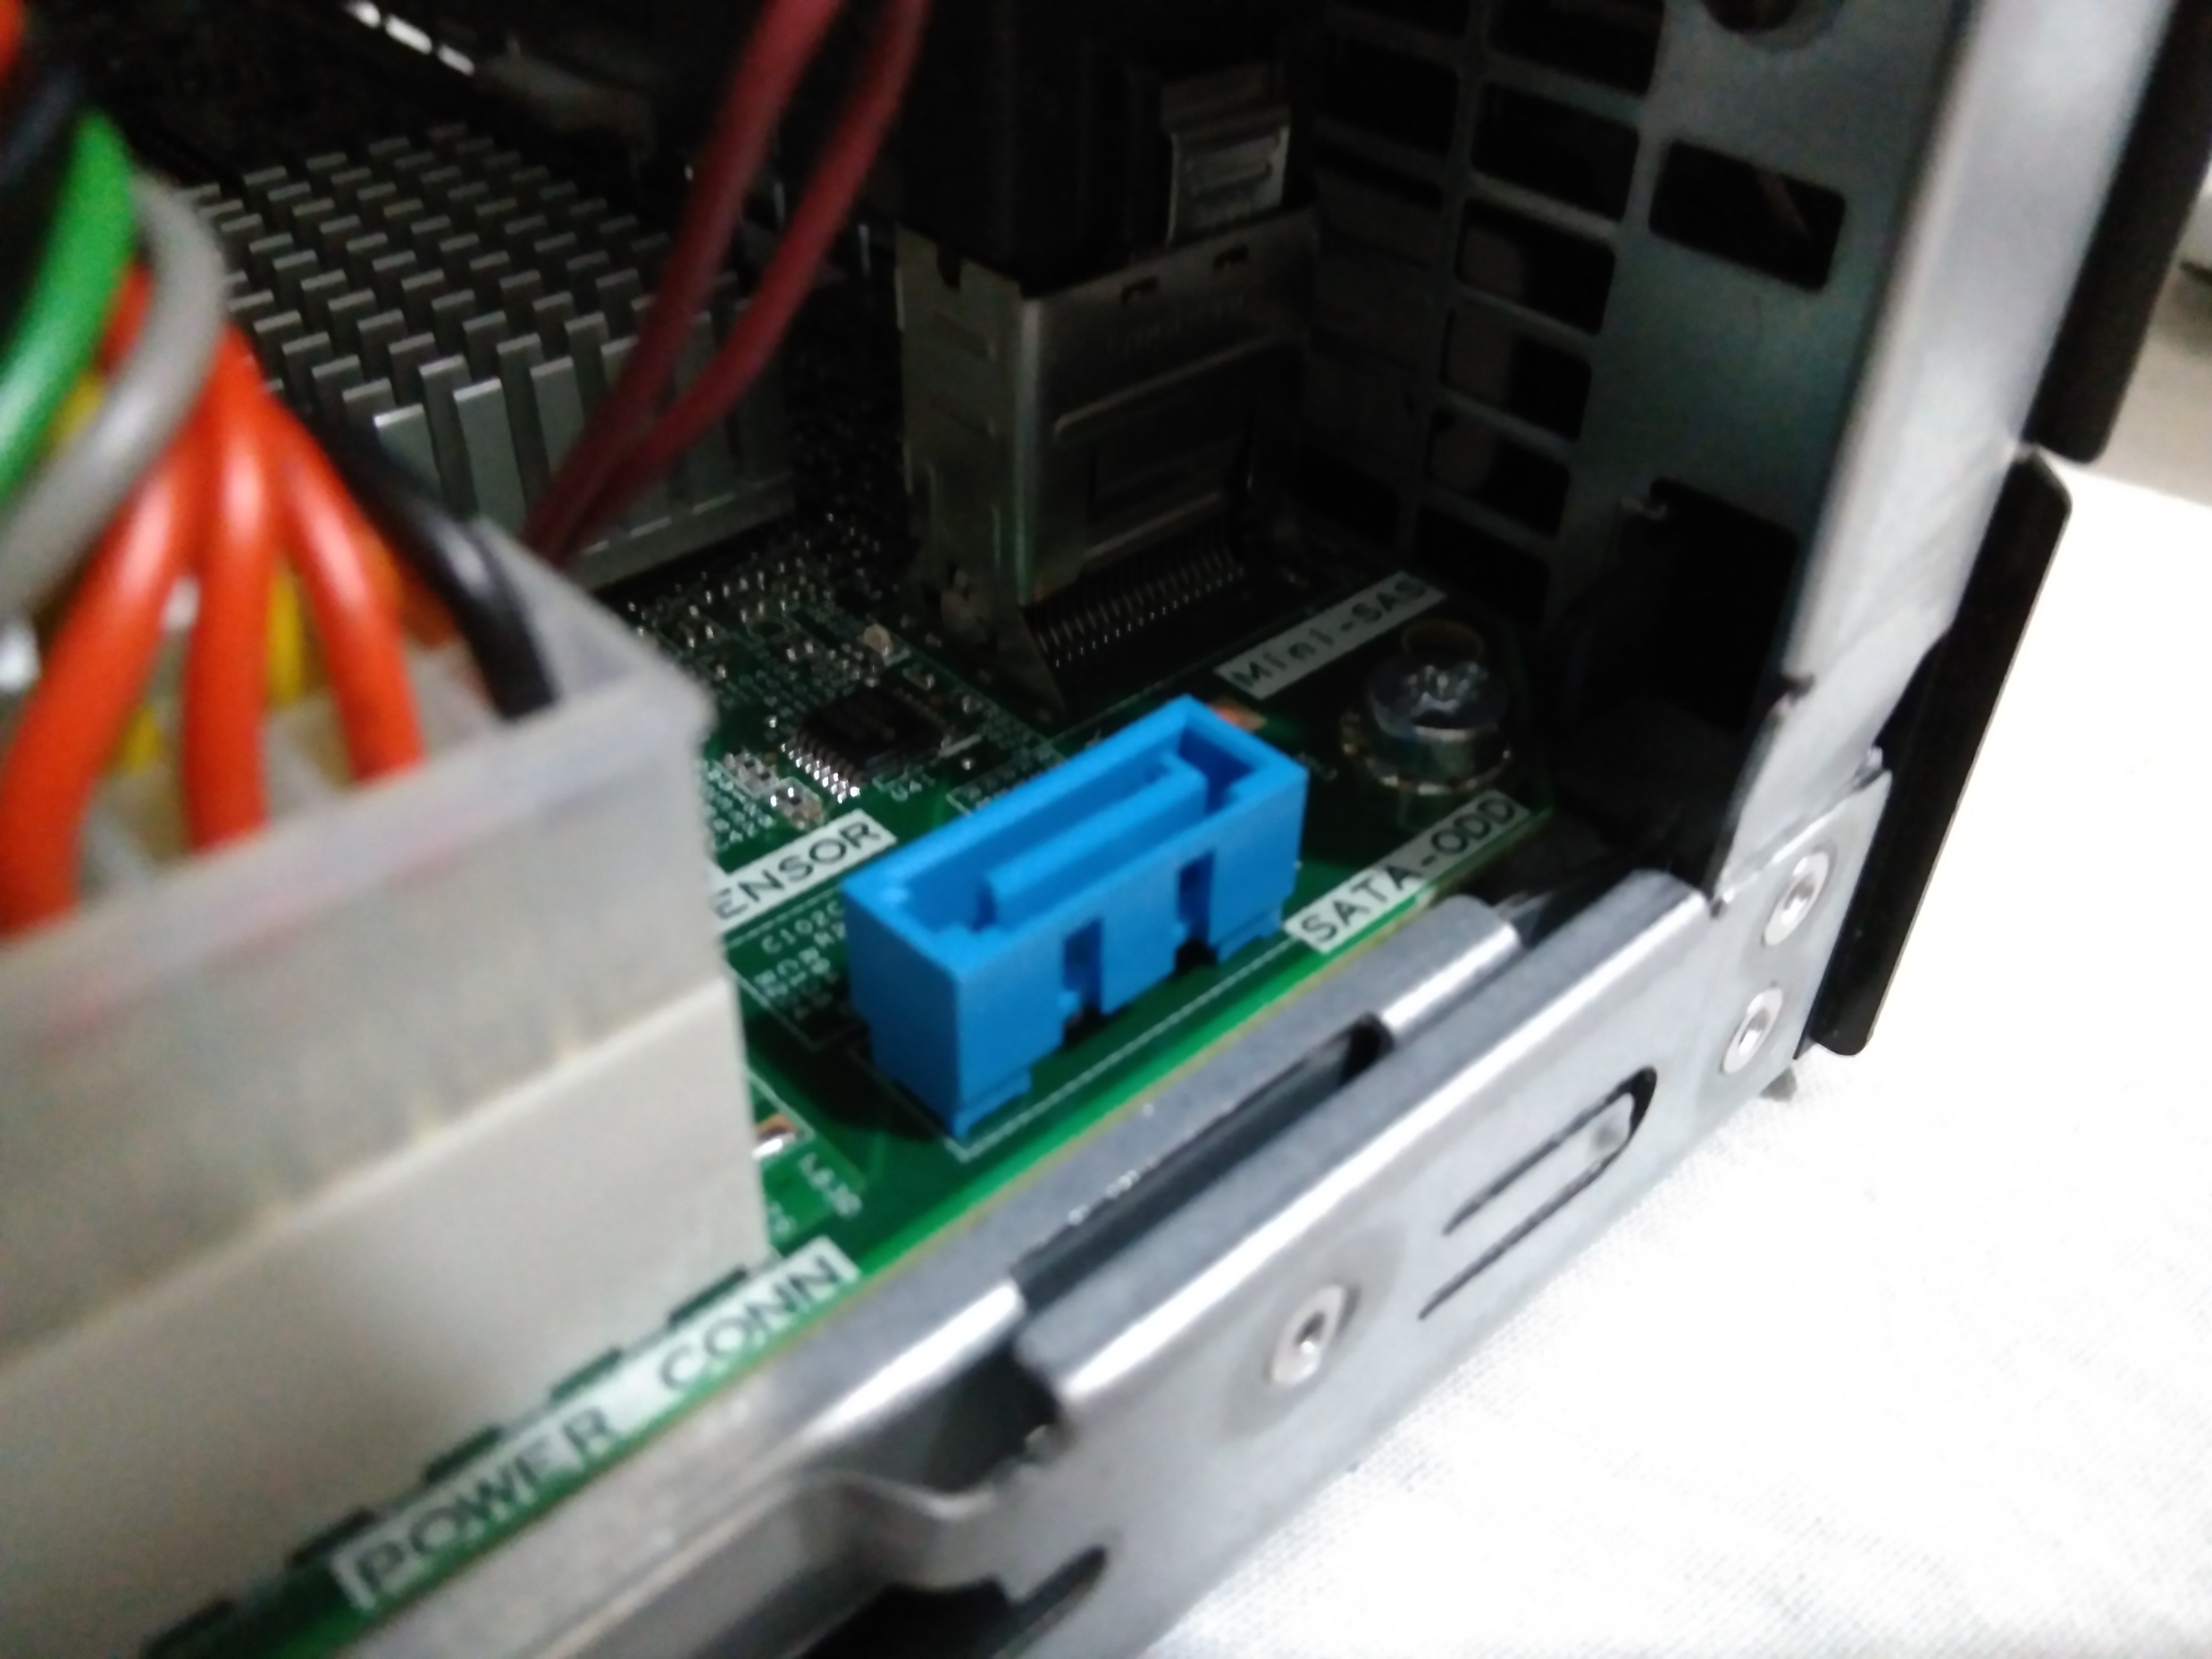
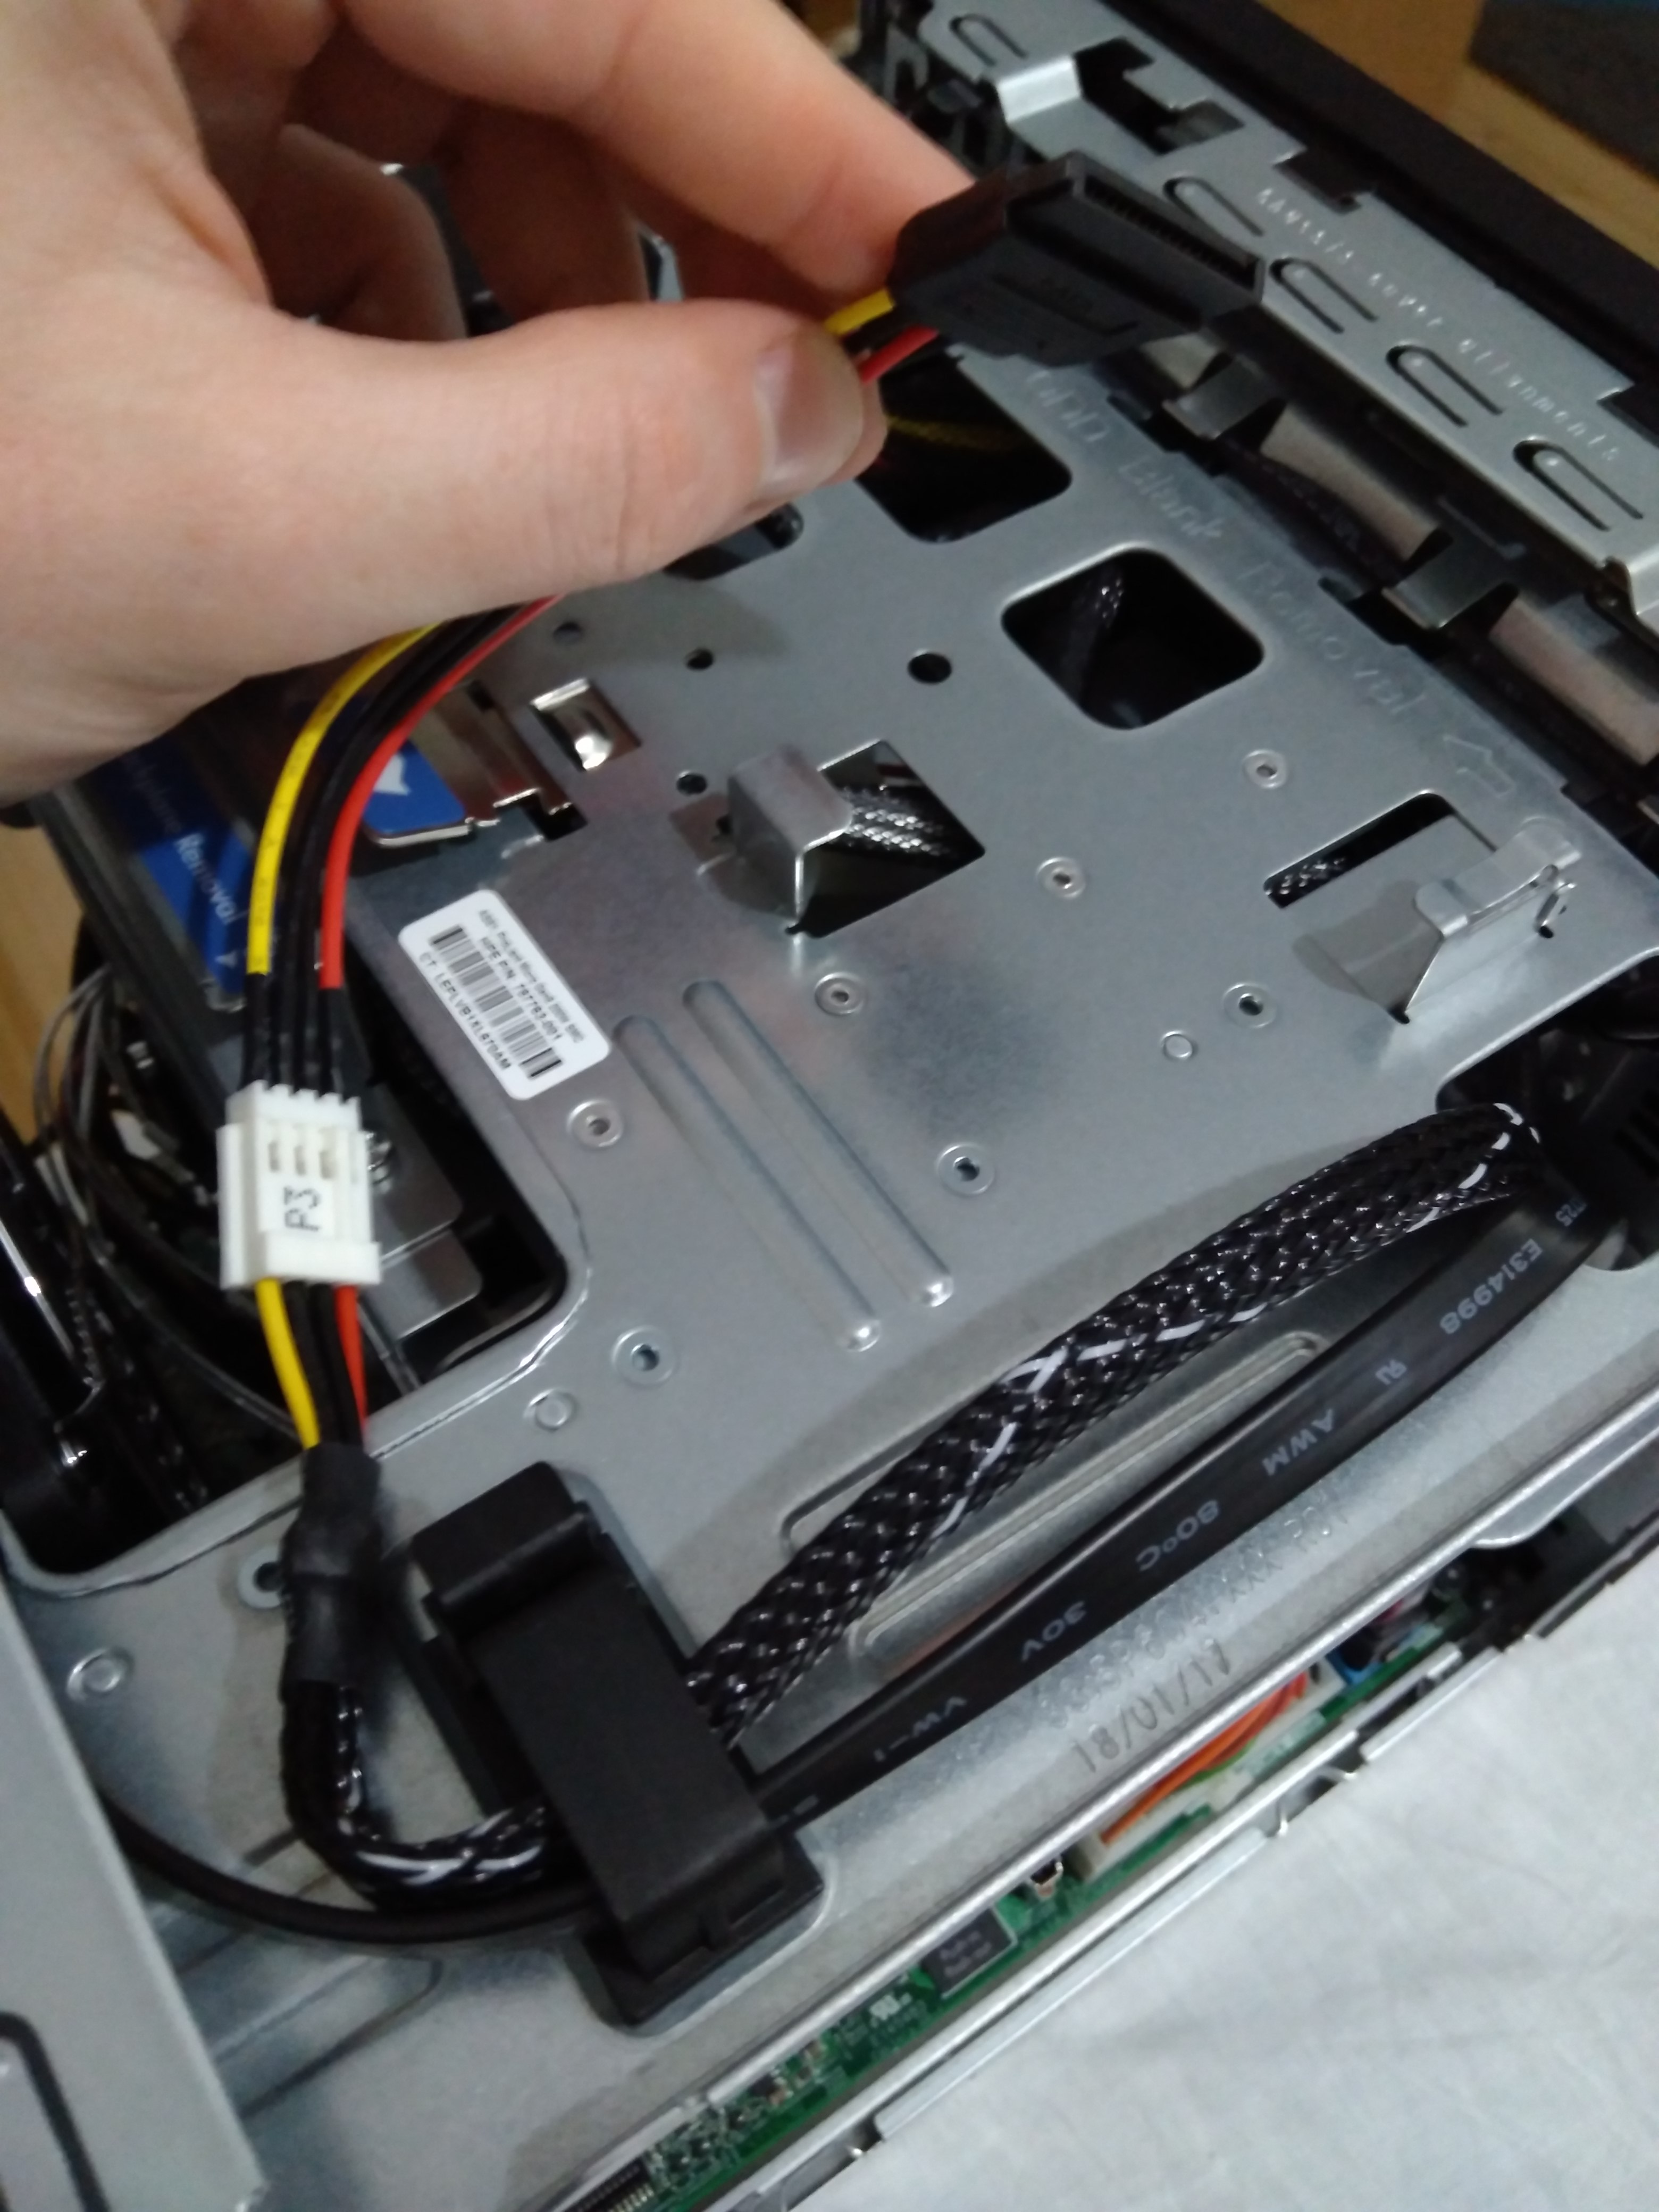
Open the chassis cover so that we have located in blue the port where we connect the data cable.

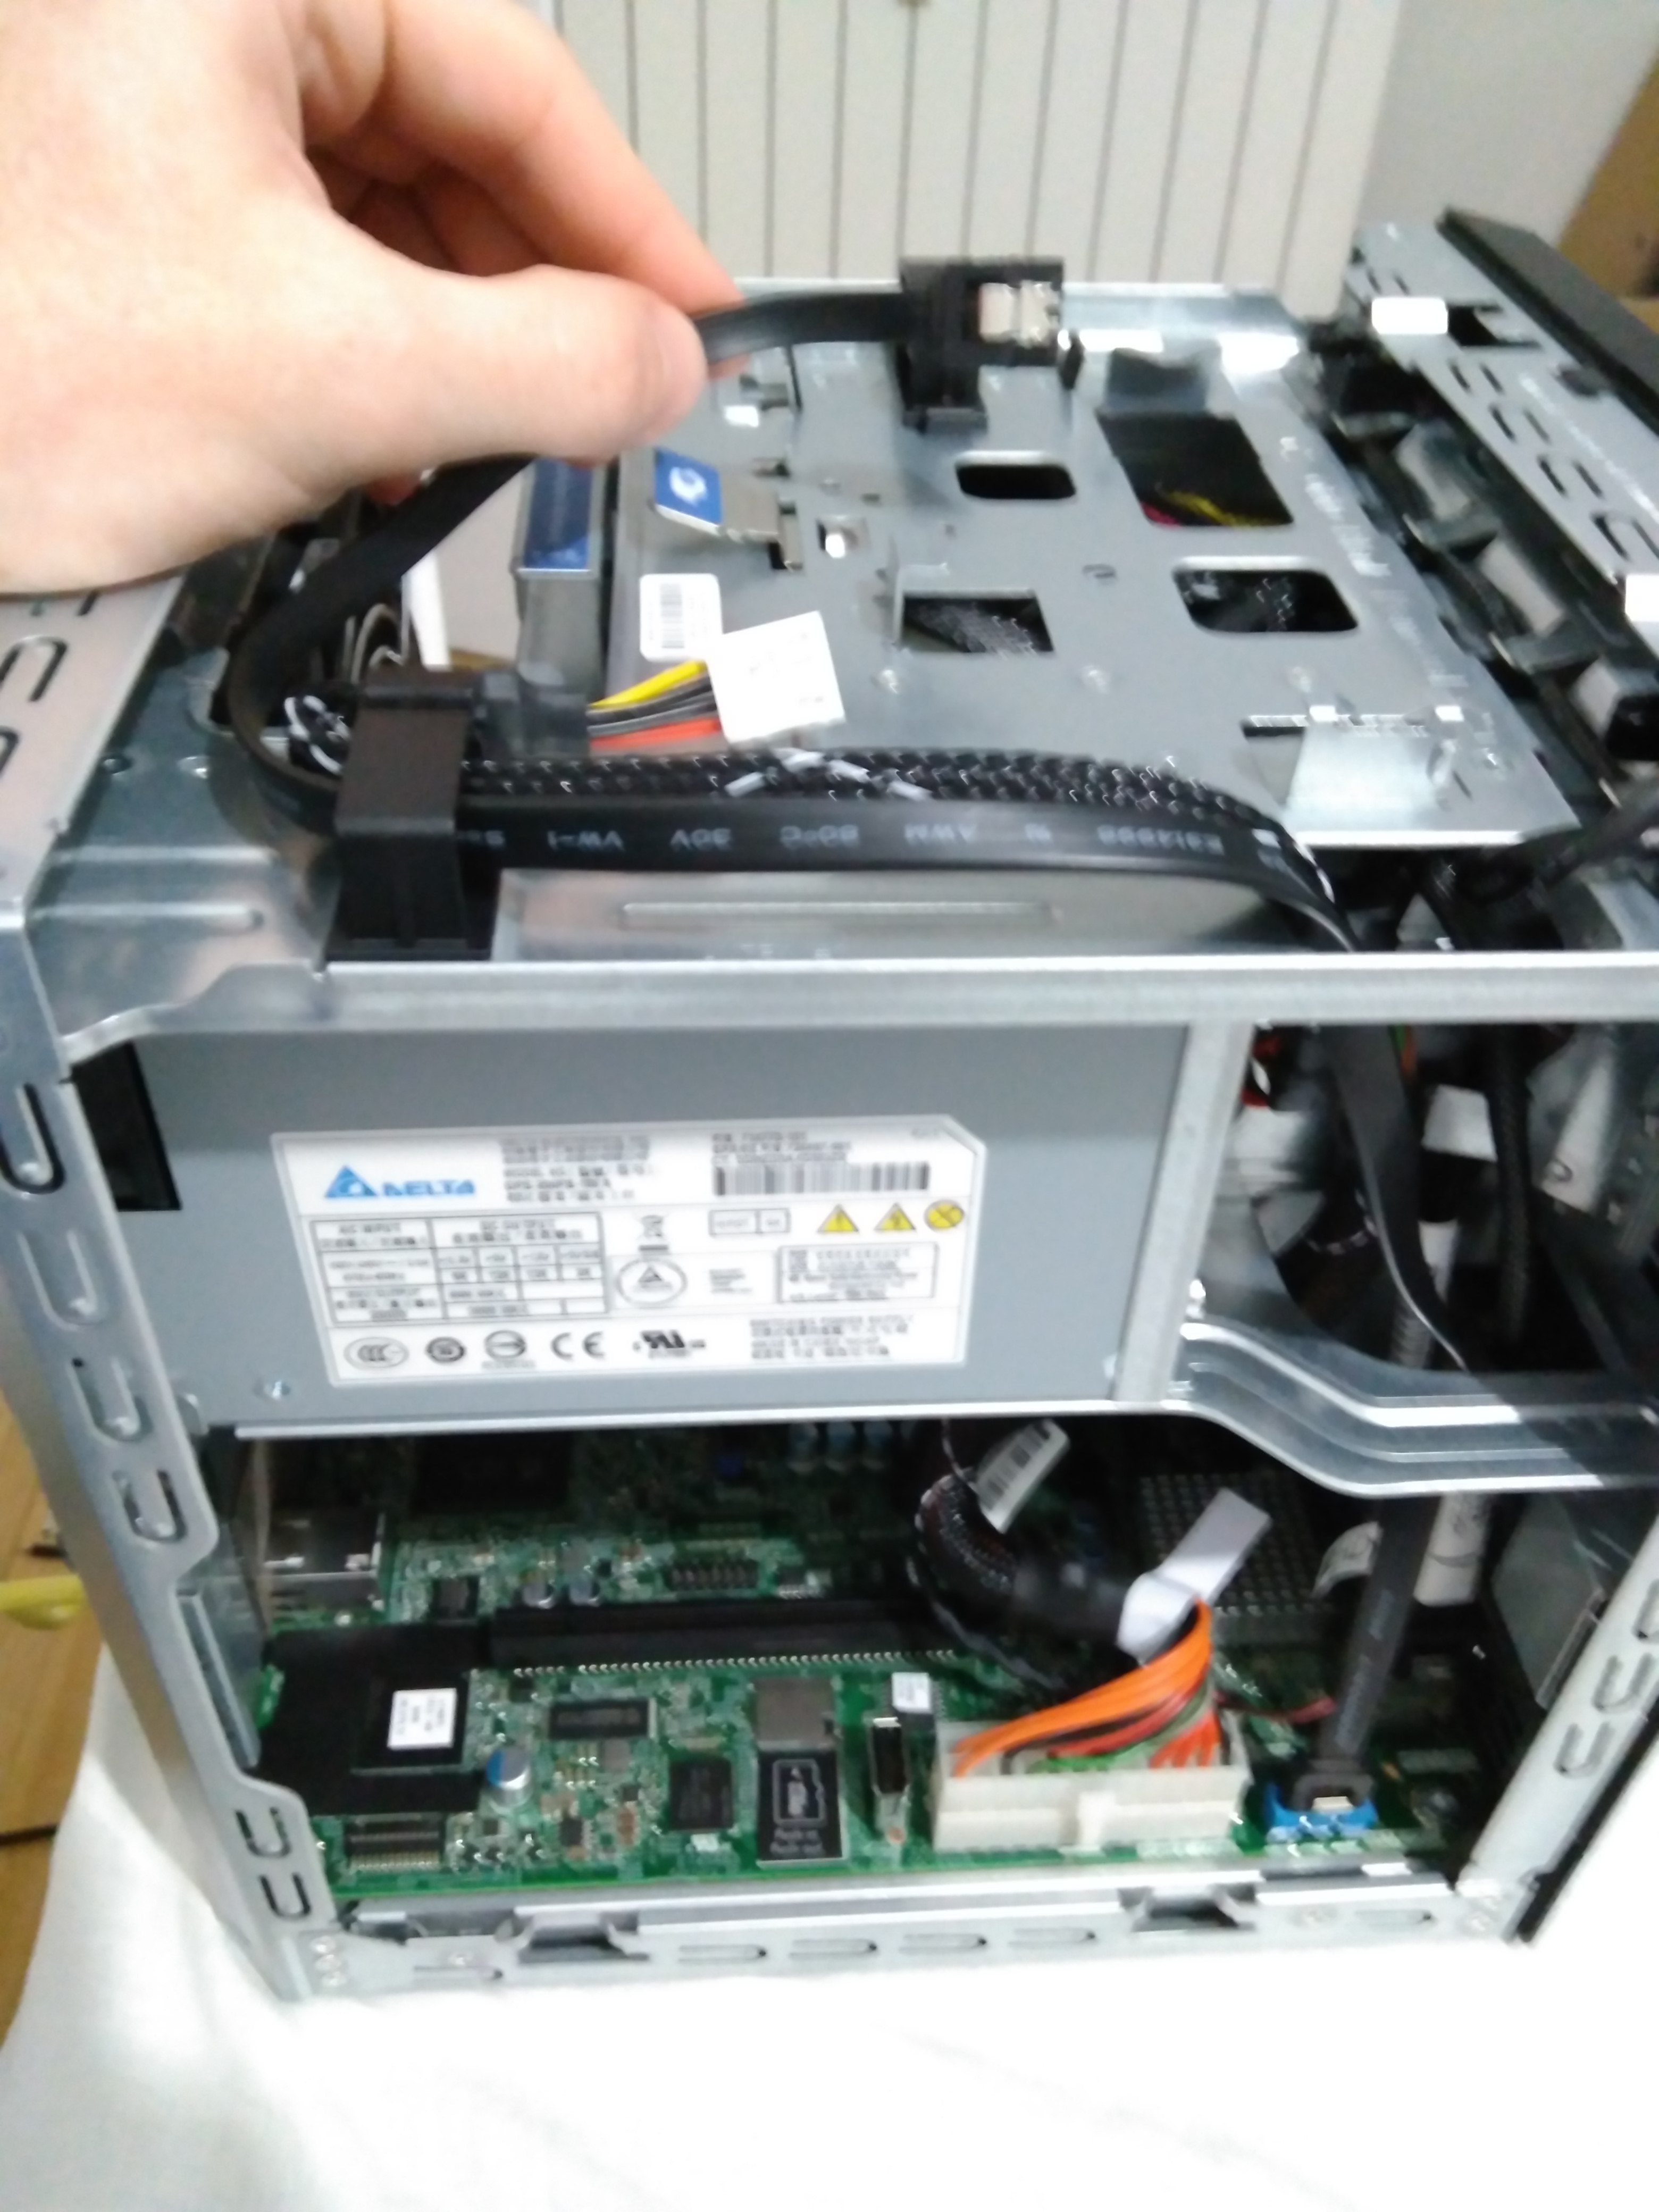
We put the cable inside in an orderly way as shown in the image so that it does not difficult later the closure of the casing and we leave it loose for now.
SATA Power Cable
Let’s now connect the SATA power cable because the one that brings the server to connect an Optical Disk Drive (ODD) is not valid for this purpose.
We locate that cable on the server…
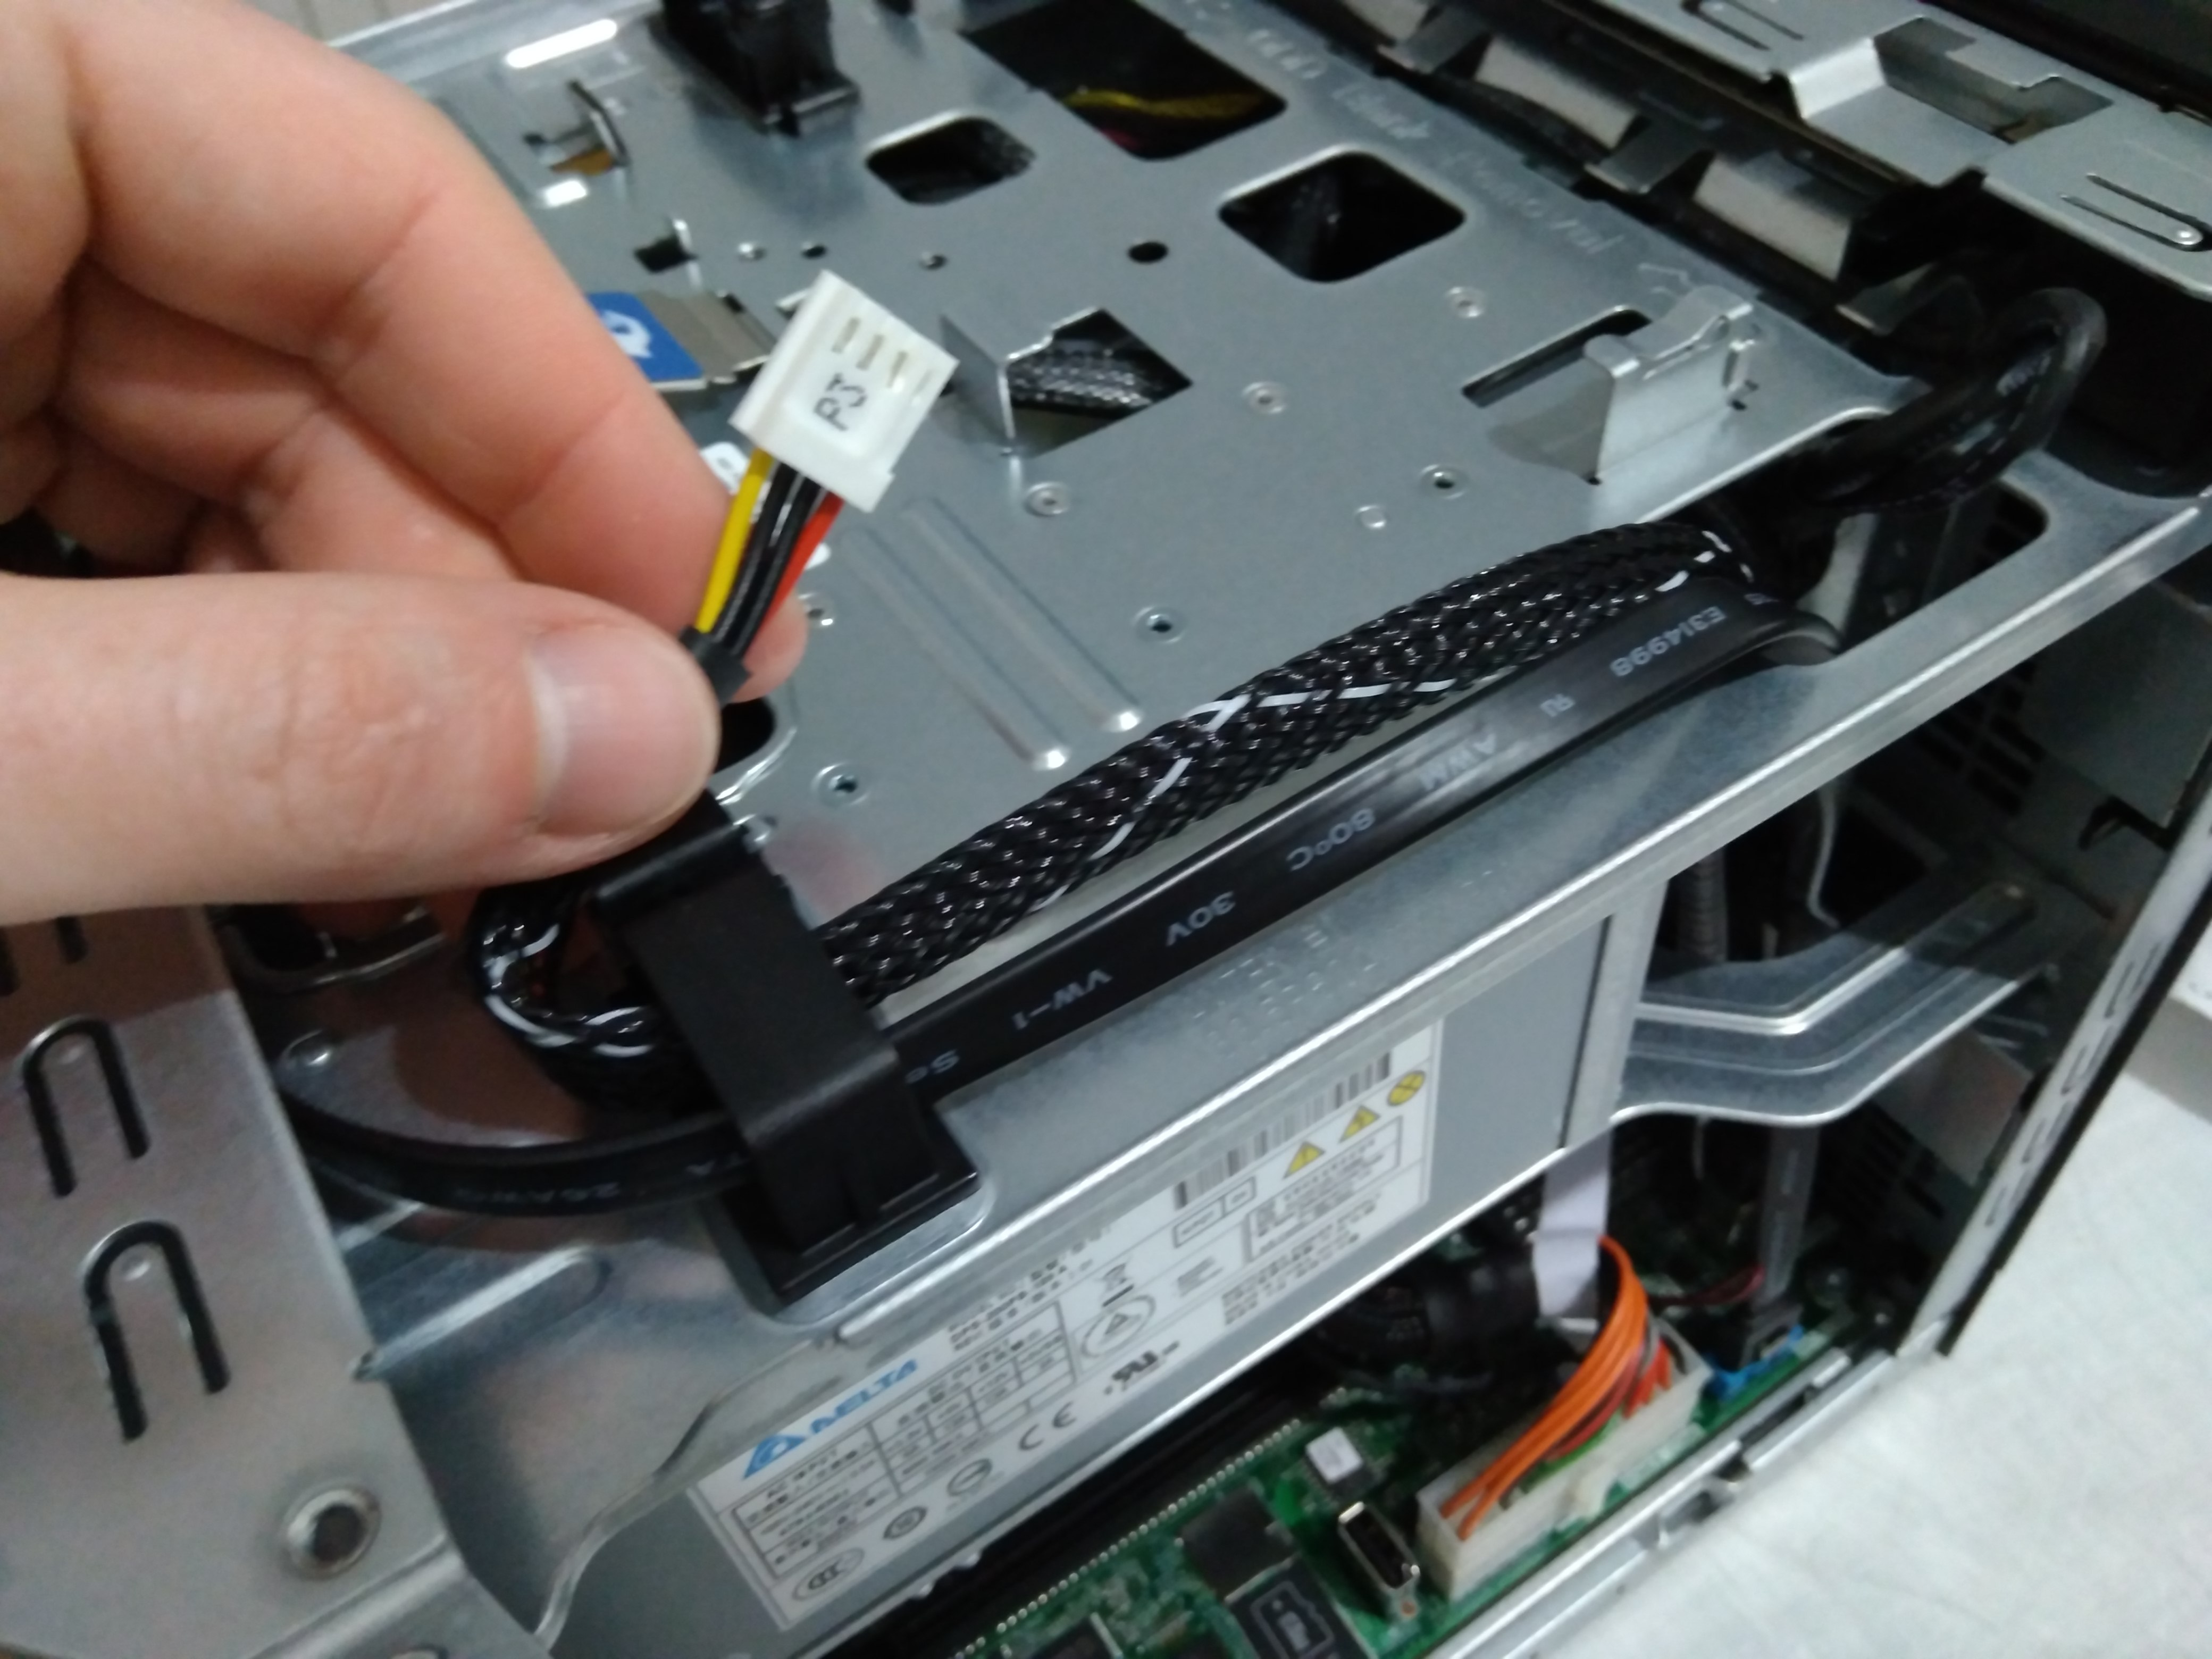
… and connect it with the SATA cable that we have bought
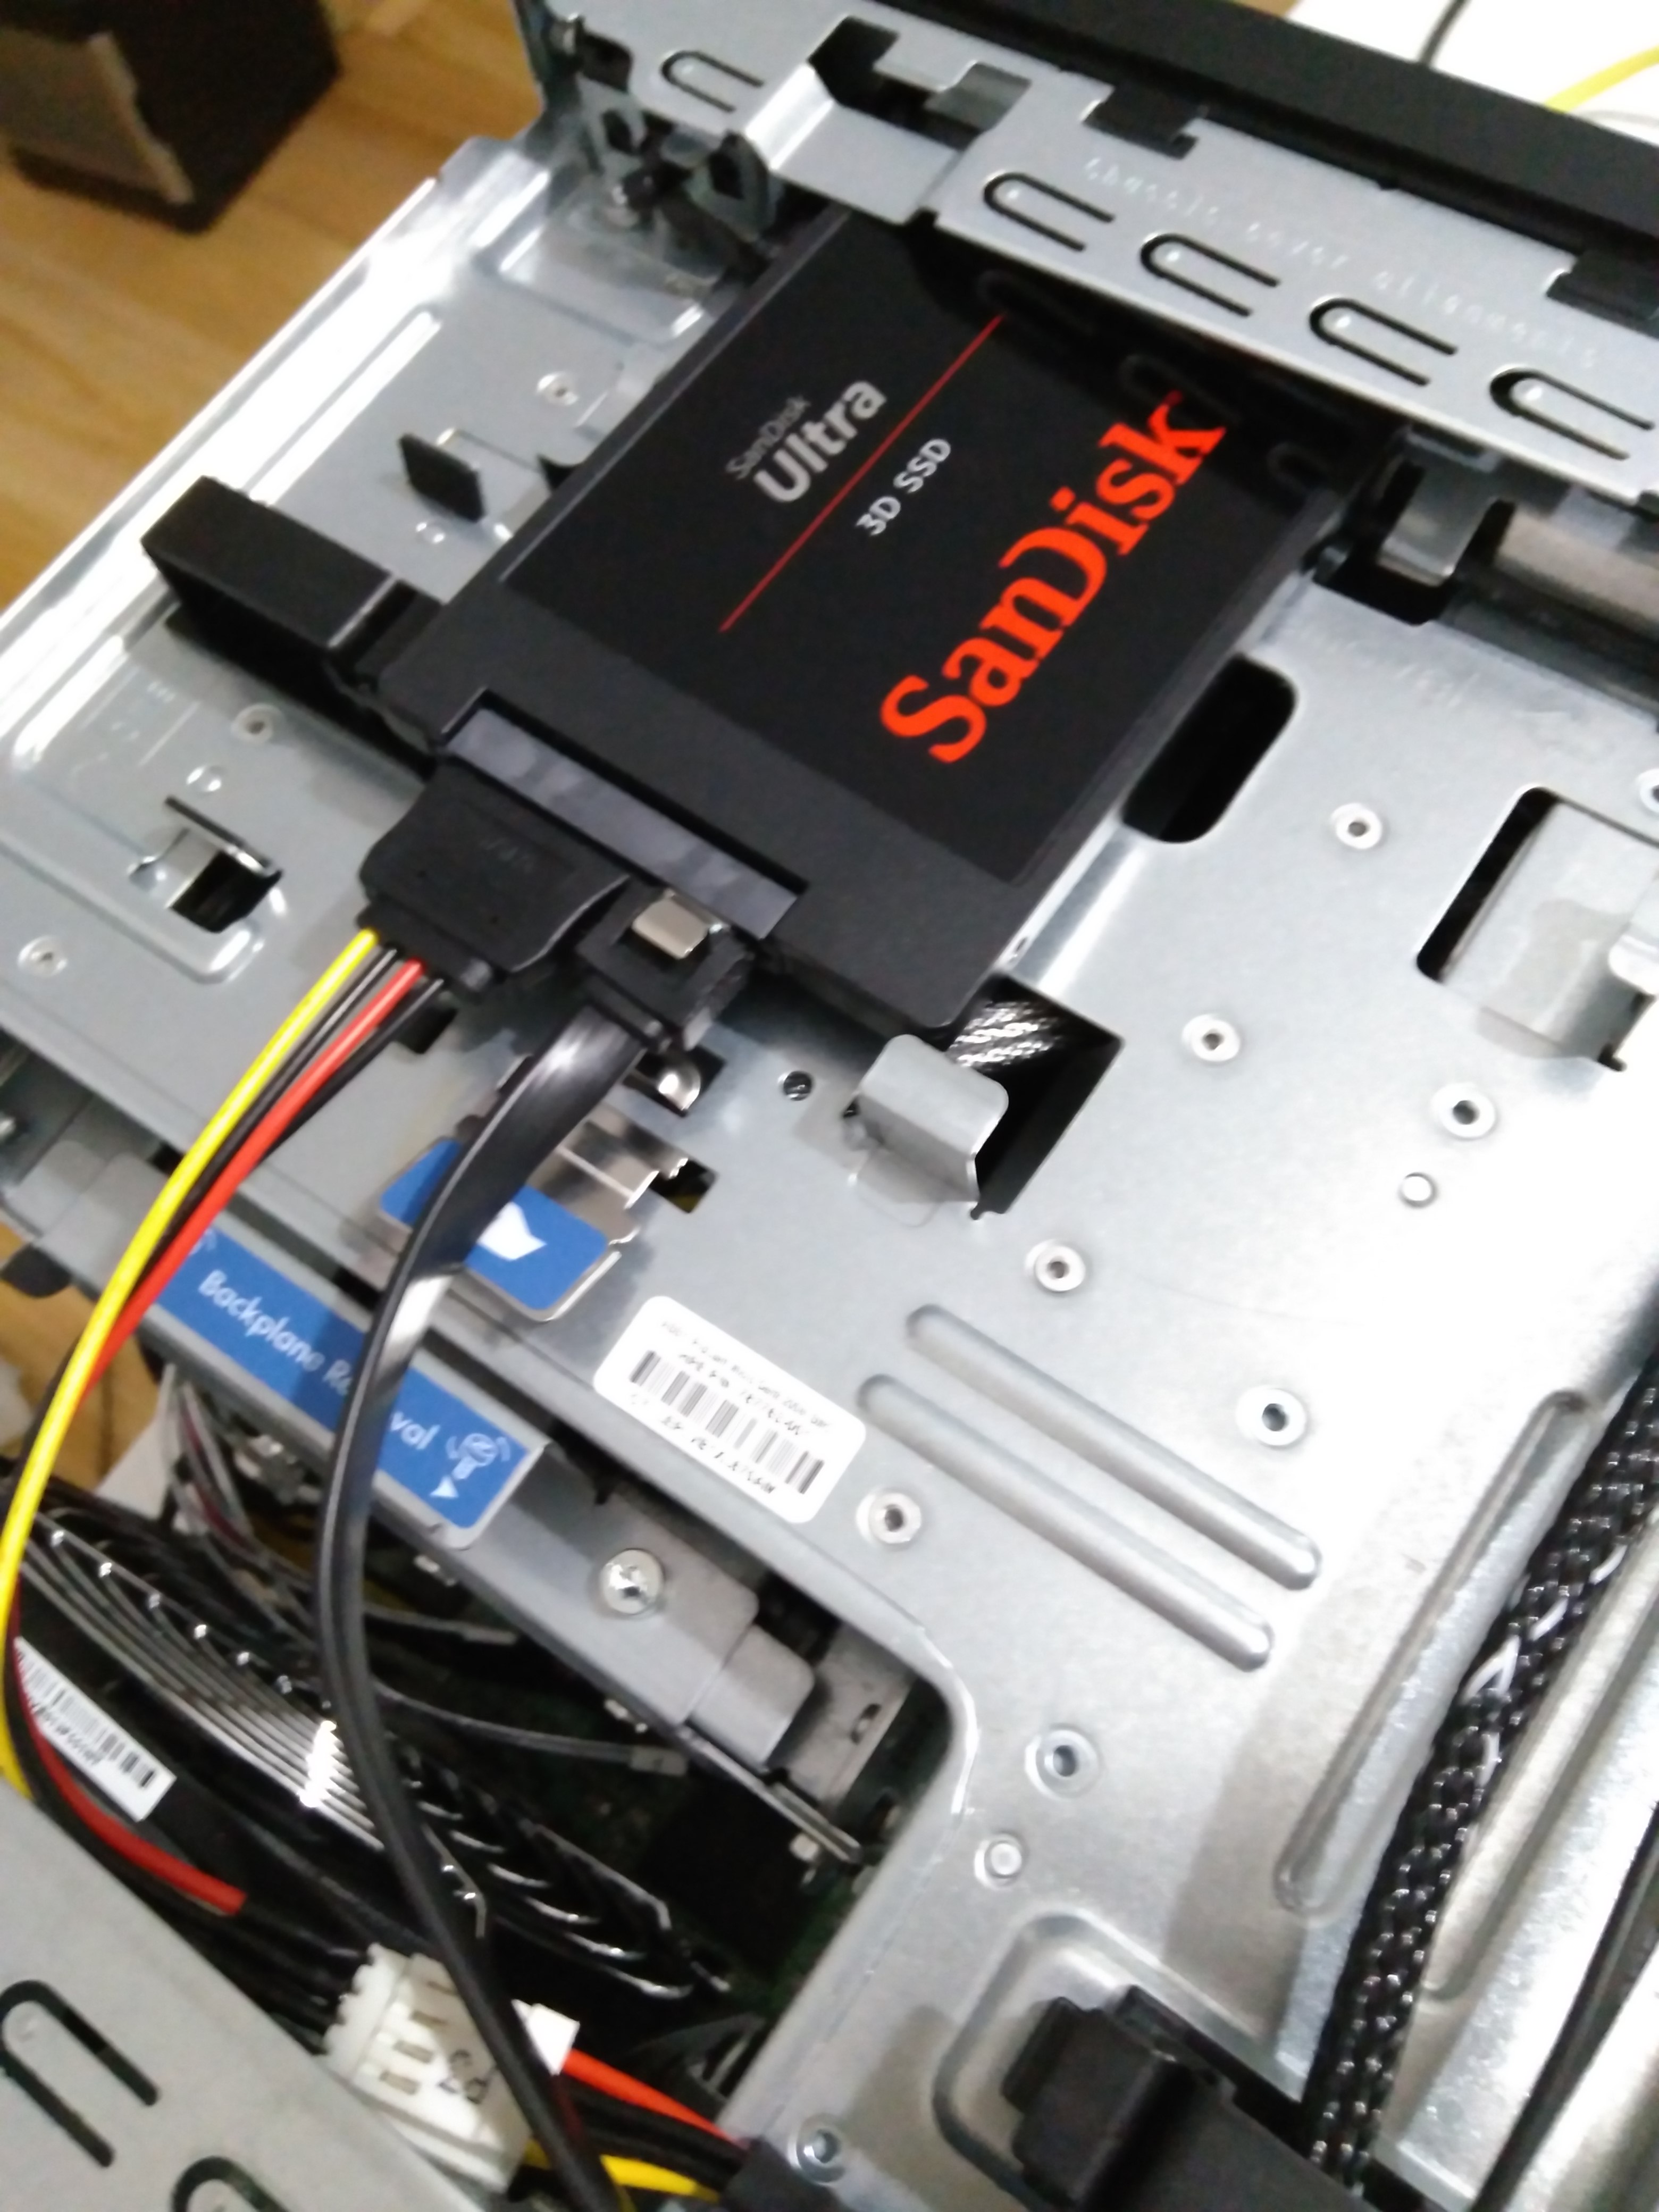
Plug Cables to SSD Disk
We just have to connect the cables to the SSD disk and accommodate it on the server so that it does not move or deteriorate and the cables are not forced.
Now we can close the chassis cover again because the hardware installation is over.
Create logical Drive
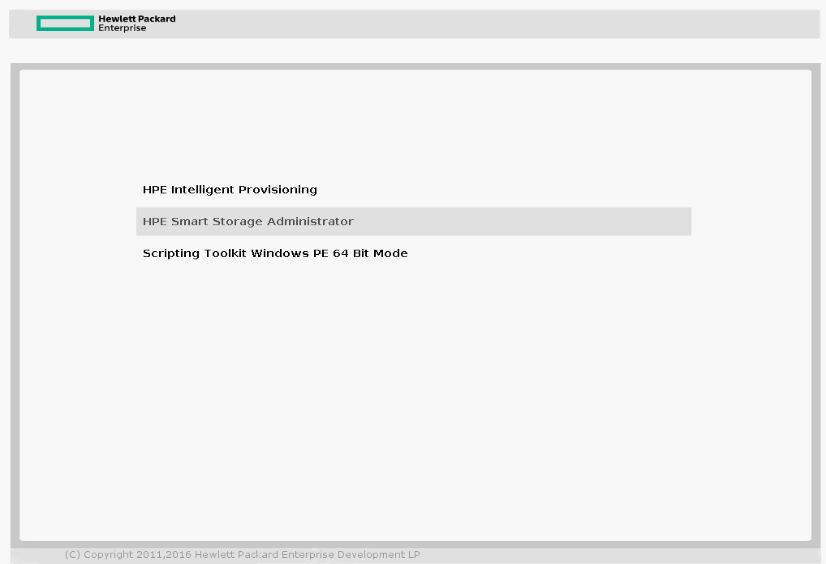
Run your server launching the “HPE Smart Storage administrator”
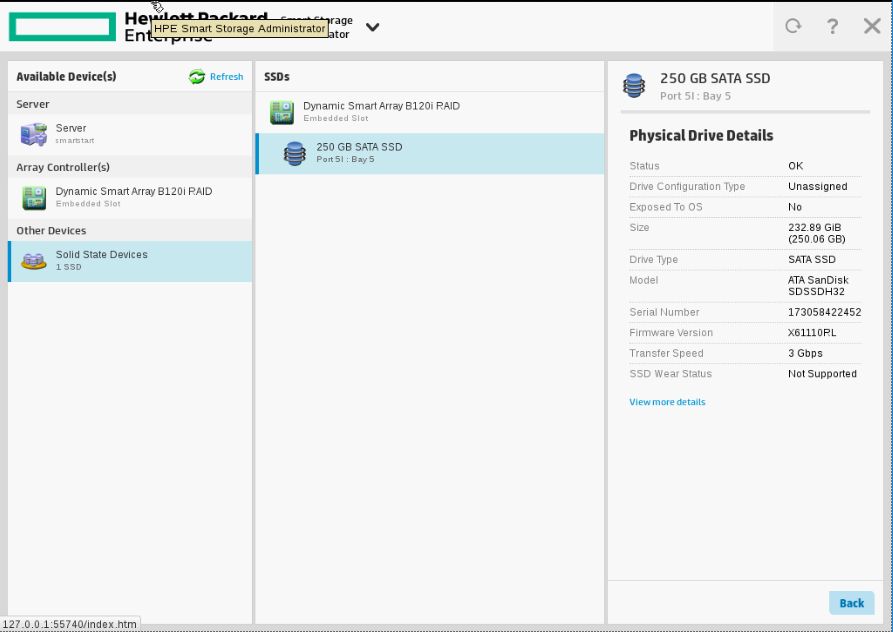
In the section “Other devices/Solid State devices” should appear our newly installed SSD disk
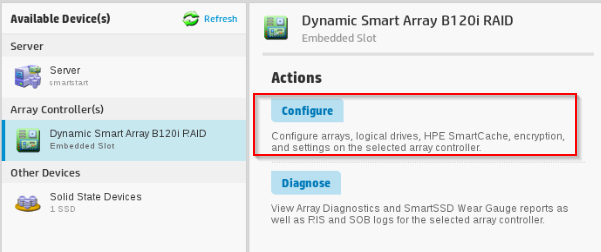
Select the array controller B120i and click the action “Configure”
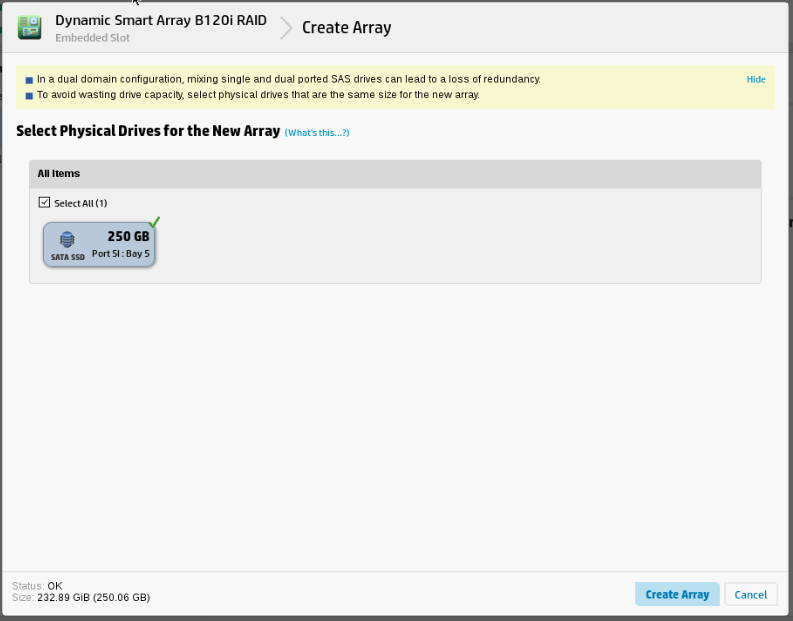
We are in the section “Create Array” in which we select our SSD physical drive
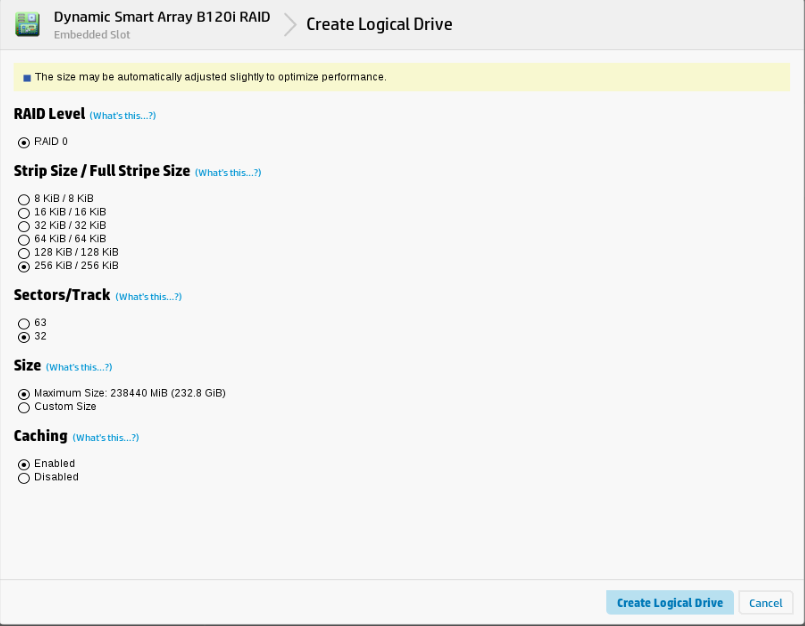
In this section “Create Logical Drive” we can configure different options (RAID level, Strip size, sectors/Track, size, caching), You can analyze the most convenient for your interests but I use those you see in the Image. Note that since it is a single disk the RAID has no importance. And especially the size, if you want to create several logical drives in the SSD (for example, because you have taken large size and you want to use also for more things), set the size you want to use. In my case I use its entire size in this logical Drive.
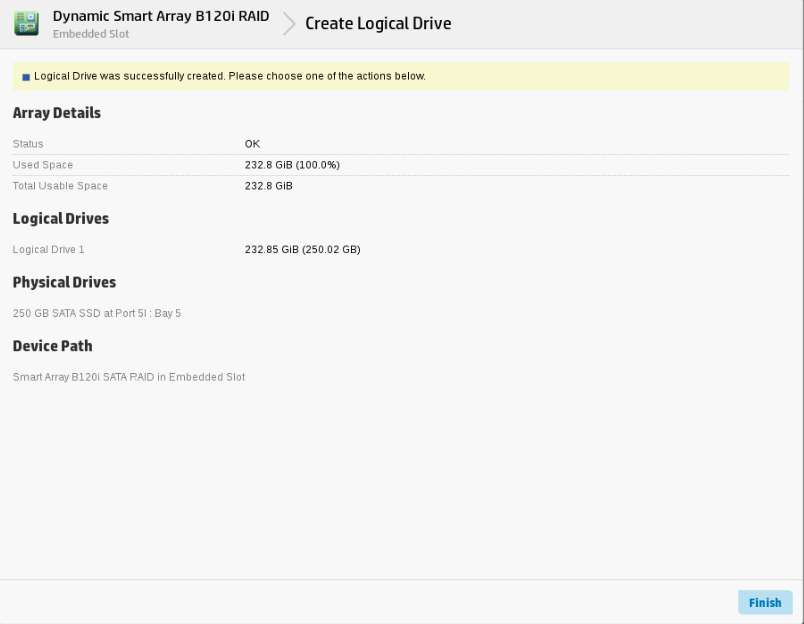
After pressing the option “Create Logical Drive” we would have Finished.
And we can see it in the HPE Smart Storage menu.
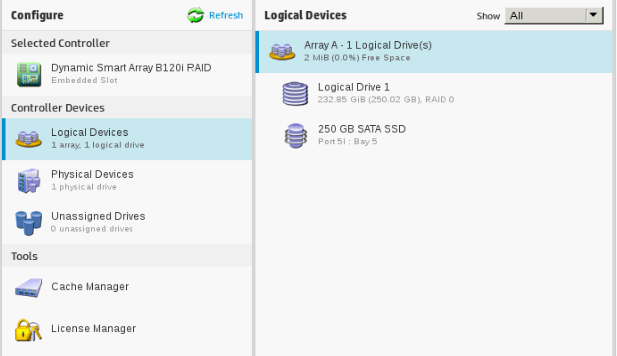
Now we have a logical disk from our SSD physical disk prepared to be used by any system that we want to install on our Server.
In a future post I will show you the installation of VMWare ESX 6.5!