Some time ago I started reading documentation about Raspberry. Nothing related to my job but, as a hobby/challenge, I decided to buy one and start a project in future posts I will talk about…
Also owner of a Raspberry? Follow this minitutorial to perform the basic installation of Raspbian OS with remote access enabled via SSH using WiFi connection.
Required things
To start using tour Raspberry PI, you also need the following things:
- Micro SD card (min 4GB) and a PC with card reader or a USB car adapter
- HDMI device and cable
- USB keyboard
- micro USB power supply – 5V and 1,2A min
- USB WiFi dongle (you can use cable but this howto covers the wifi configuration)
Download Raspbian image
Raspbian is a Debian Linux distribution based OS optimized for Rasbperry Pi.
It is also possible to install Rasbpian using NOOBS (an easy to use installer) but, wether or not being a begginer, installing the image is also easy.
Browse here and select and download the raspbian image file you want. I downloaded the ZIP format of the “Raspbian Jessie Lite” version here
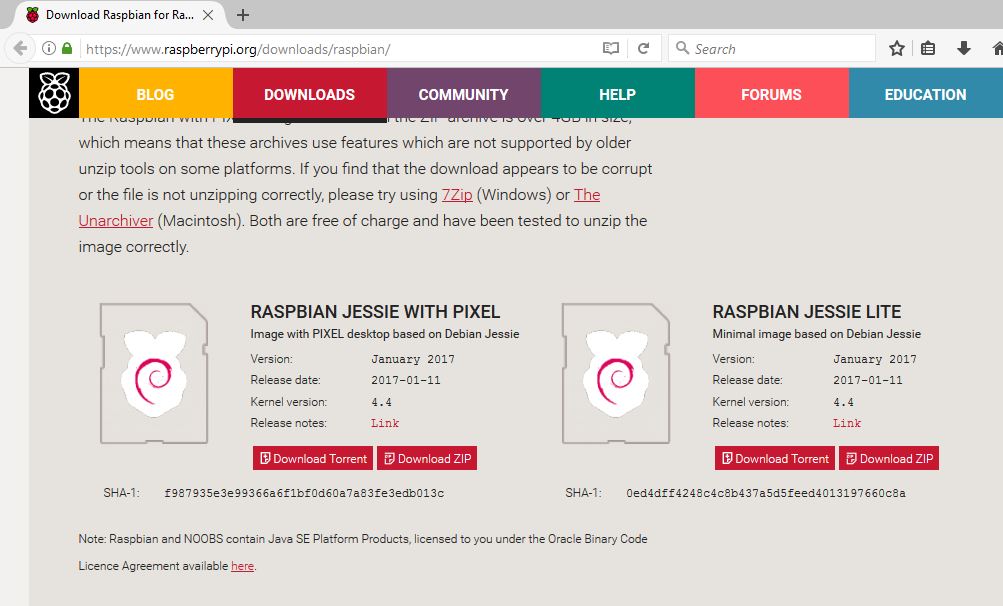
Unzip it to extract the img file.
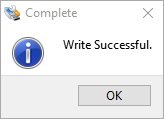
Copy Raspbian image to SD card
There are multiple ways to copy the image to the SD card. Using windows is easy thanks to Win32 Disk Imager.
Simple select the Rasbpian img file, the SD card drive and “Write” option and wait the process to complete.

Now extract the SD from and insert it SD, connect HDMI, USB keyboard, WiFi dongle and the microusb power adapter
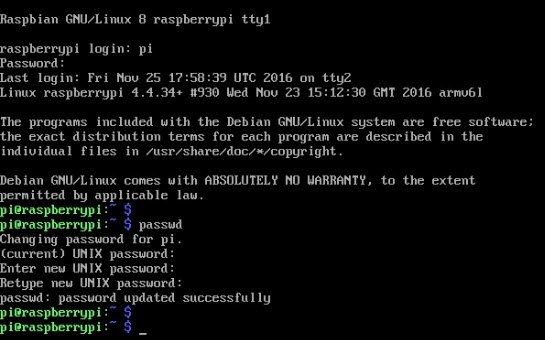
First run and password change
After Raspbian finishes starting, insert the default credentials:
Login: pi
Pass: raspberry
And dont forget to change the default password (“passwd ” command) to avoid problems:
I know its not a good practice, but instead of prepending the sudo command before the commands that require administrator privileges, I prefer to change to root user:
pi@raspberrypi:~ $ sudo su
root@raspberrypi:/home/pi#
Wifi configuration
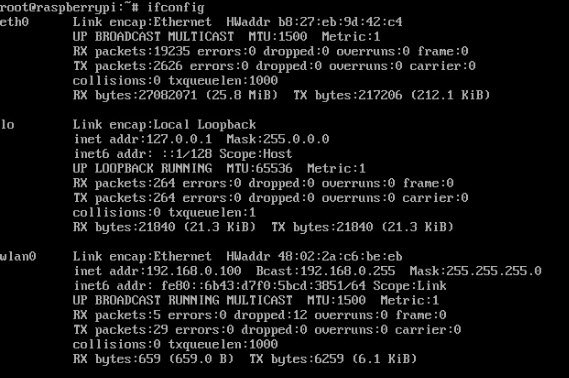
Lets check if Rasbpian detected the Wifi dongle by getting the ouput of the ifconfig command:
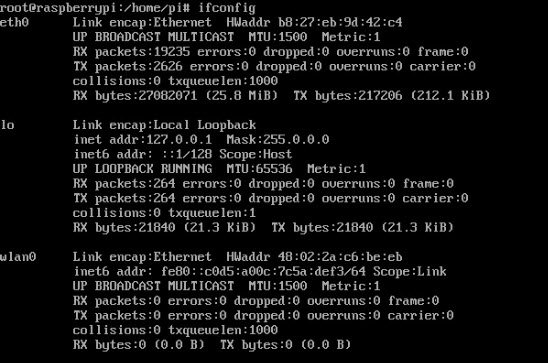
Nice! The iwconfig section of the command is the data related to the wifi adapter.
Scan networks
To scan networks:
# iwlist wlan0 scanYou can filter to list only the ESSIDs of the detected networks
# iwlist wlan0 scan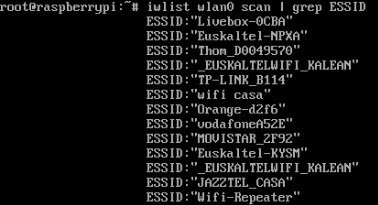
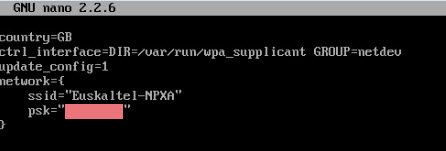
Configure wpa_supplicant
Edit the /etc/wpa_supplicant/wpa_supplicant.conf (using nano editor for example) and add the following section at the end:
network={ ssid="Your-WiFi-Network-SSID" psk="Your-WiFi-Network-Password" }
These results in the following the contents of my file:
DHCP or static IP
We also configure the interface to ask for an IP address (DHCP) or configure an IP statically.
Search for the “iface wlan0 inet…” line in the /etc/network/interfaces and change it this way to configure it as DHCP…
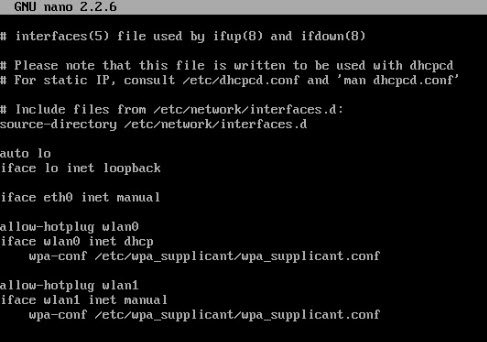
…or with an static IP (you have to know the Wifi network address/mask). In this example, the 192.168.0.100 IP

When using DHCP, everytime you start Raspbian a different IP can be assigned. Thats a problem if you want to connect to the Raspberry remotely. The static IP solves that problem but the best solution would be DHCP + configuring the router to assign the Raspberry always the same IP.
Now, you can bring down and again up the wlan0 so that the IP is requested and/or assigned (or reboot).
# ifdown wlan0 && ifup wlan0Executing the ifconfig command again should show the IP assigned for wlan0 interface
Test the connection
I tested the conecctions pinging from my Laptop with Windows:

Enable SSH daemon
Now the Wifi networking is configured, time for enabling the SSH daemon that allows us to connect remotely to the Rasbpian:
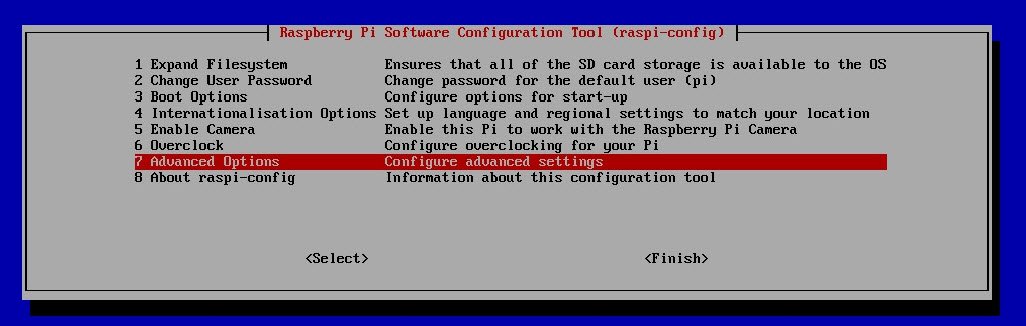
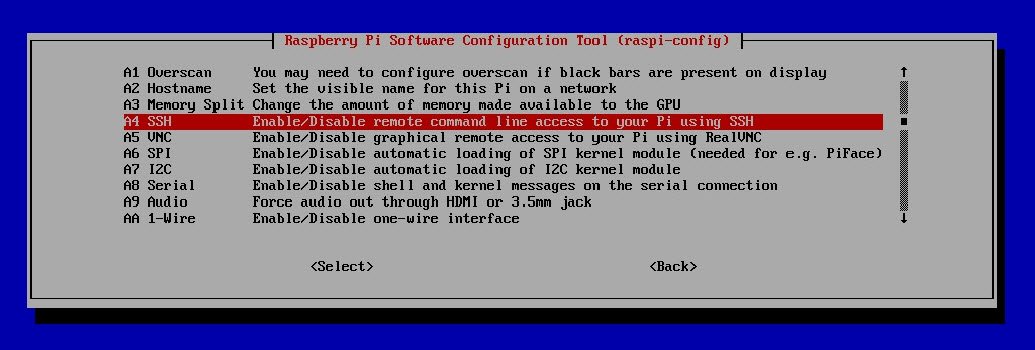
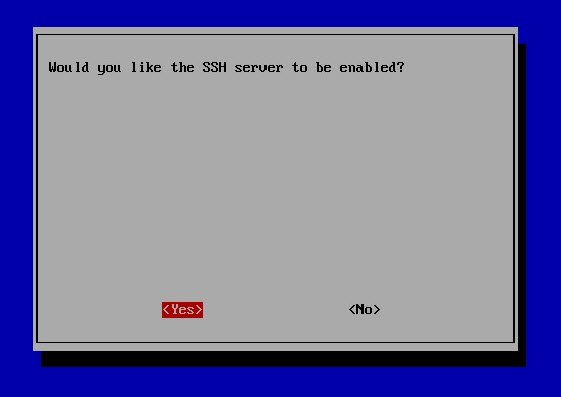
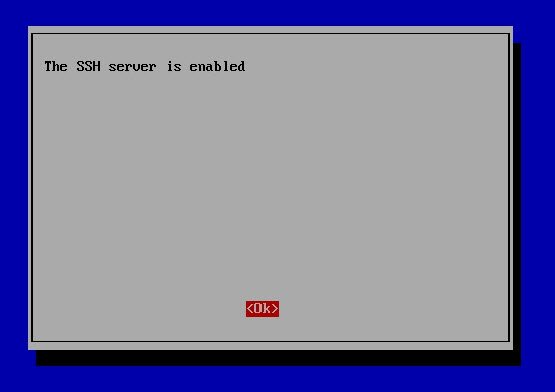
Launch the Rasbperry configuration utility:
# raspi-configFollow the options “7 Advanced Options” – “A4 SSH” – “Yes”
Connect using SSH client
Now use any SSH client like putty, ssh command or the multiprotocol MRemoteNG client (visit my post Sysadmin – Best system administrator tools: MRemoteNG)