Third post of the Home Server series in which I explain how I built my own server.
Visit the first post for details about the objectives of the project.
Maybe you have decided to have your own server and already you are owner of any model as HP Microserver Gen8. Surely there are many more to be done, but these are the configurations that I perform as first steps.
If your are not a Gen8 owner (and for example purchased a Gen10 or any other hardware), although this is not applicable, for sure the next posts will.
BIOS – Date Time and SATA controller
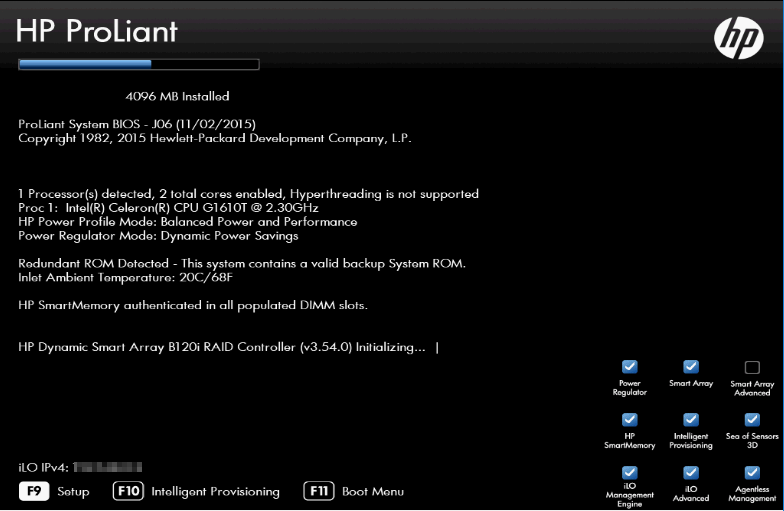
Press <F9> at boot time to open the BIOS menu
Set hardware Date/Time
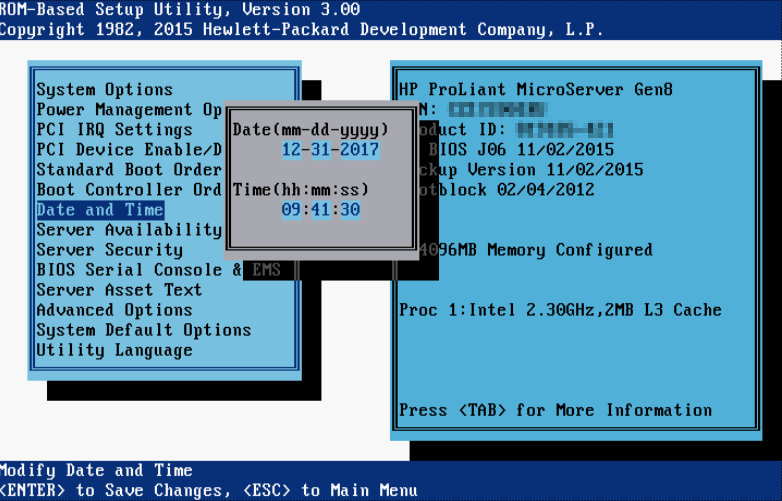
System Options -> SATA Controller Options —– show –>
Enable Dynamic HP Smart Array B120i RAID support
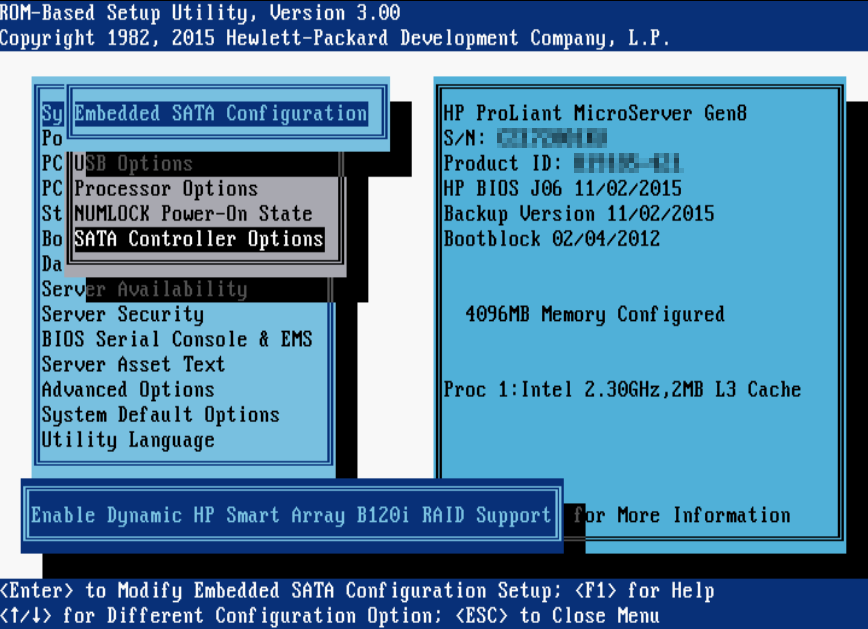
Viene por defecto habilitado pero mejor asegurarse.
ILO – First login
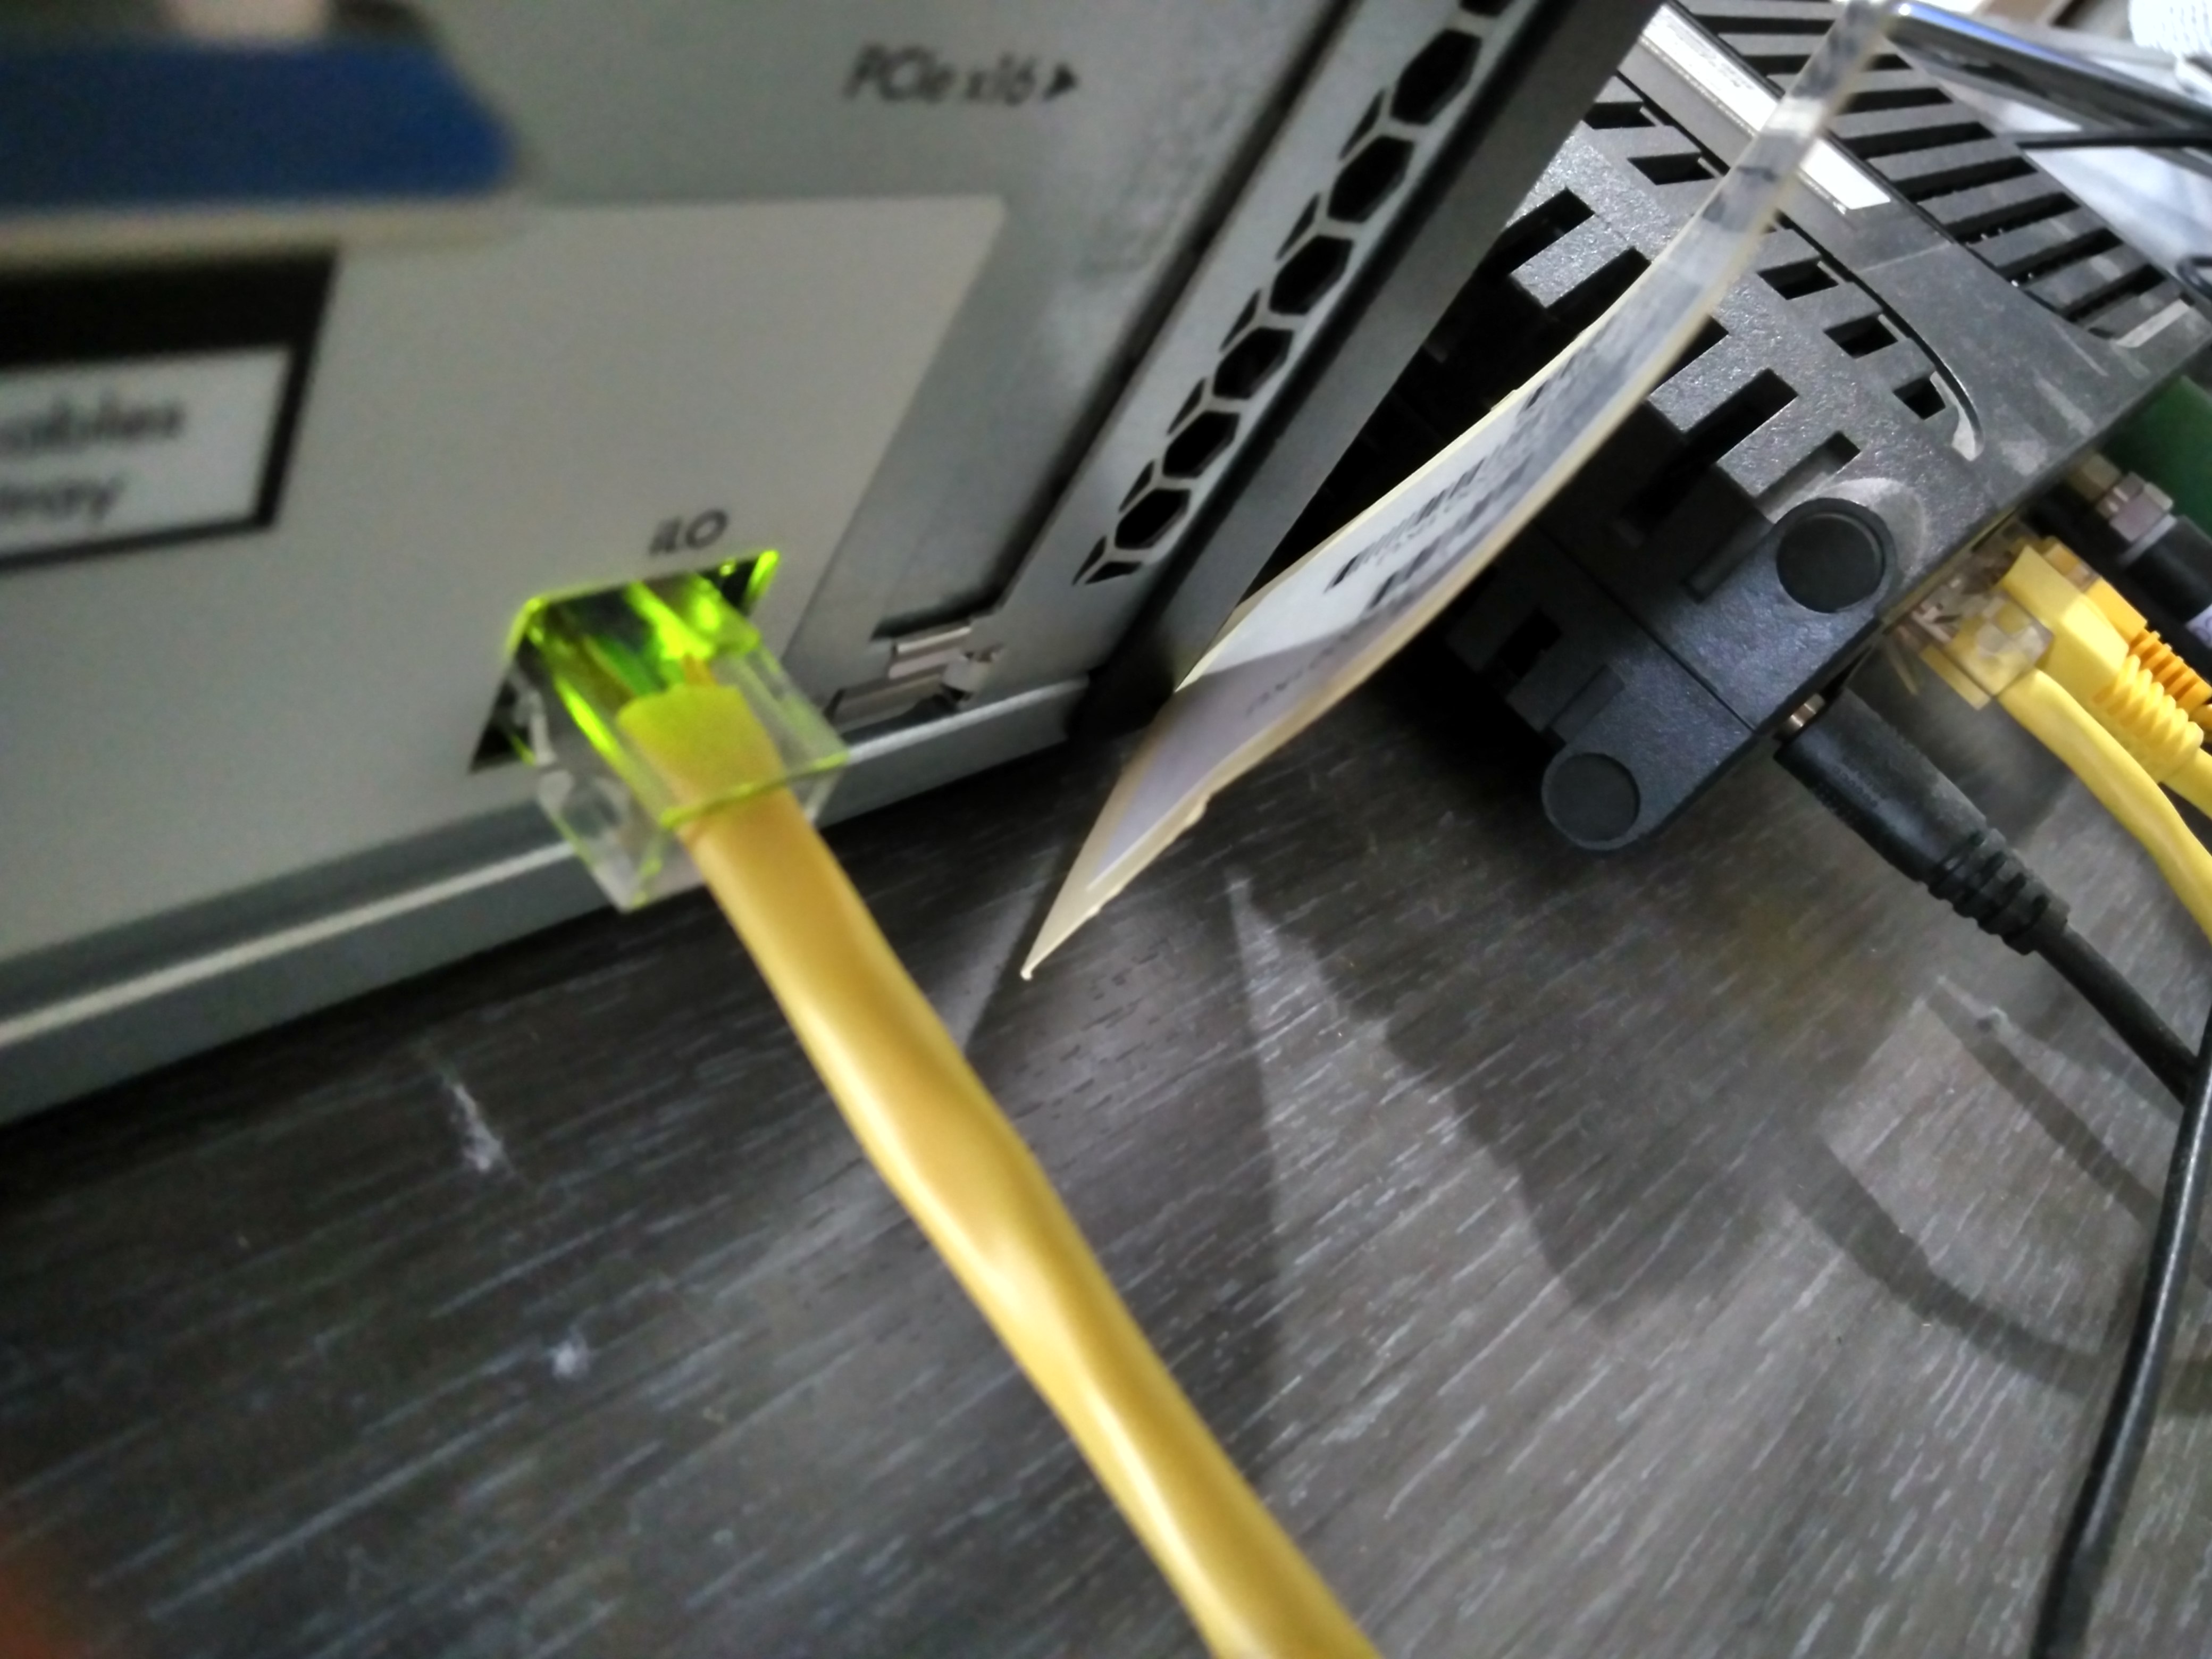
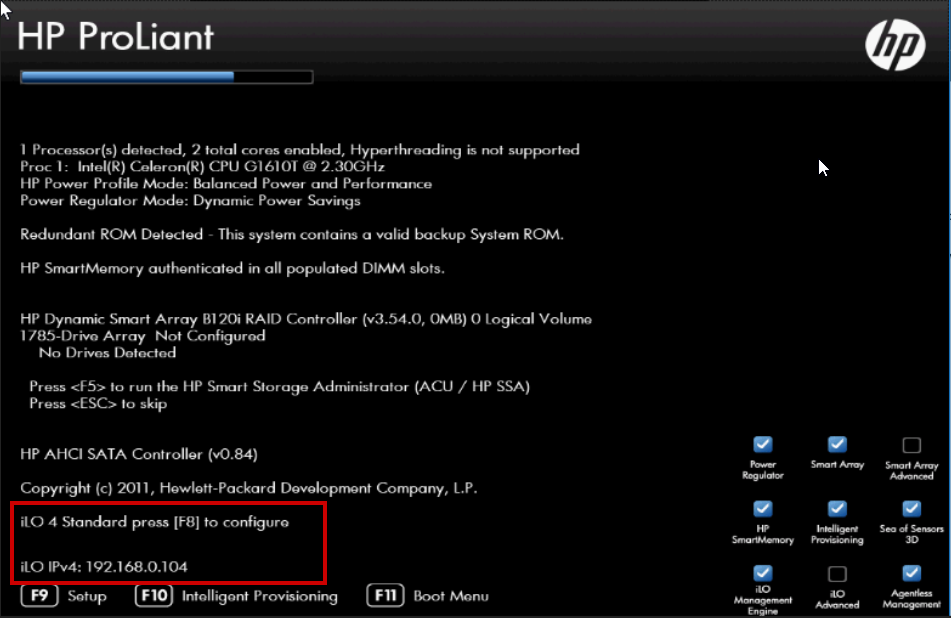
The server comes with ILO DHCP enabled by default. That allows you to connect the iLO port to one of your router ports and it will be assigned one of your local network IPs
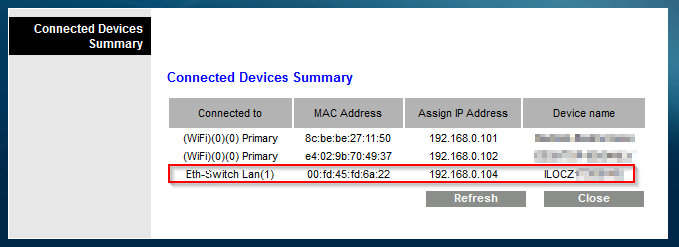
I logged in my router to check the assigned IPs so I discovered the one assigned to iLO (it was 192.168.0.104)
Now you can use a browser to connect to iLO: https://<IP>
For this example: https://192.168.0.104
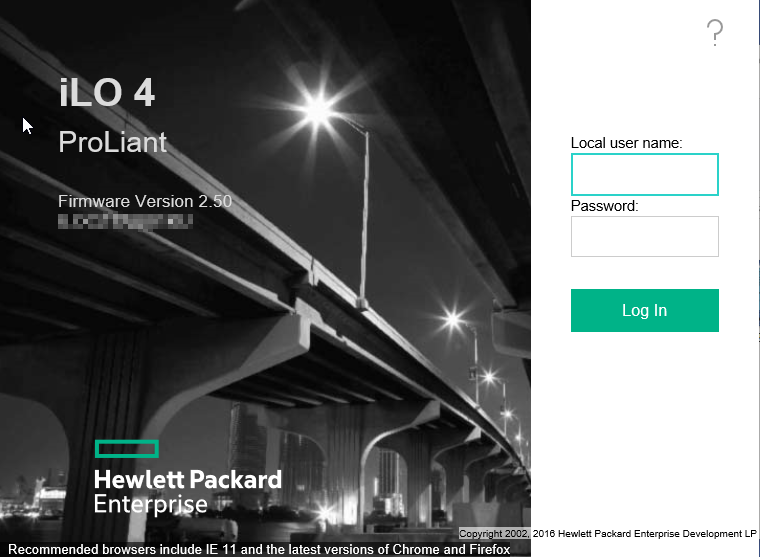
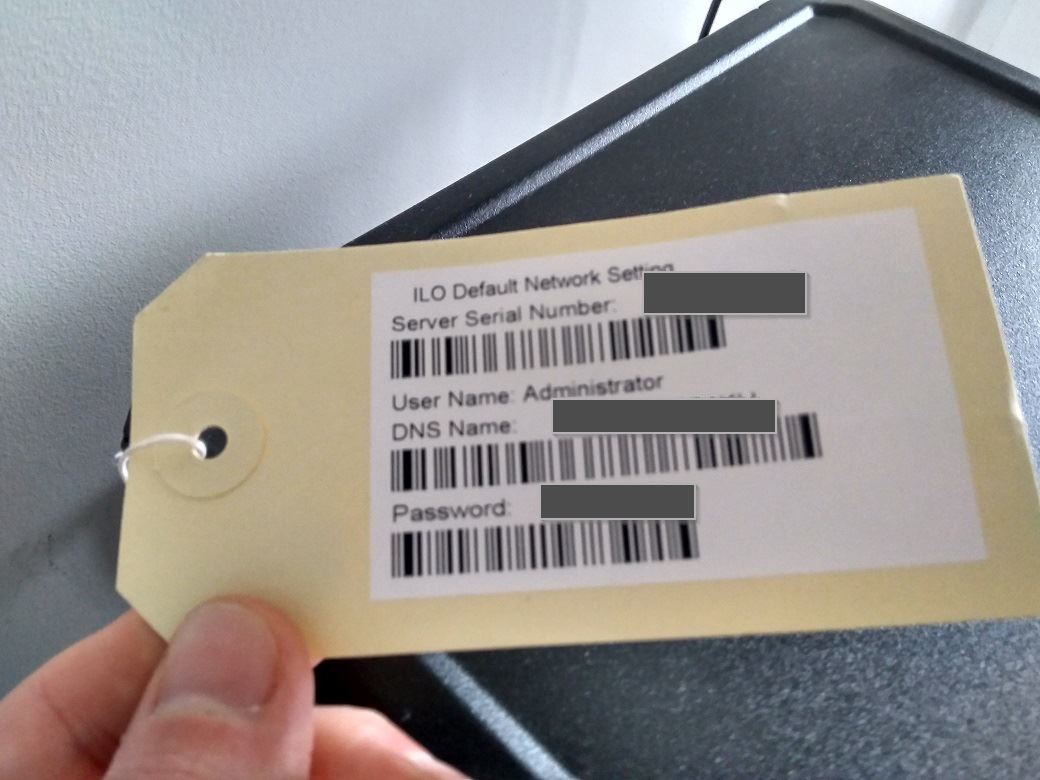
The server comes with a default user whose credentials are written in the paper outside the server…

As you maybe know, one of the best iLO feature is the integrated remote console:
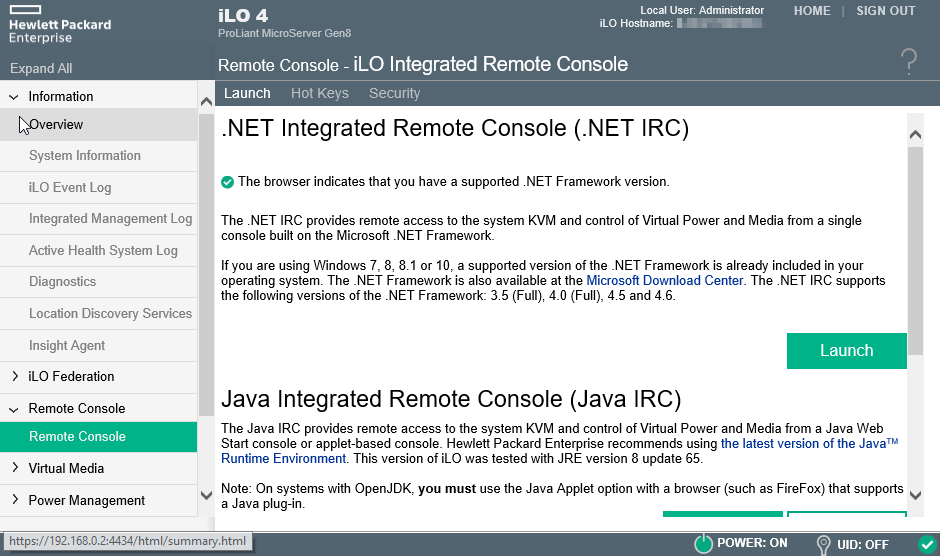
I suggest using Internet Explorer to use the .NET integrated remote console. It works flawless
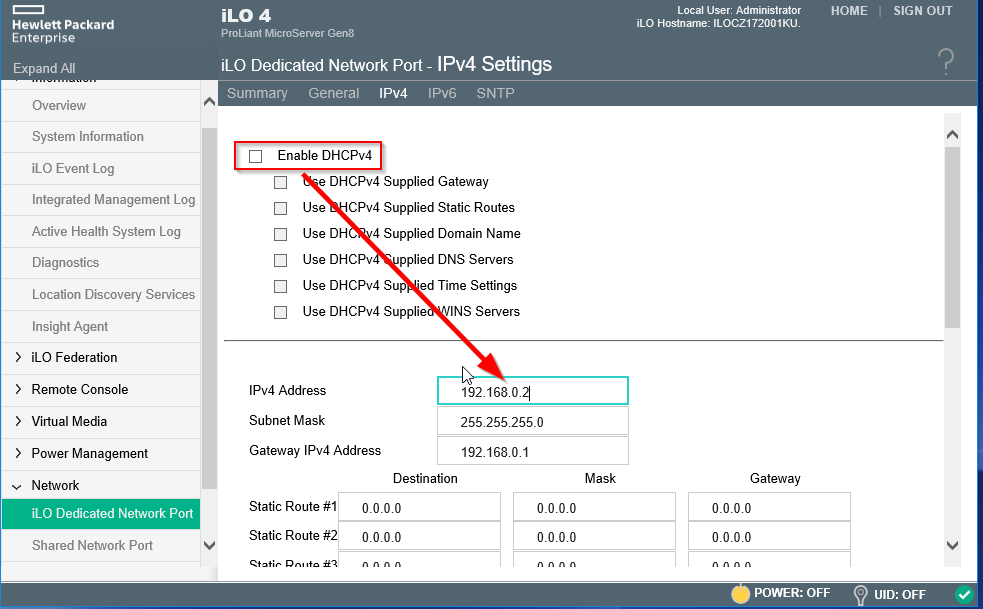
iLO – set static IP
To enable easy access to iLO, I prefer to set static IP assignment.
To do so, you have two ways:
- From the previously showed iLO web GUI (for the first time, this way is easier)
Don’t forget to reserve the IP in your router DHCP settings or using an IP outside the scope of the DHCP pool.
- If you boot the server while having the console open (integrated remote console), you can open the iLo configuration menu by pressing <F8>
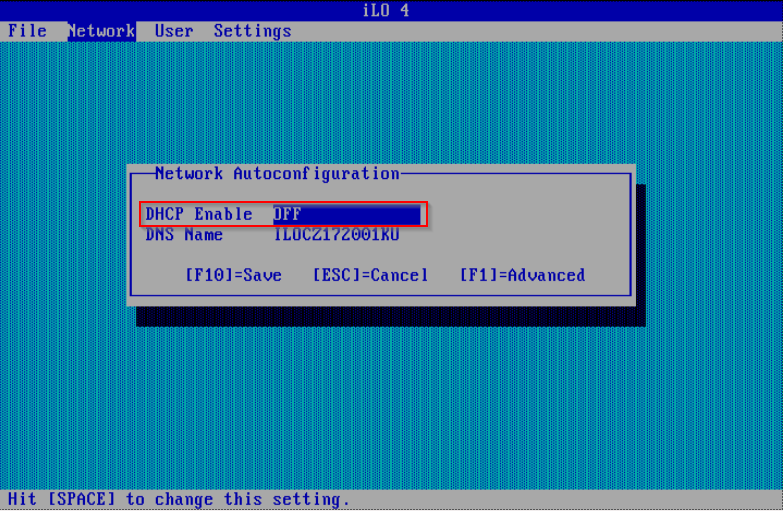
Then you can disable DHCP…
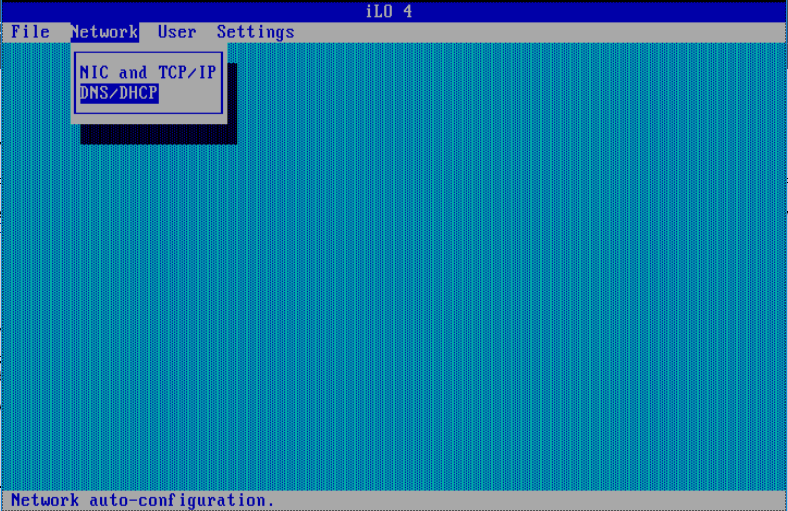
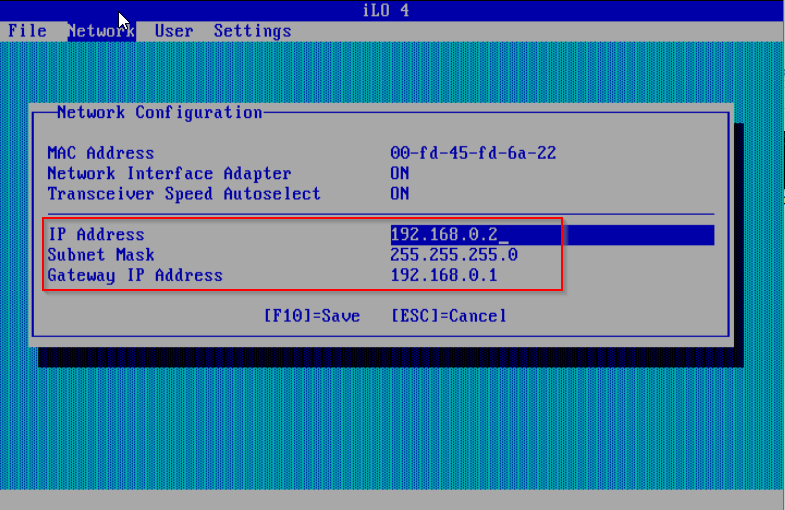
And set the static IP
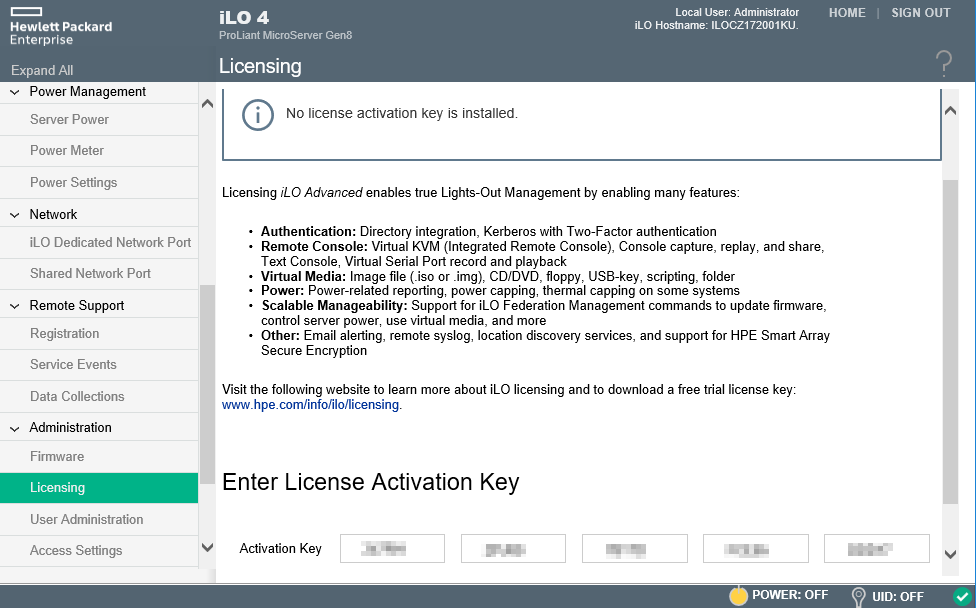
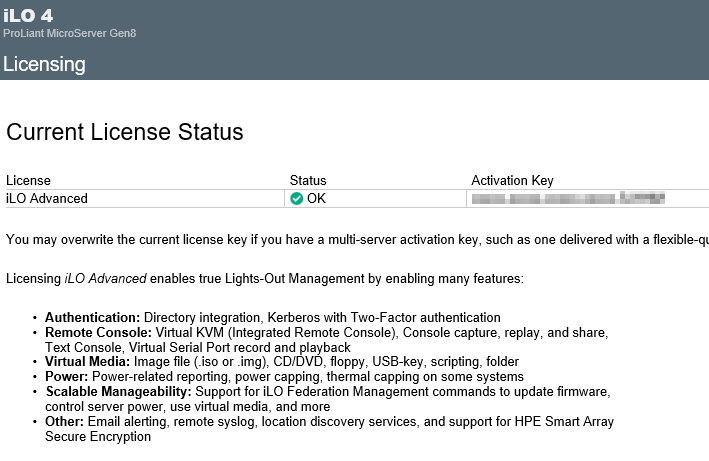
iLO – licensing
Im not going to tell how I got a iLO advanced license but I suggest to get one and enter it to enable feautires like remote console…
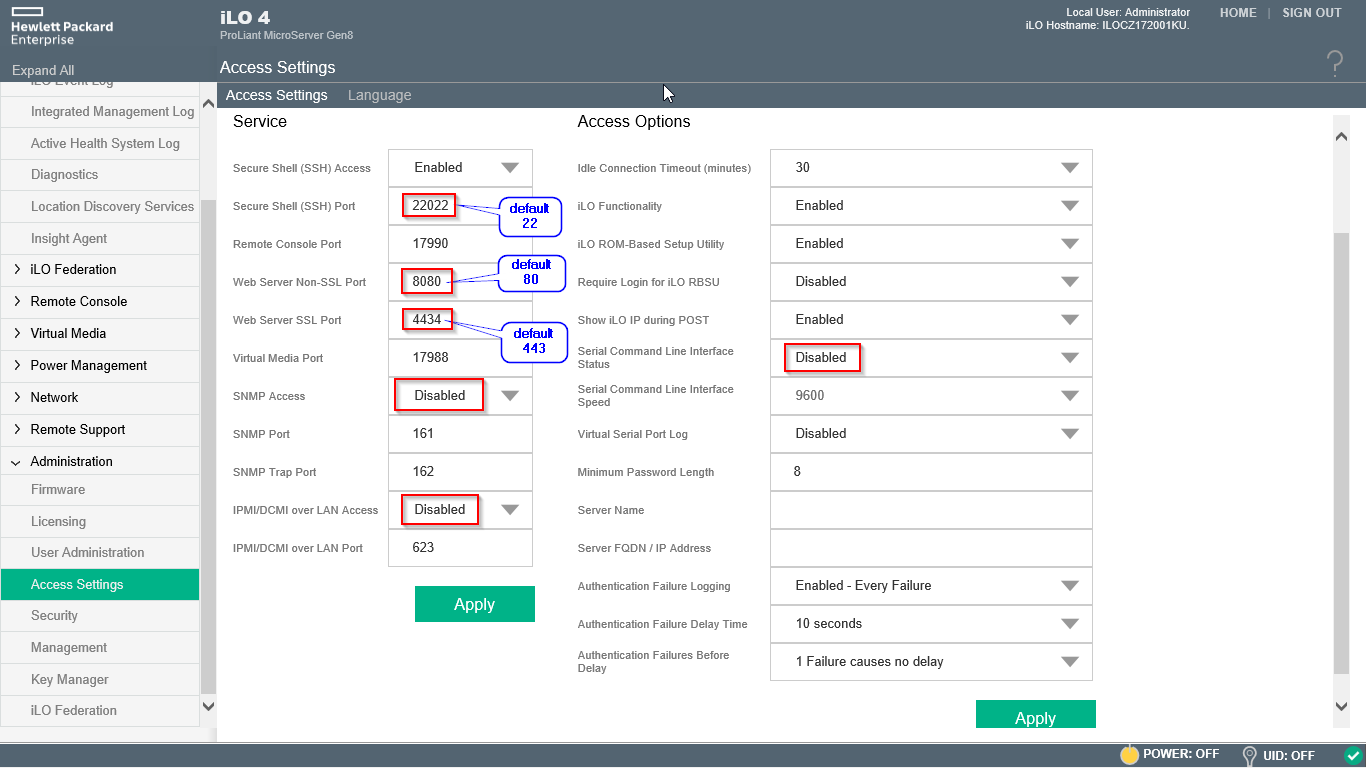
iLO – Default ports and services
This is a more common and known best practice for the servers themselves, but I have also applied it on iLO. iLO offers connection via WEB and SSH, SNMP, …
Disabling the services you don’t need and changing the default ports is easy and useful.
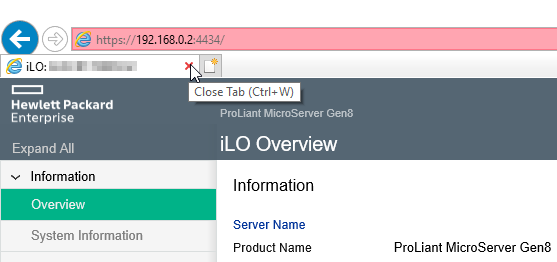
After applying this example changes, to connect via web…
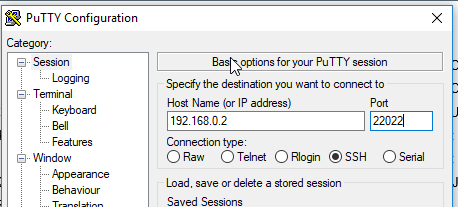
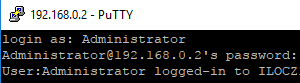
or SSH
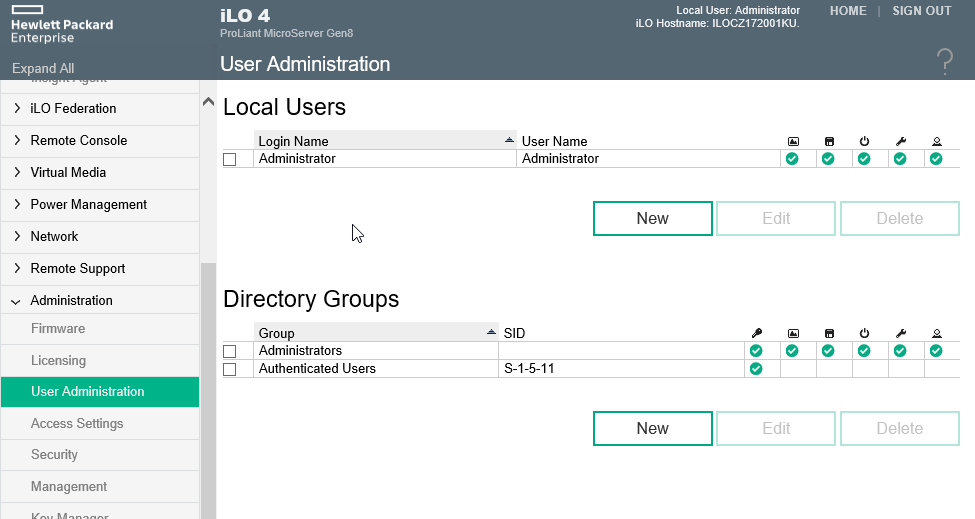
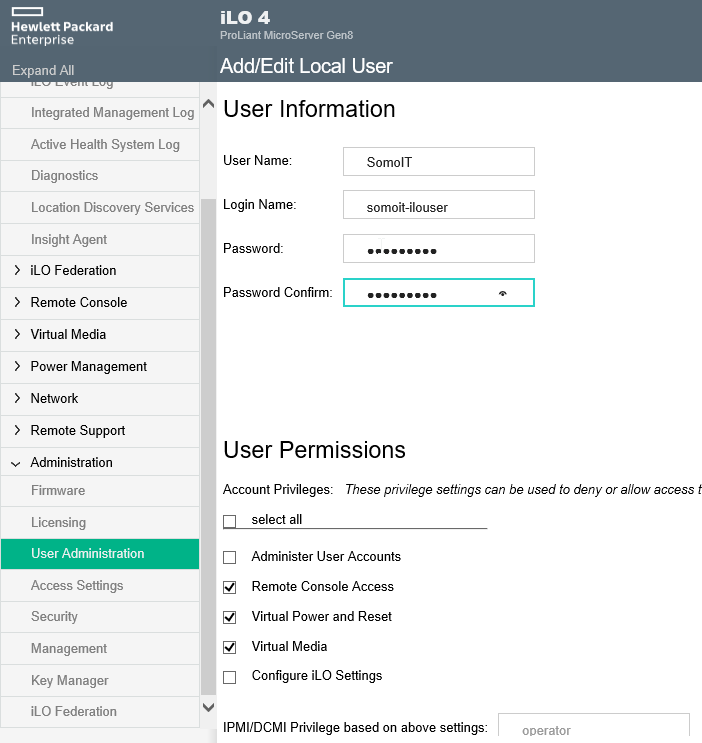
iLO – add a new user
I don’t think this step really necessary. Anyway, if you want to create a new user instead of using the default administrator password, granting the permissions you want