In a previous post I showed how to upgrade your laptop HDD (Hard Disk Drive) to an SSD (Solid State Drive) to boost up performance. In this post, instead of removing the HDD, it will placed in the DVD bay to be used as a second storage.

Given that the use of ODD (Optical Disk Drive) to read or write DVDs and CDs is normally done sporadically compared to the use of an external disk, I think this is a better solution because the laptop will have internally both disks installed (SSD + HDD) and the DVD drive would be used as an external drive with a SATA to USB adapter.
This post is a howto or tutorial applied to a Dell Inspiron 5559, but although each laptop has its particularities, I would like this post to be used as a general guide. Ensure you find your laptop specifications, intructions to extract the disk, and then you just have to find and buy the right material, clone the current disc and exchange it with the new SSD by following these steps:
Have separate system data and other files (optional)
Even when you are not planning to use an SSD drive, i always try to use different disks (or partitions in the same disk): one for SYSTEM (Operating System and programs) and another for DATA (multimedia files, documents, etc…).
If I want to format and reinstall my OS, i can be pretty sure that my data files will not be erased.
Related to upgrading to SSD, large size SSDs are too really expensive. So, given that most of the performance is gained when booting the OS and the programs, the idea is using the SSD as SYSTEM disk and the HDD for DATA files.
Buy the SSD Disk
Most notebooks have 2.5 “inch discs. If your case is an ultra-thin notebook, it may be 1.8 ”.
The thicknesses can also vary and be 7mm or 9.5mm. Anyway, normally 7mm can be used in 9.5mm slot.
The main thing is to make sure in the specifications of your laptop.
In the case of my Dell Inspiron 5559:
http://downloads.dell.com/manuals/all-products/esuprt_laptop/esuprt_inspiron_laptop/inspiron-15-5559-laptop_reference%20guide_en-us.pdf
Storage
---------
Interface SATA 6 Gbps
Hard drive One 2.5‑inch drive (supports Intel Smart Response Technology)
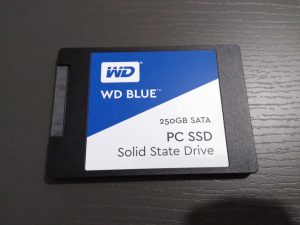
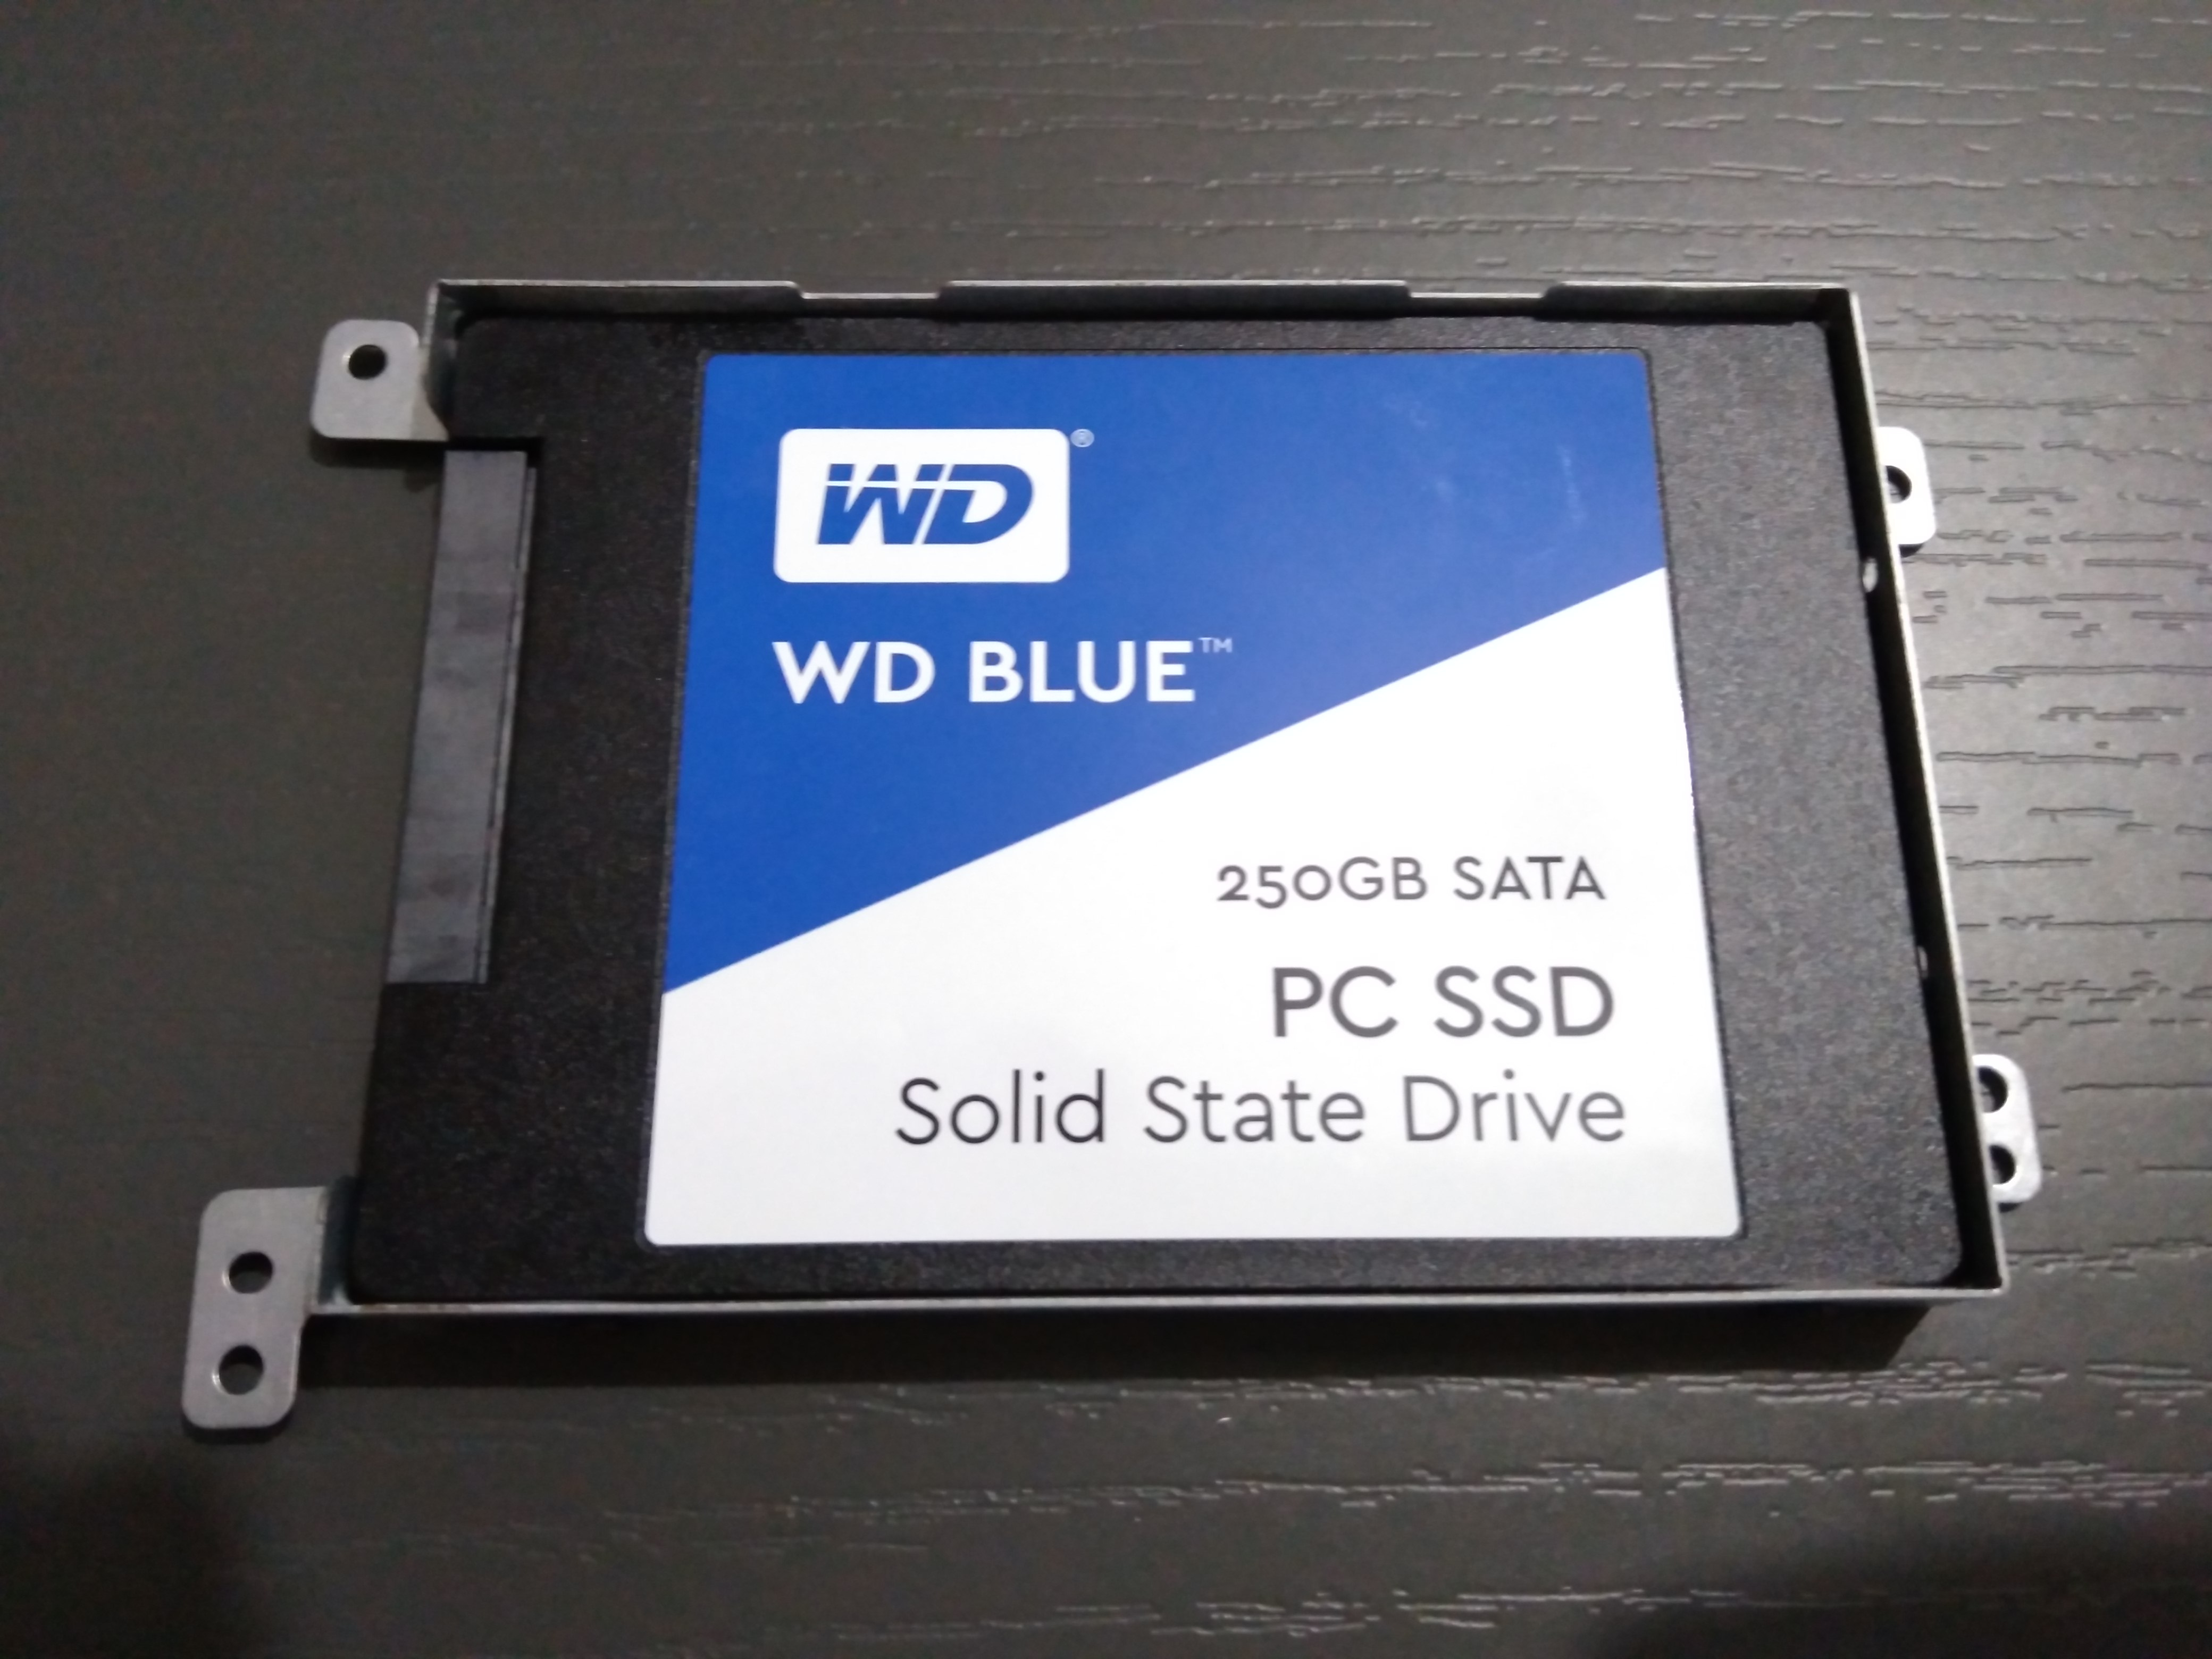
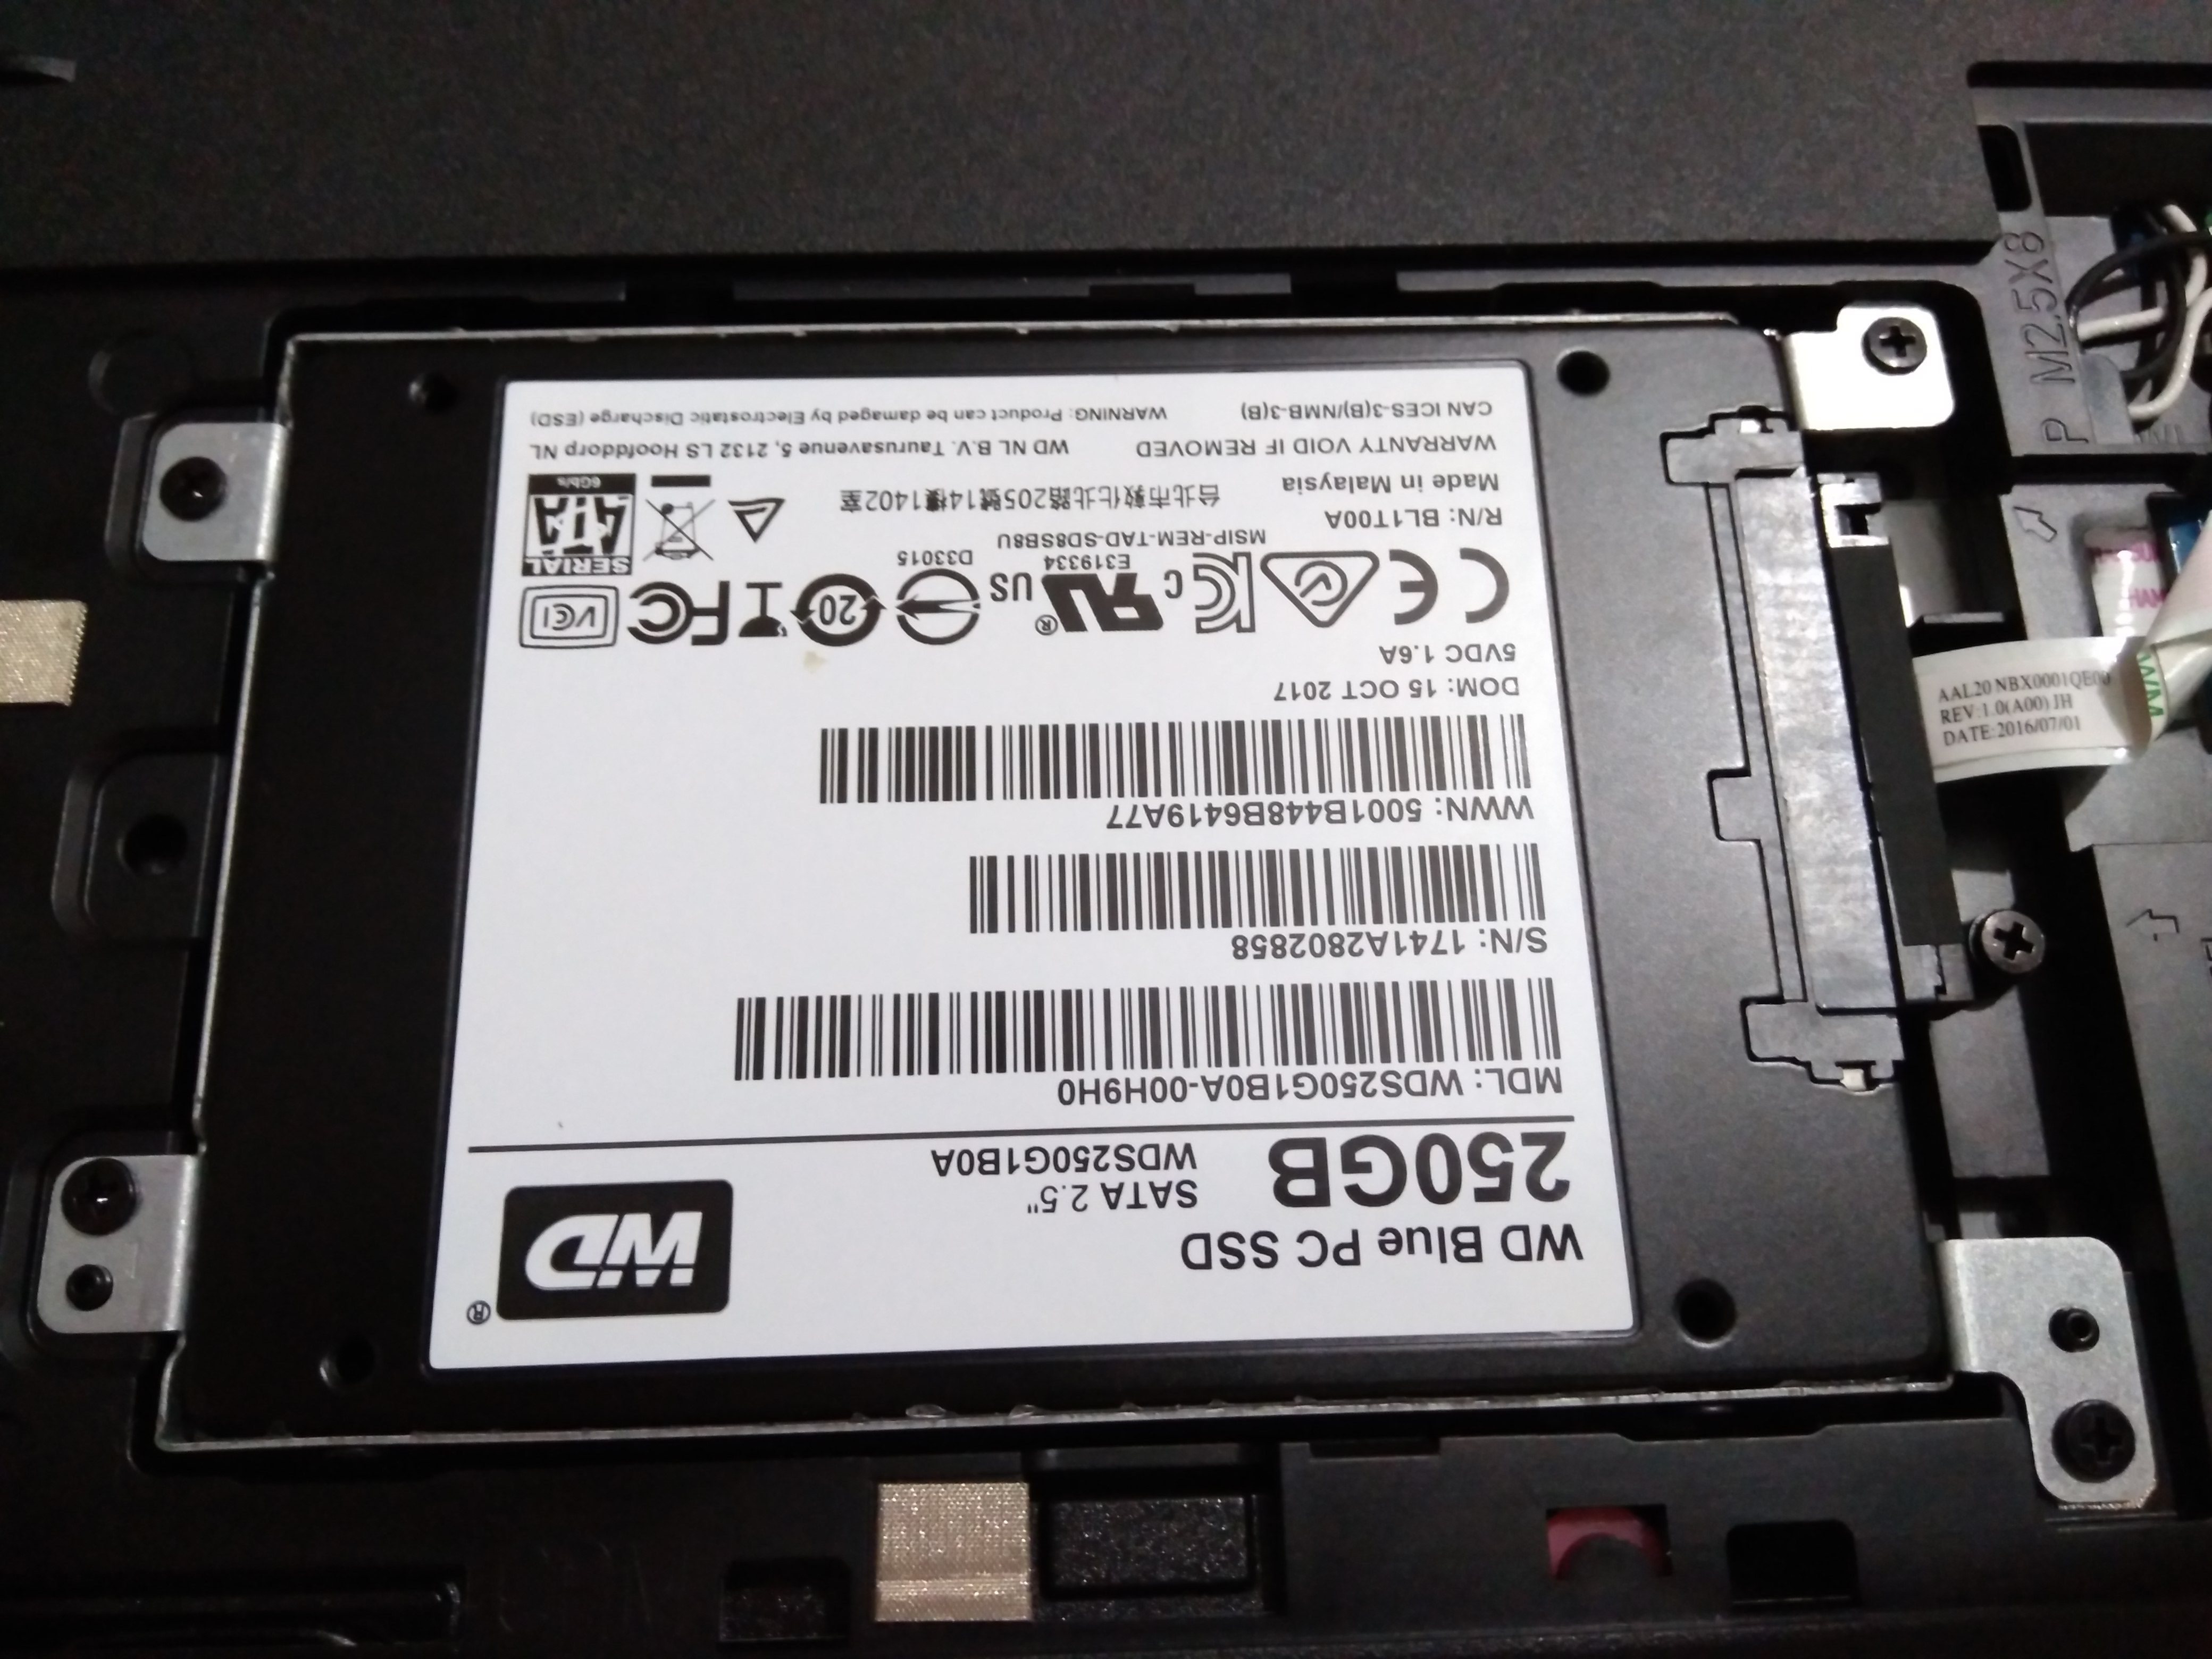
Optical drive One 9.5 mm DVD +/‑ RW driveTherefore, a 2.5 ” inch SSD would fix in my Dell. Depending on the disk or partition we are going to clone, select an SSD disk size enough to contain all that data. Even though with one of 120 GB it was enough for me, I decided to buy this 250 GB model that had a good price:

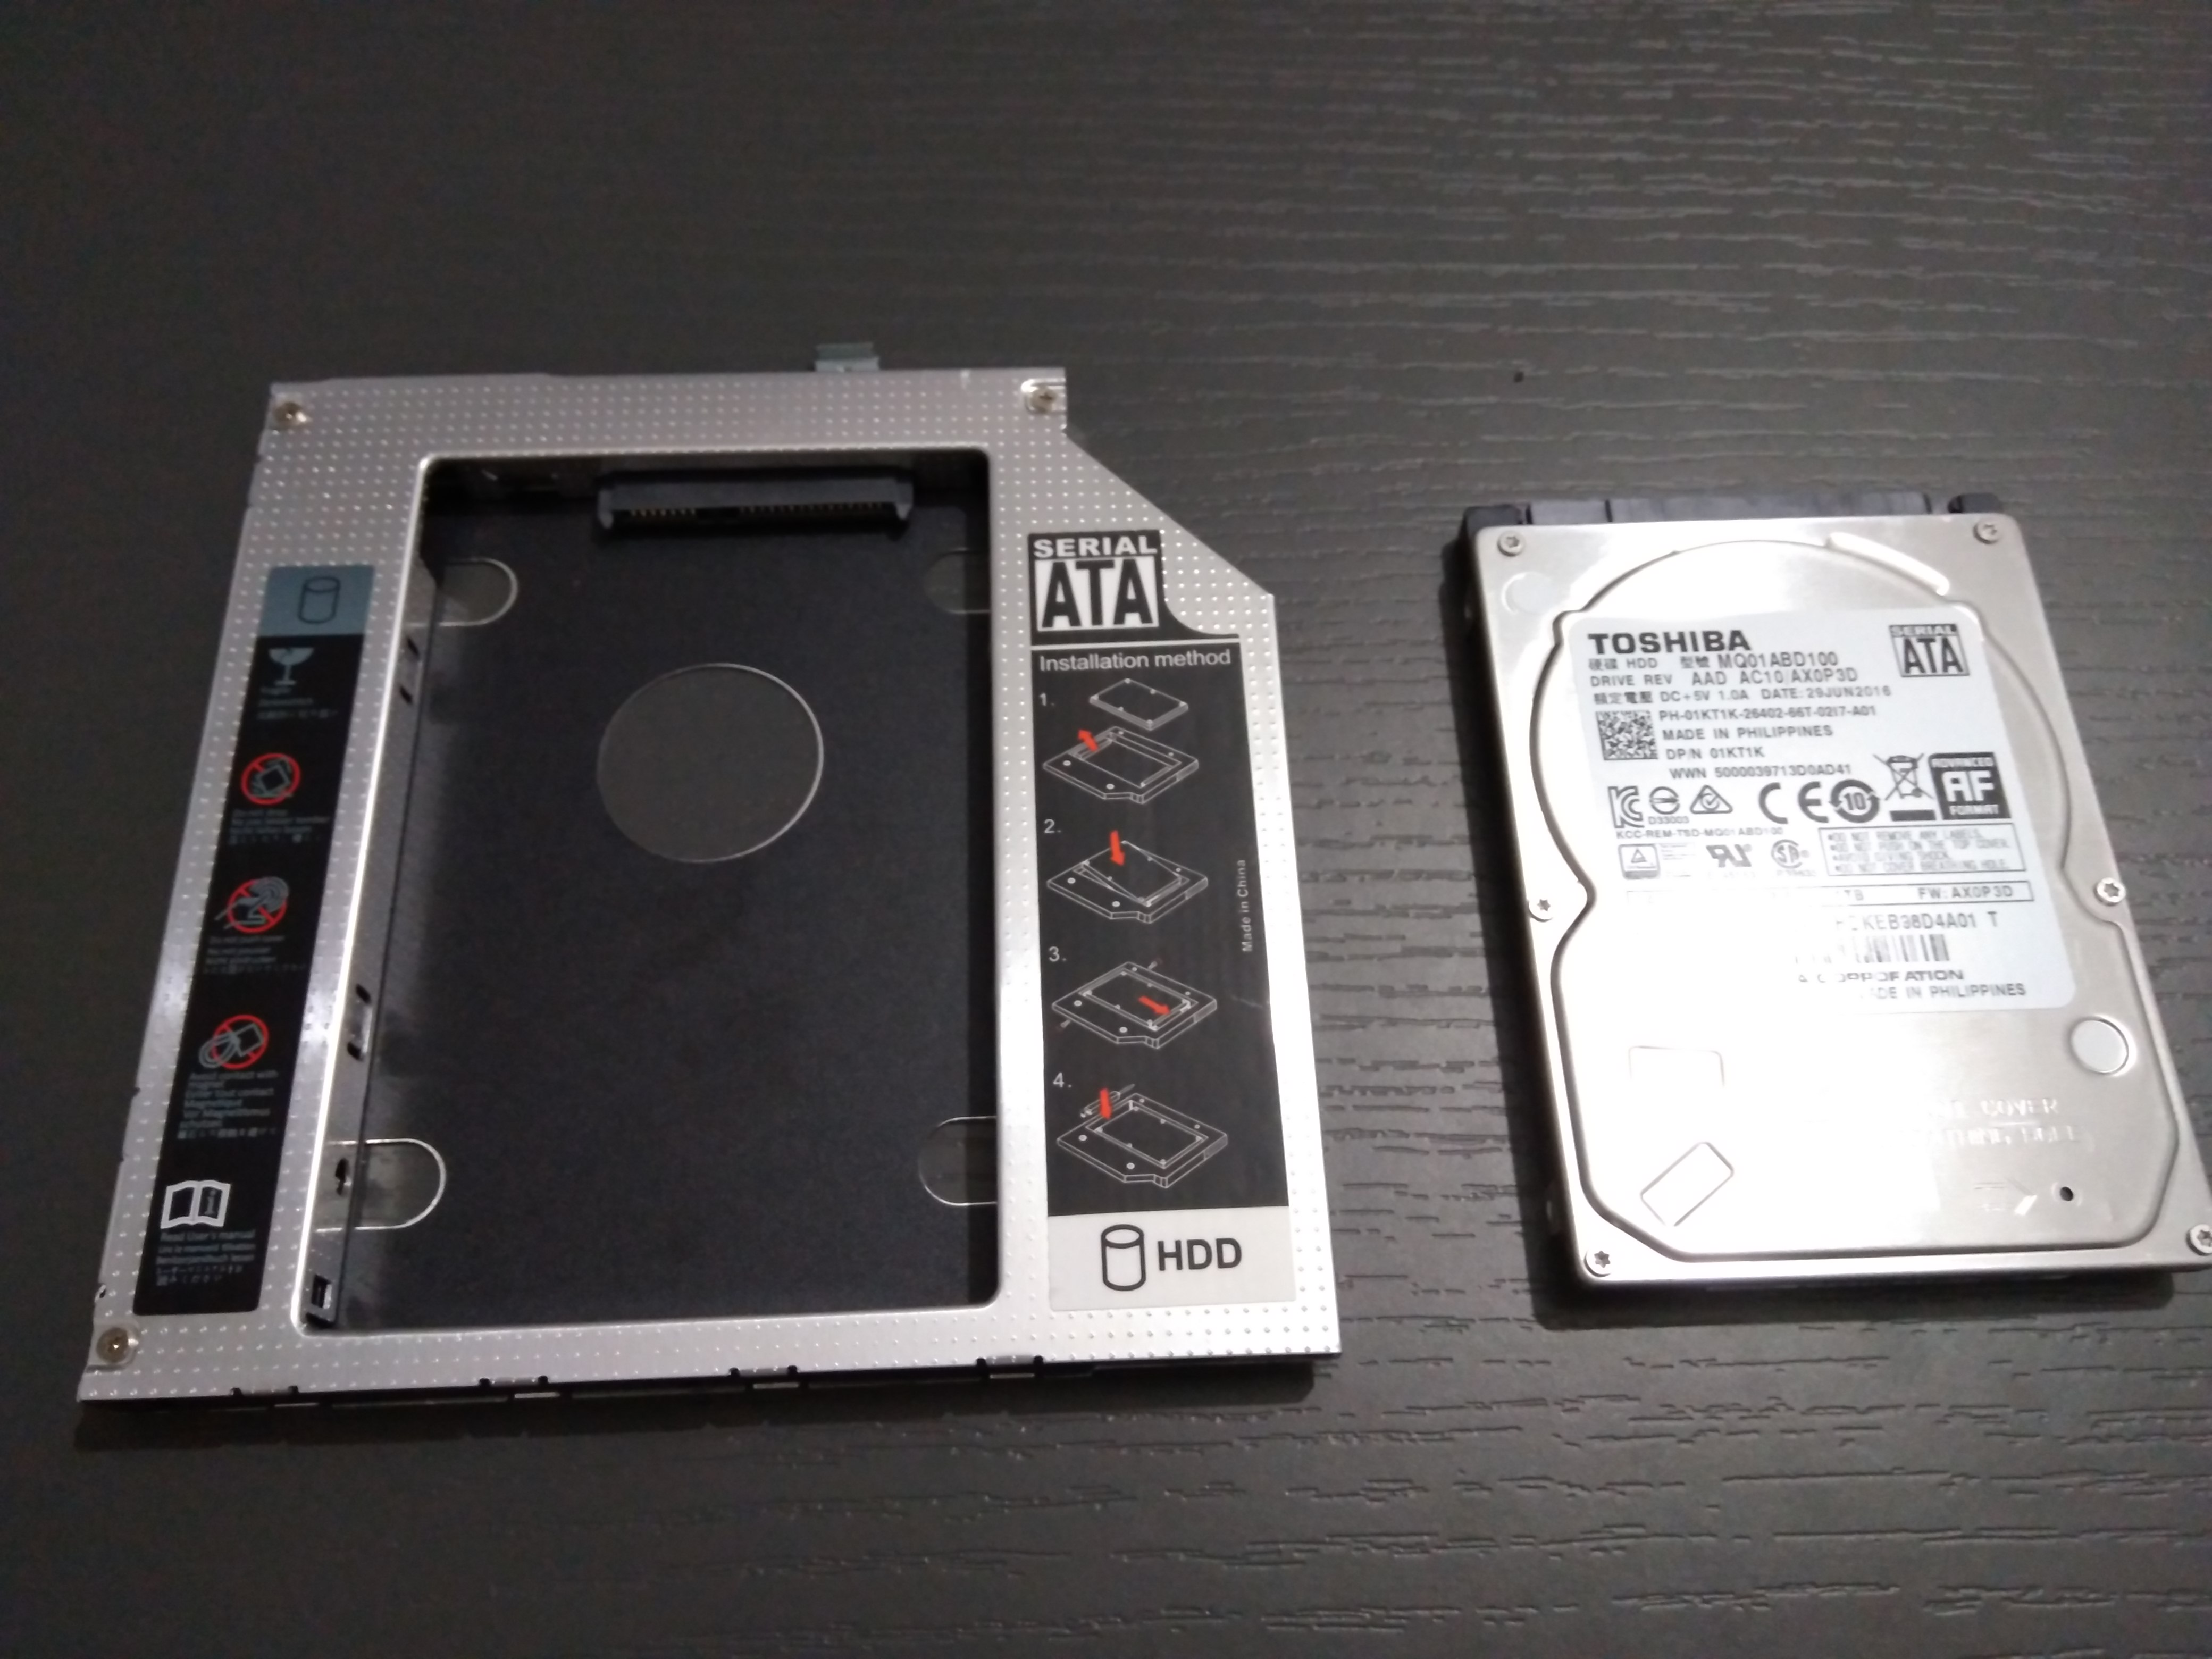
Buy HDD caddy for DVD bay
We need this adapter that allows accesing a SATA disk via USB for two main reasons:
– During the migration, to allow cloning from the actual HDD drive to the SSD drive (the SSD will be in the ODD bay during the cloning process).
– After the cloning and installation of the SSD, to install the HDD drive in DVD drive bay
Another option was replacing the HDD by the SSD and leave the DVD in the laptop.
This is covered in a previous post: HW – Upgrade laptop with an SSD drive
It is very important to ensure the size of the ODD: 9.5 or 12.7 mm.
The adapter is different for each size. For Dell Inspiron 5559 is 9.5mm:
Storage
---------
Interface SATA 6 Gbps
Hard drive One 2.5‑inch drive (supports Intel Smart Response Technology)
Optical drive One 9.5 mm DVD +/‑ RW drive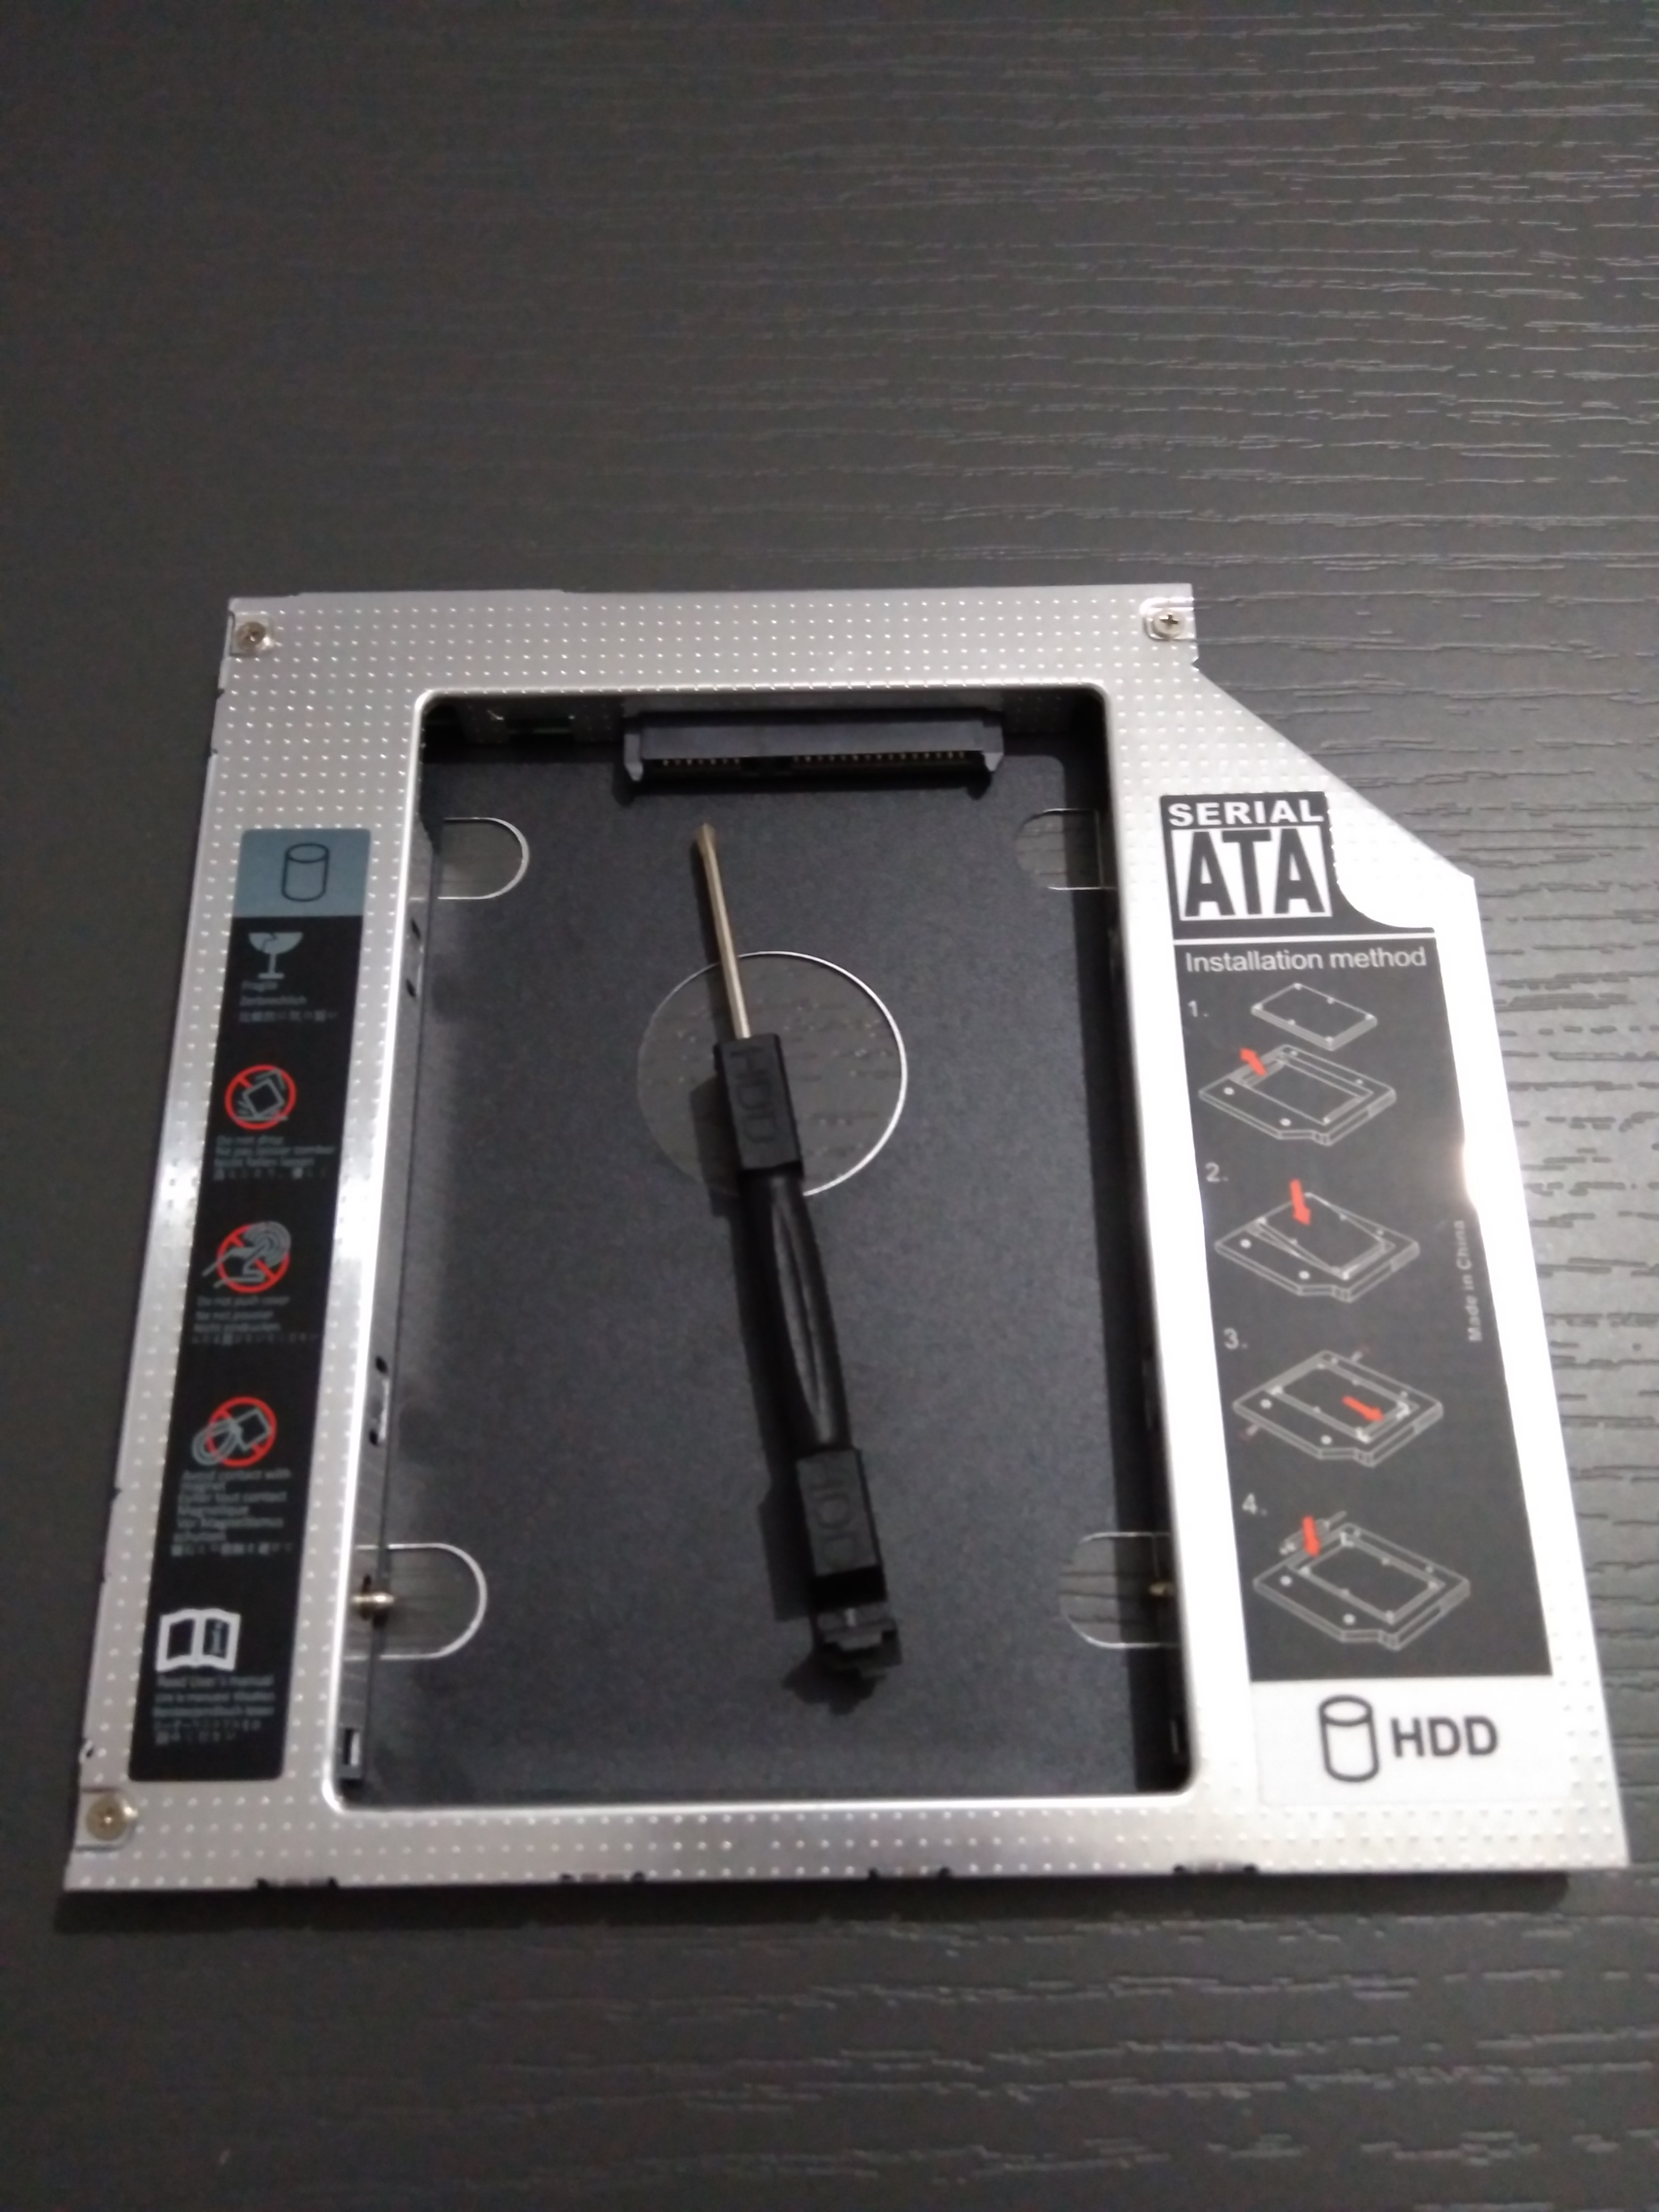
Buy Caddy 9.5 (Dell Inspiron 5559, etc…)
Buy Caddy 12.7
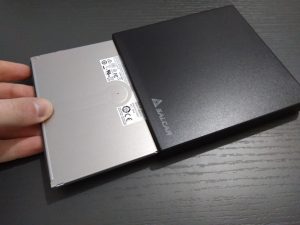
Buy External DVD adapter (optional)
The SATA to USB adapter for DVD allows us to use externally the internal optical drive that came with the laptop. Simple and useful. If you dont want to use the DVD anymore, or you prefer to sell it, it is not neccesary to buy this adapter.
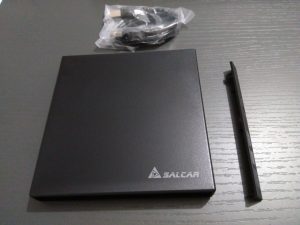
Buy SATA to USB ODD Adapter 9.5 (Dell Inspiron 5559, etc…)
Buy SATA to USB ODD Adapter 12.7
Clone disk
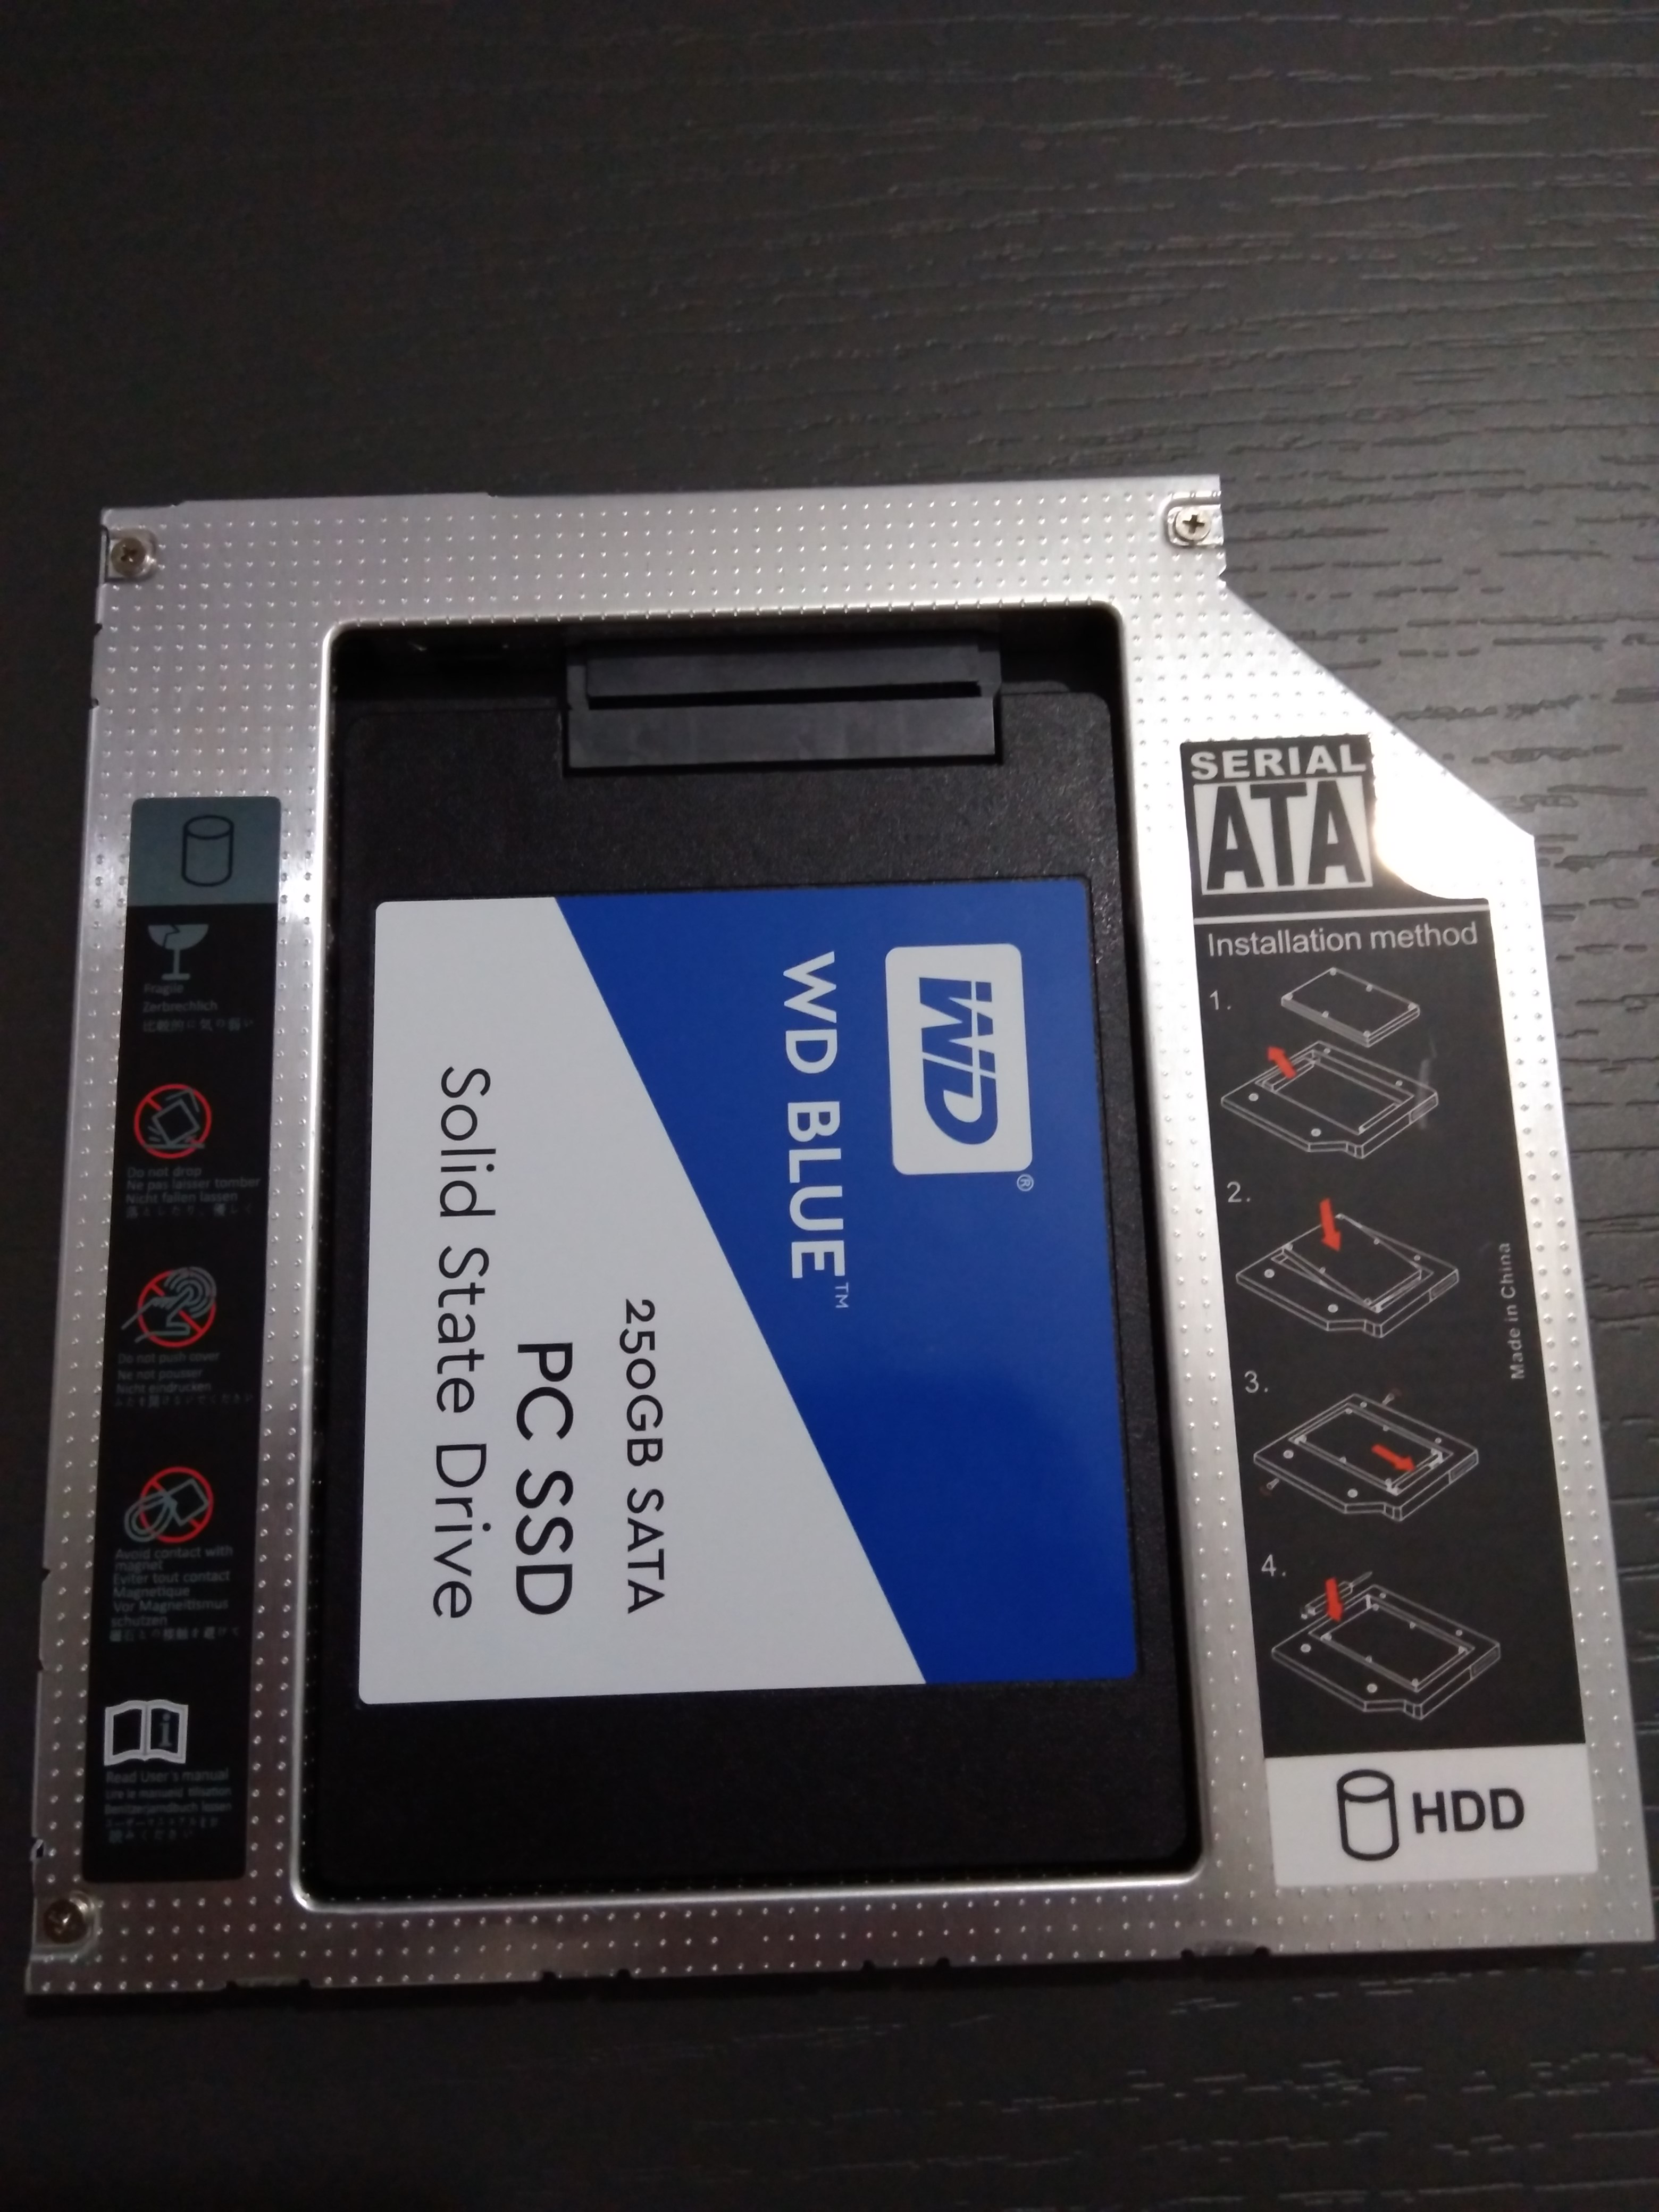
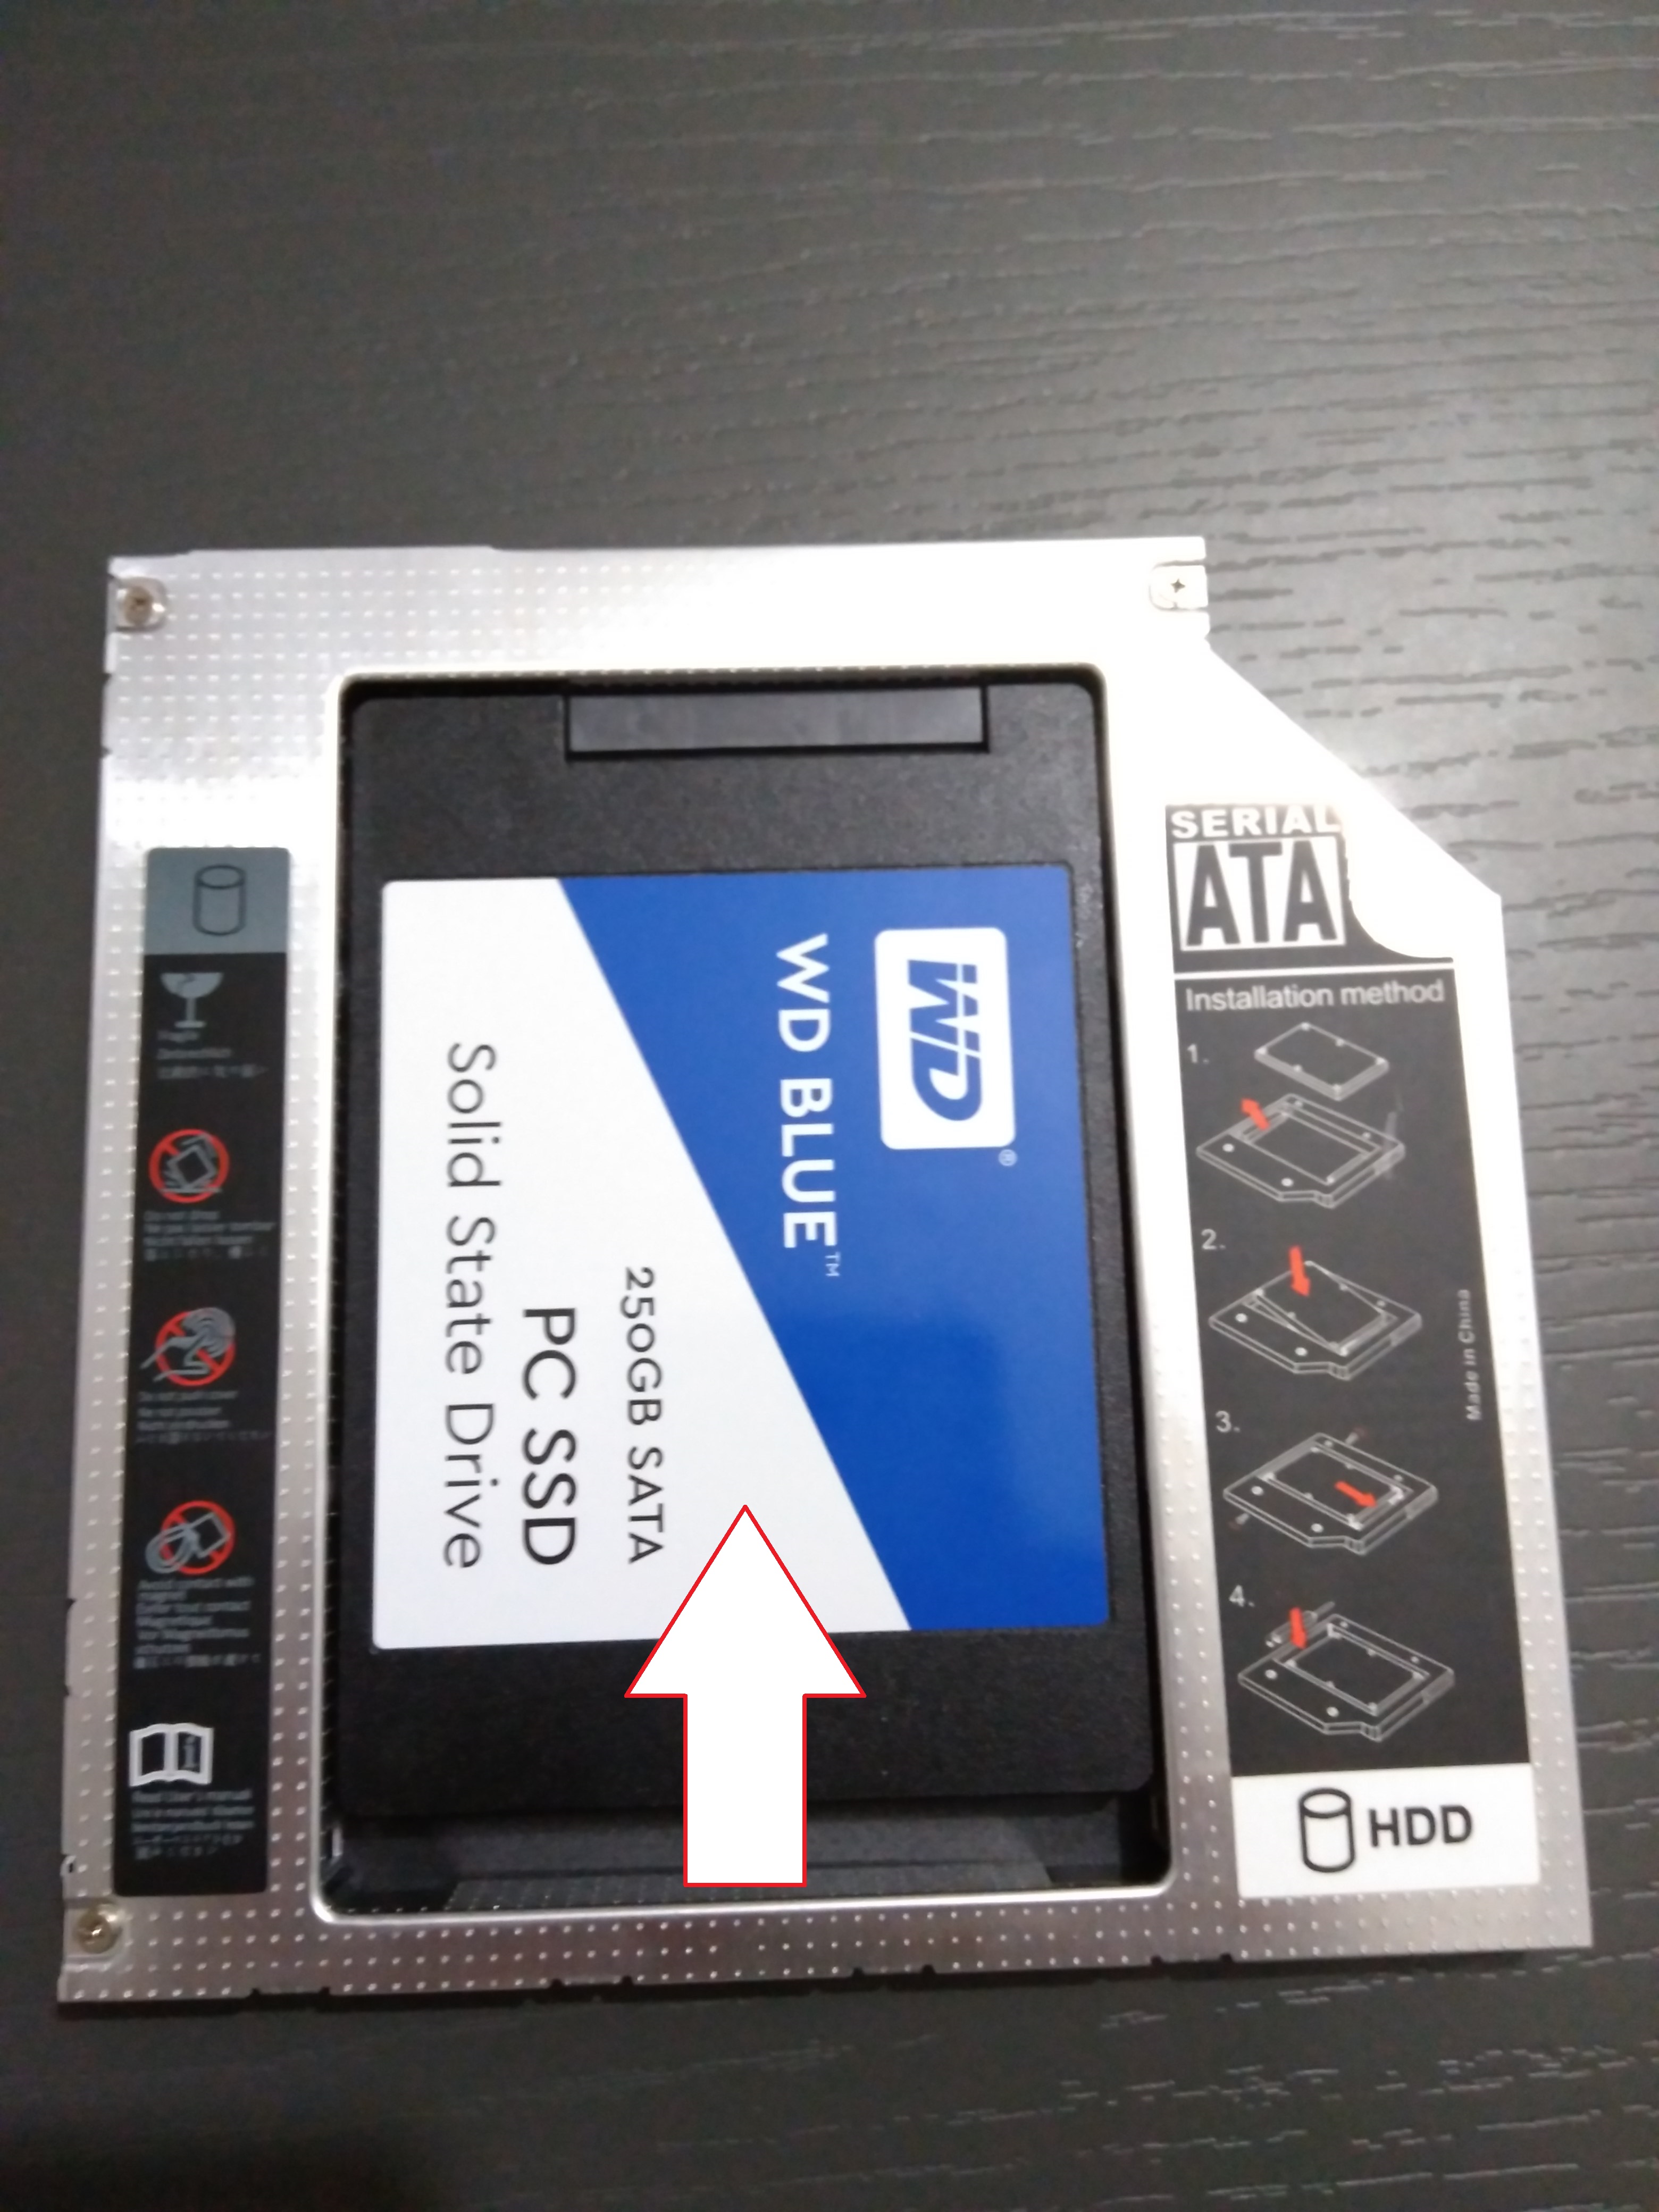
Insert SSD in the HDD caddy
First of all, loosen the screws to allow placing the SSD inside the caddy
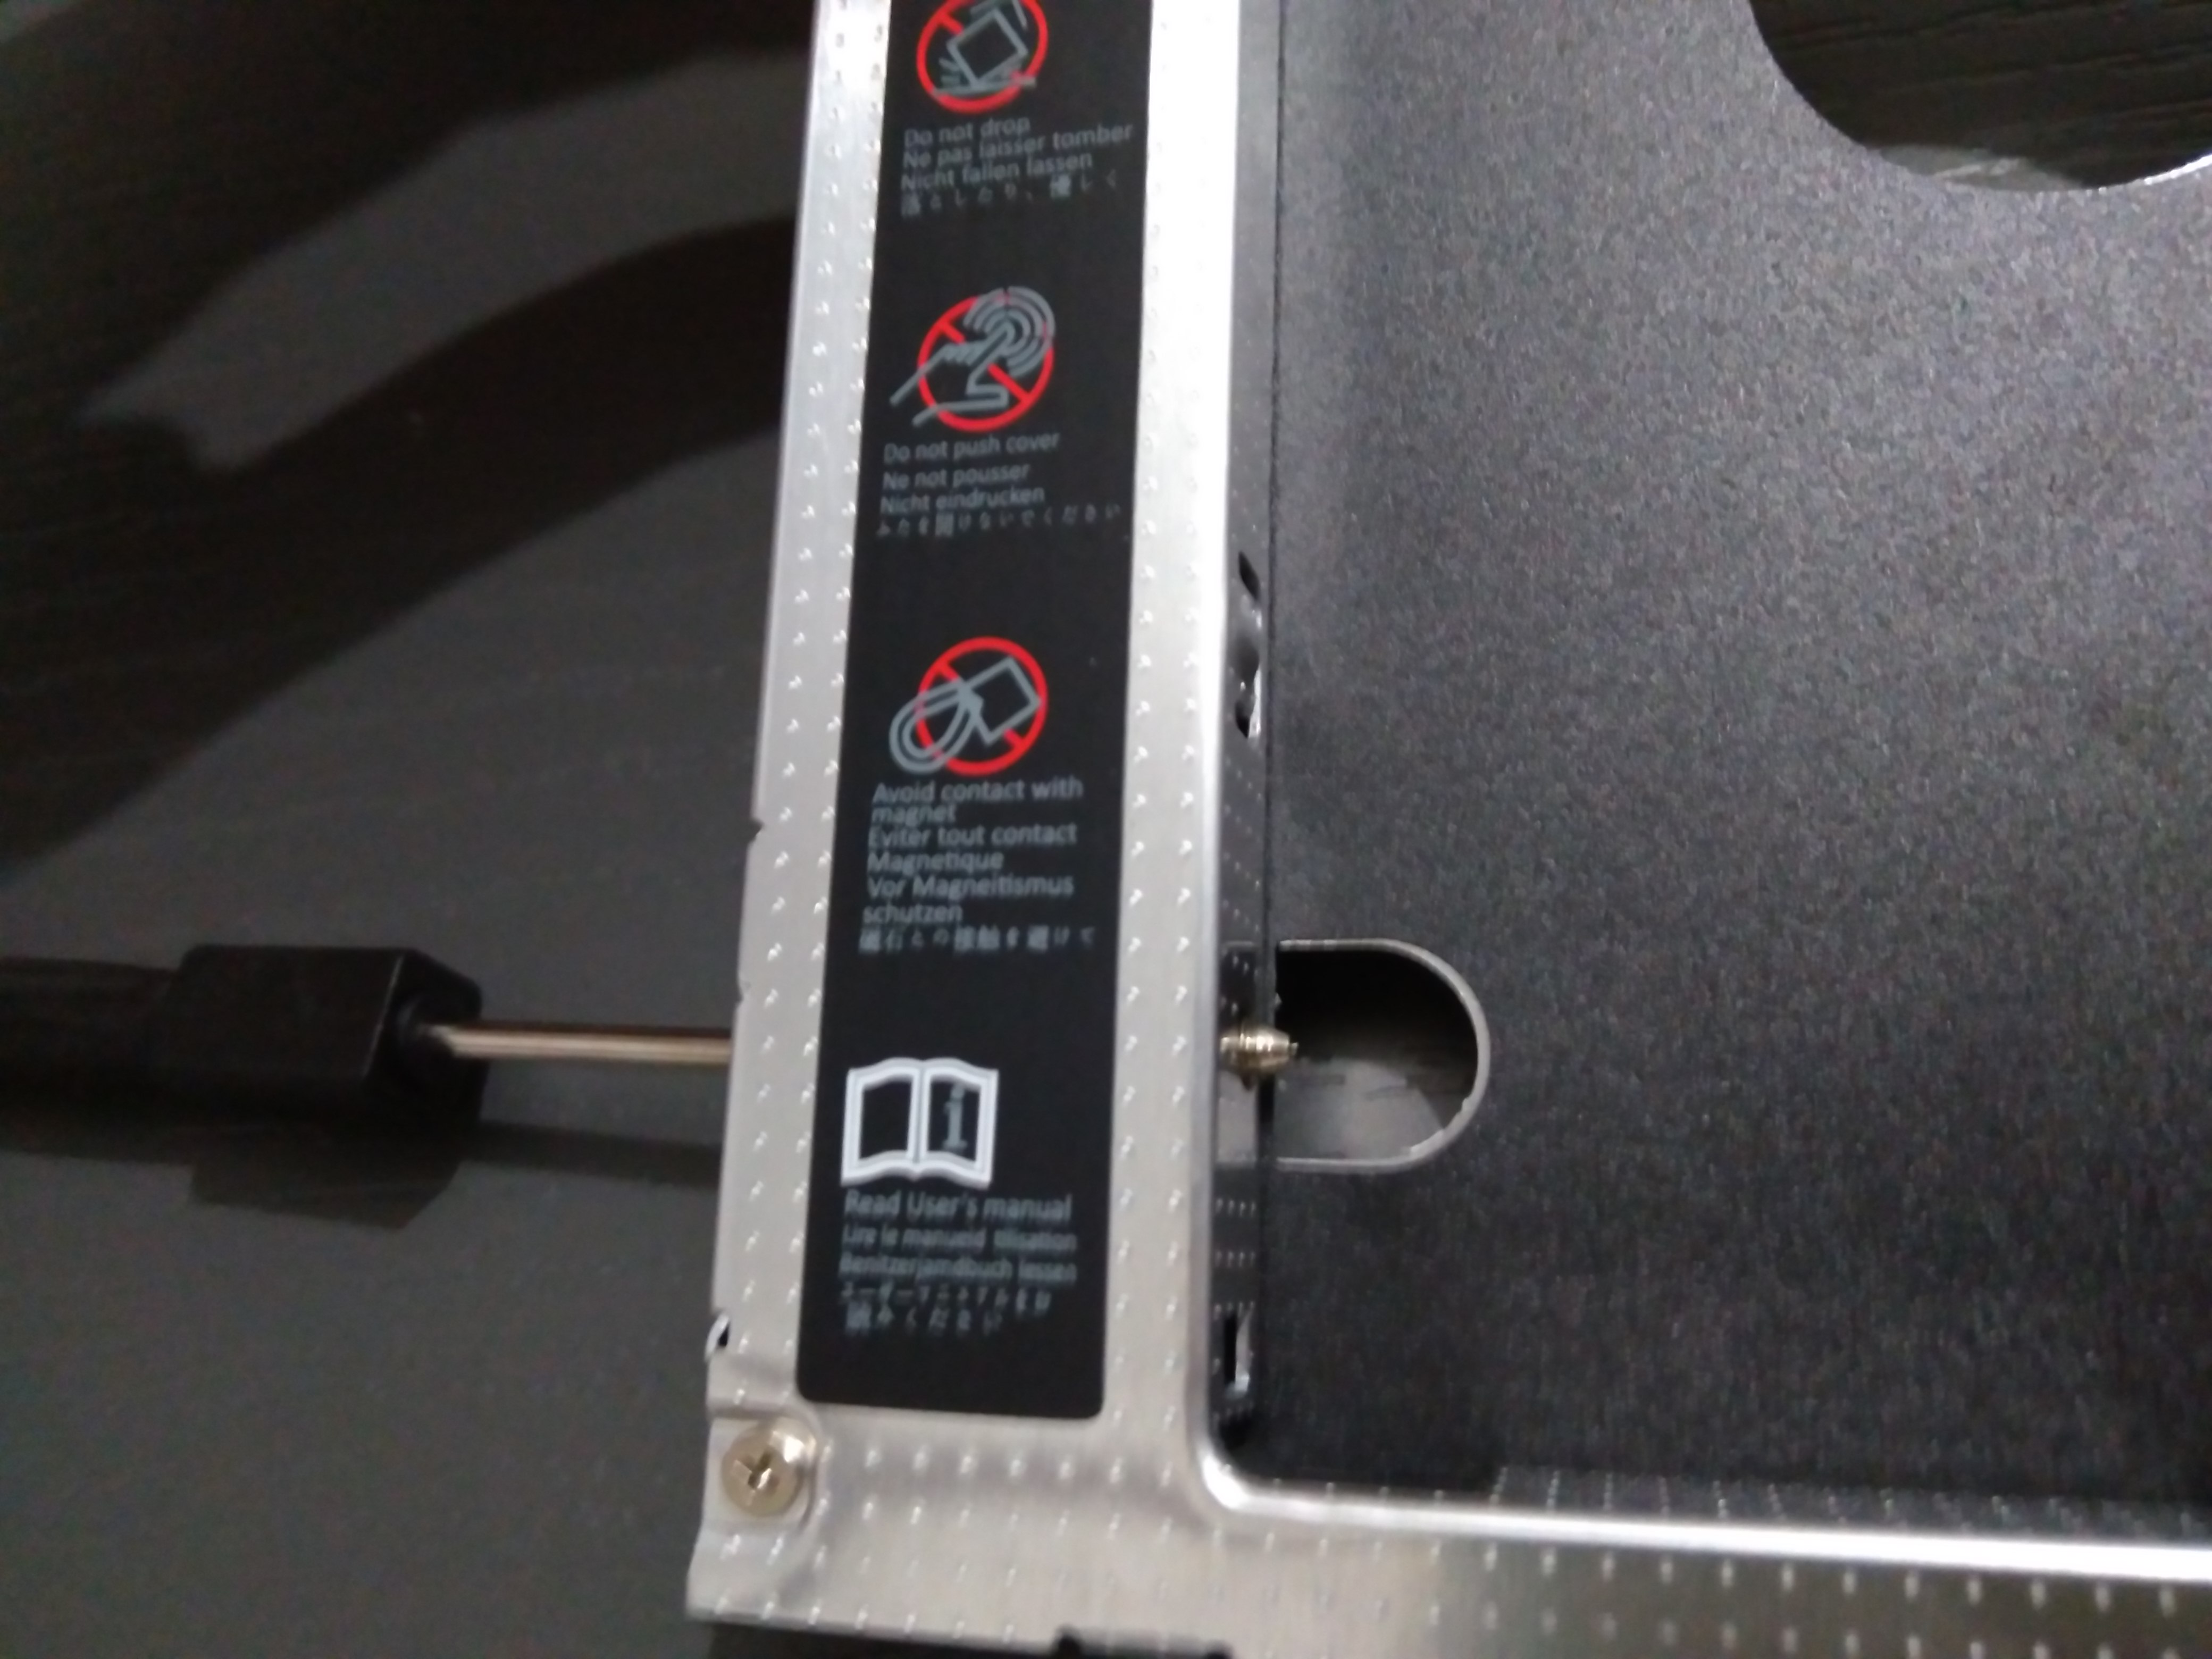
Insert the SSD and push it forward to connect it in the SATA connector
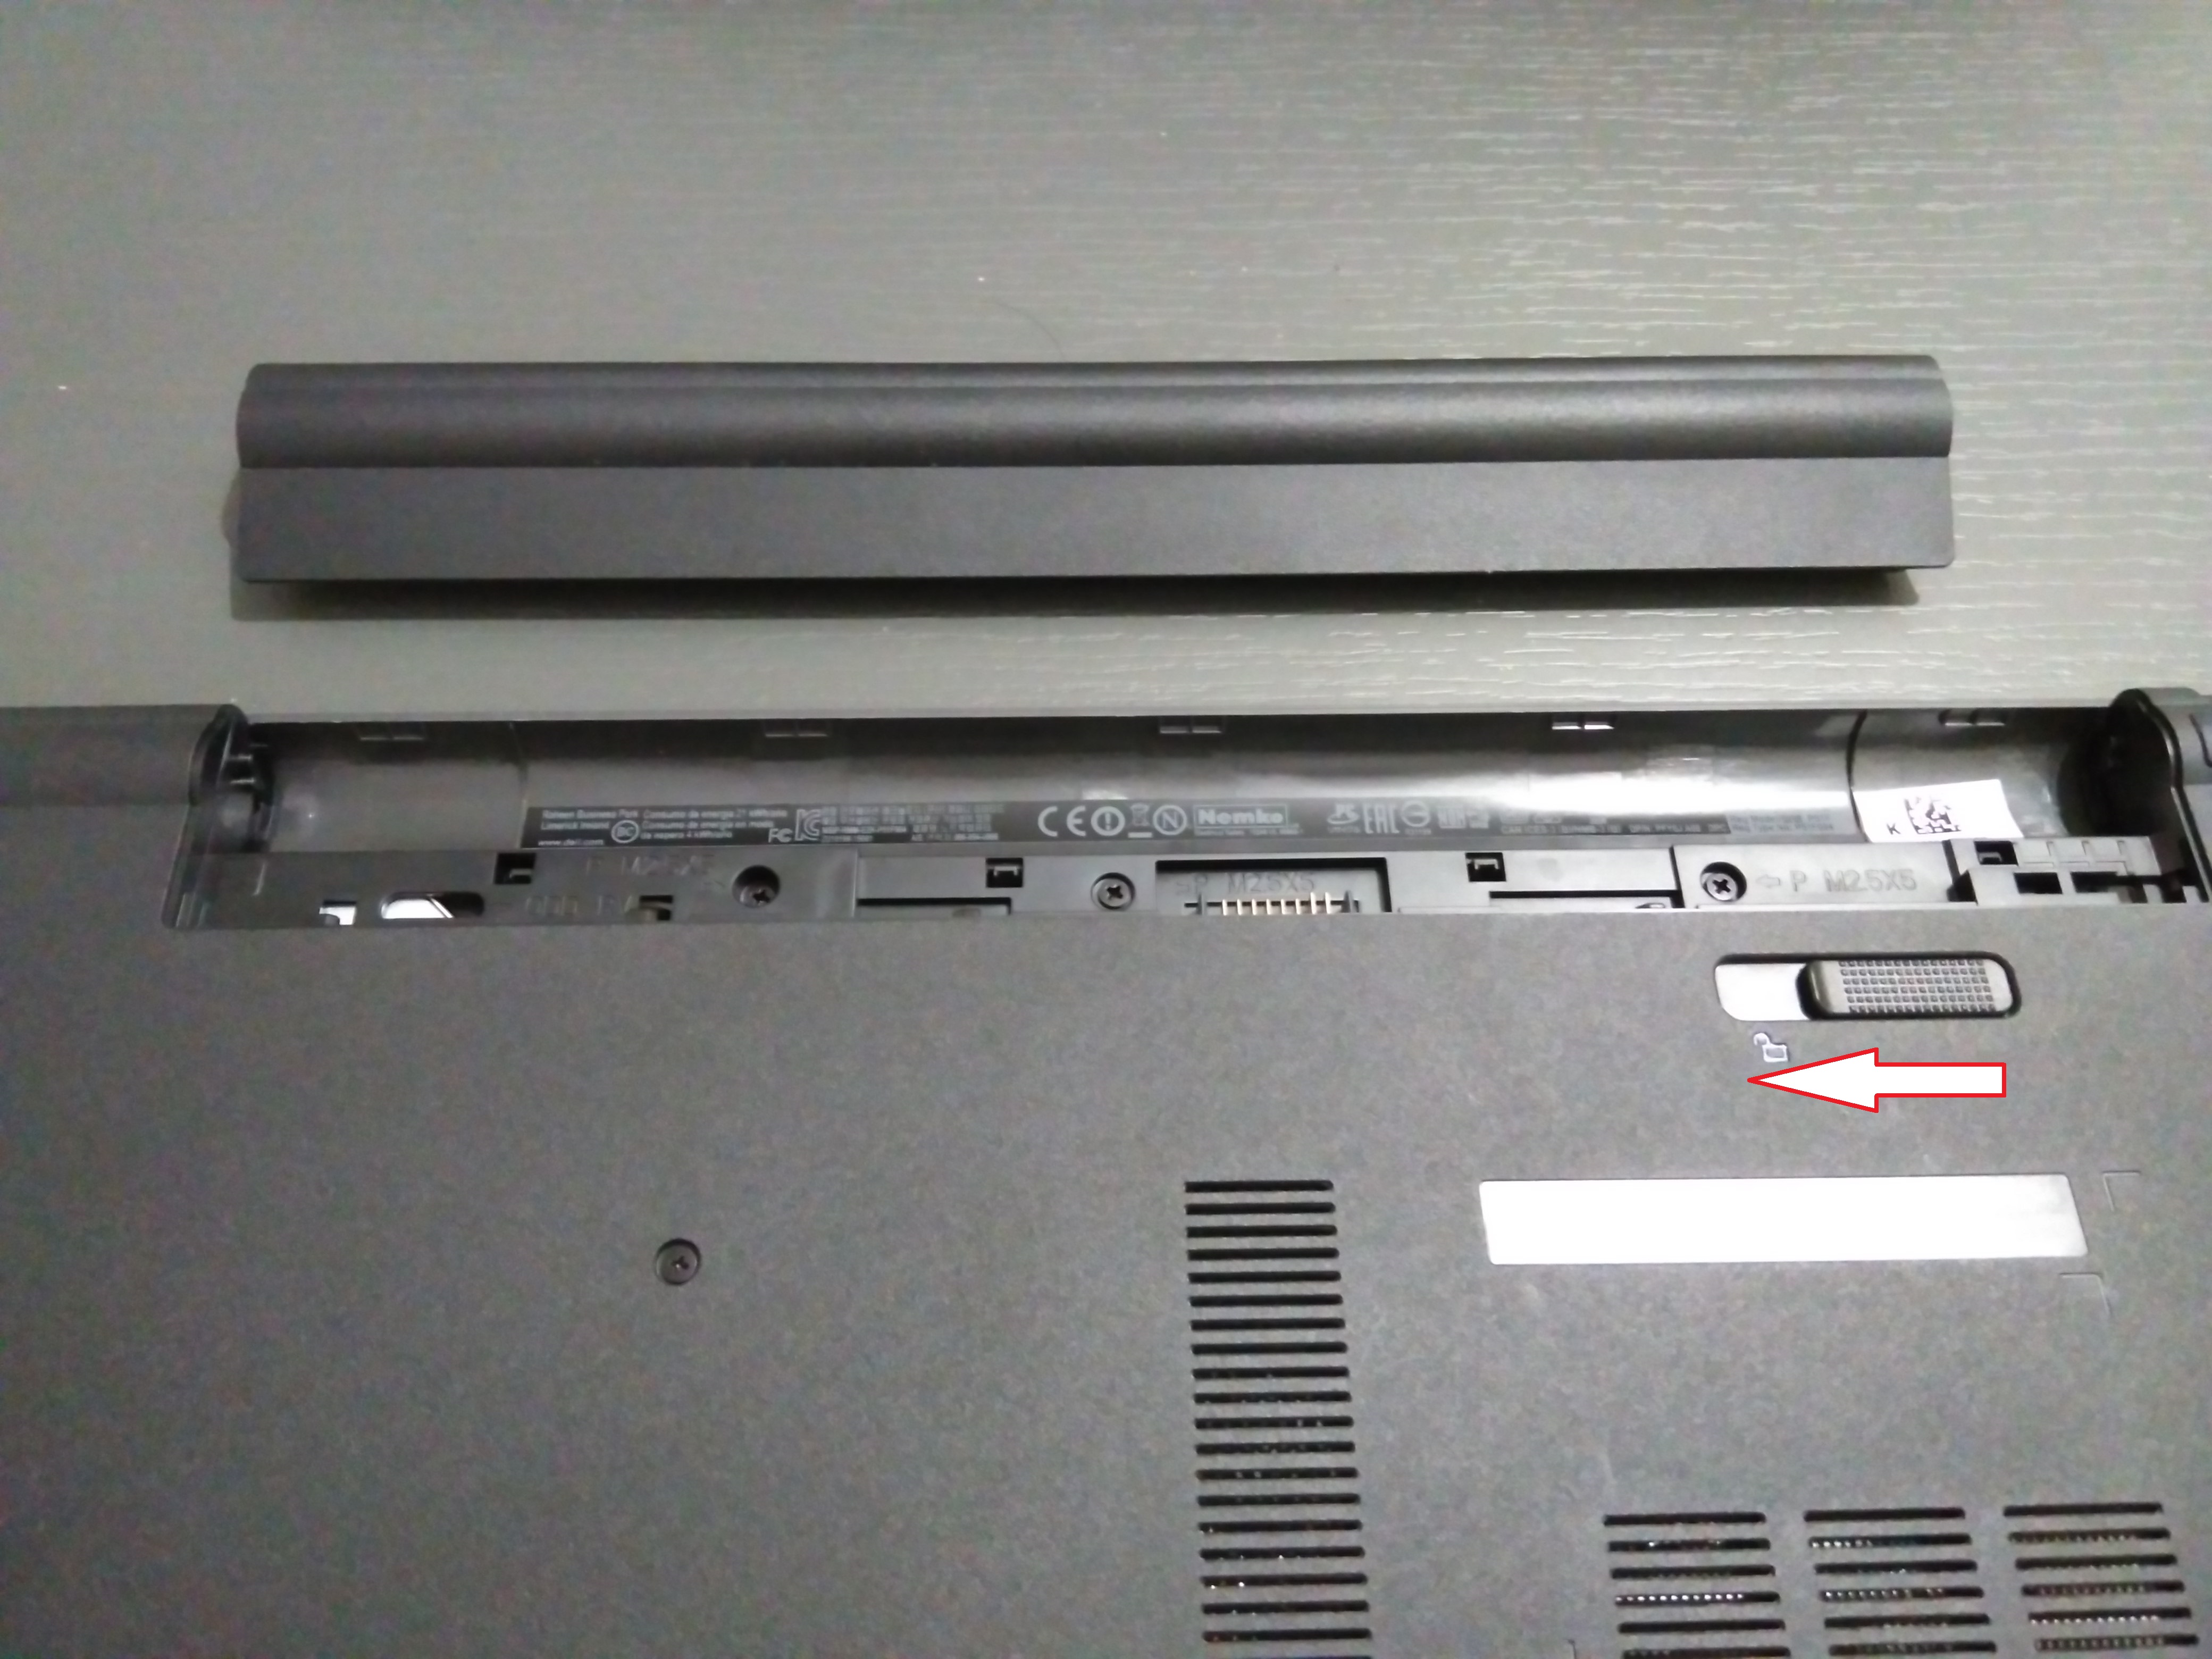
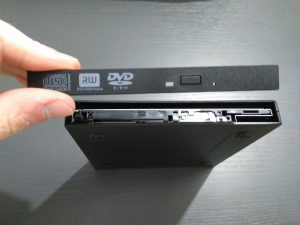
Extract ODD (Optical Disk Drive)
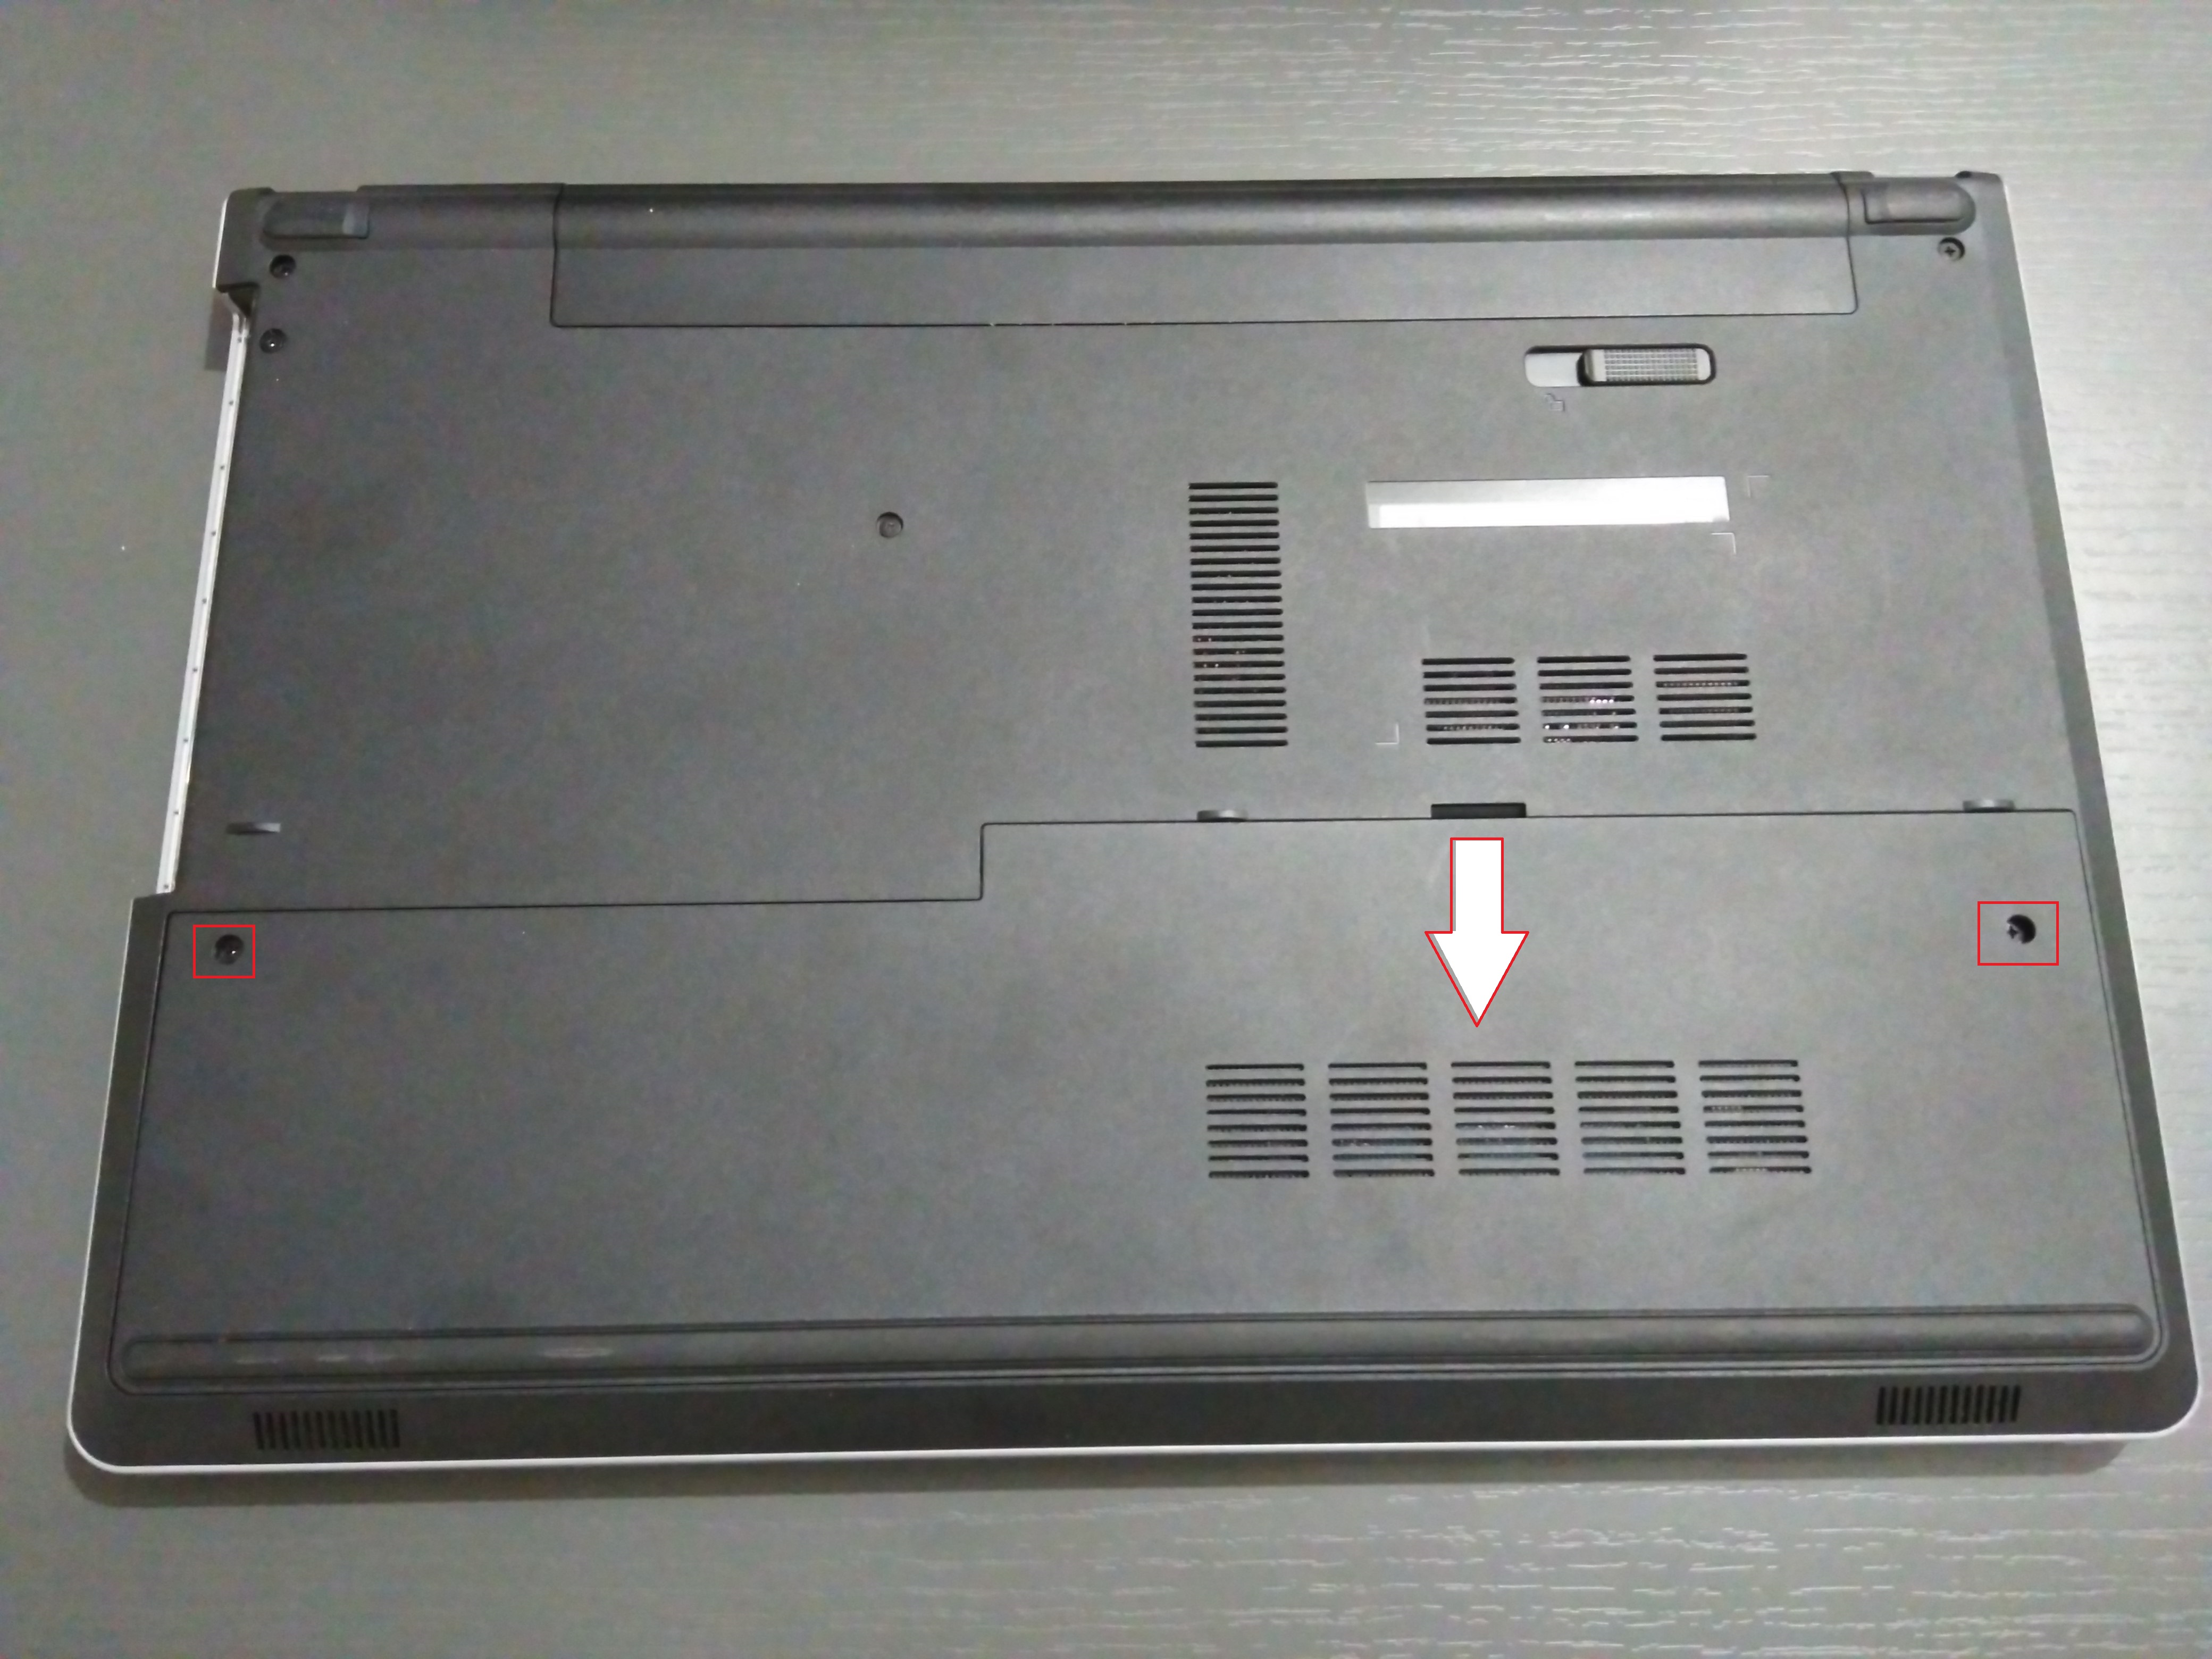
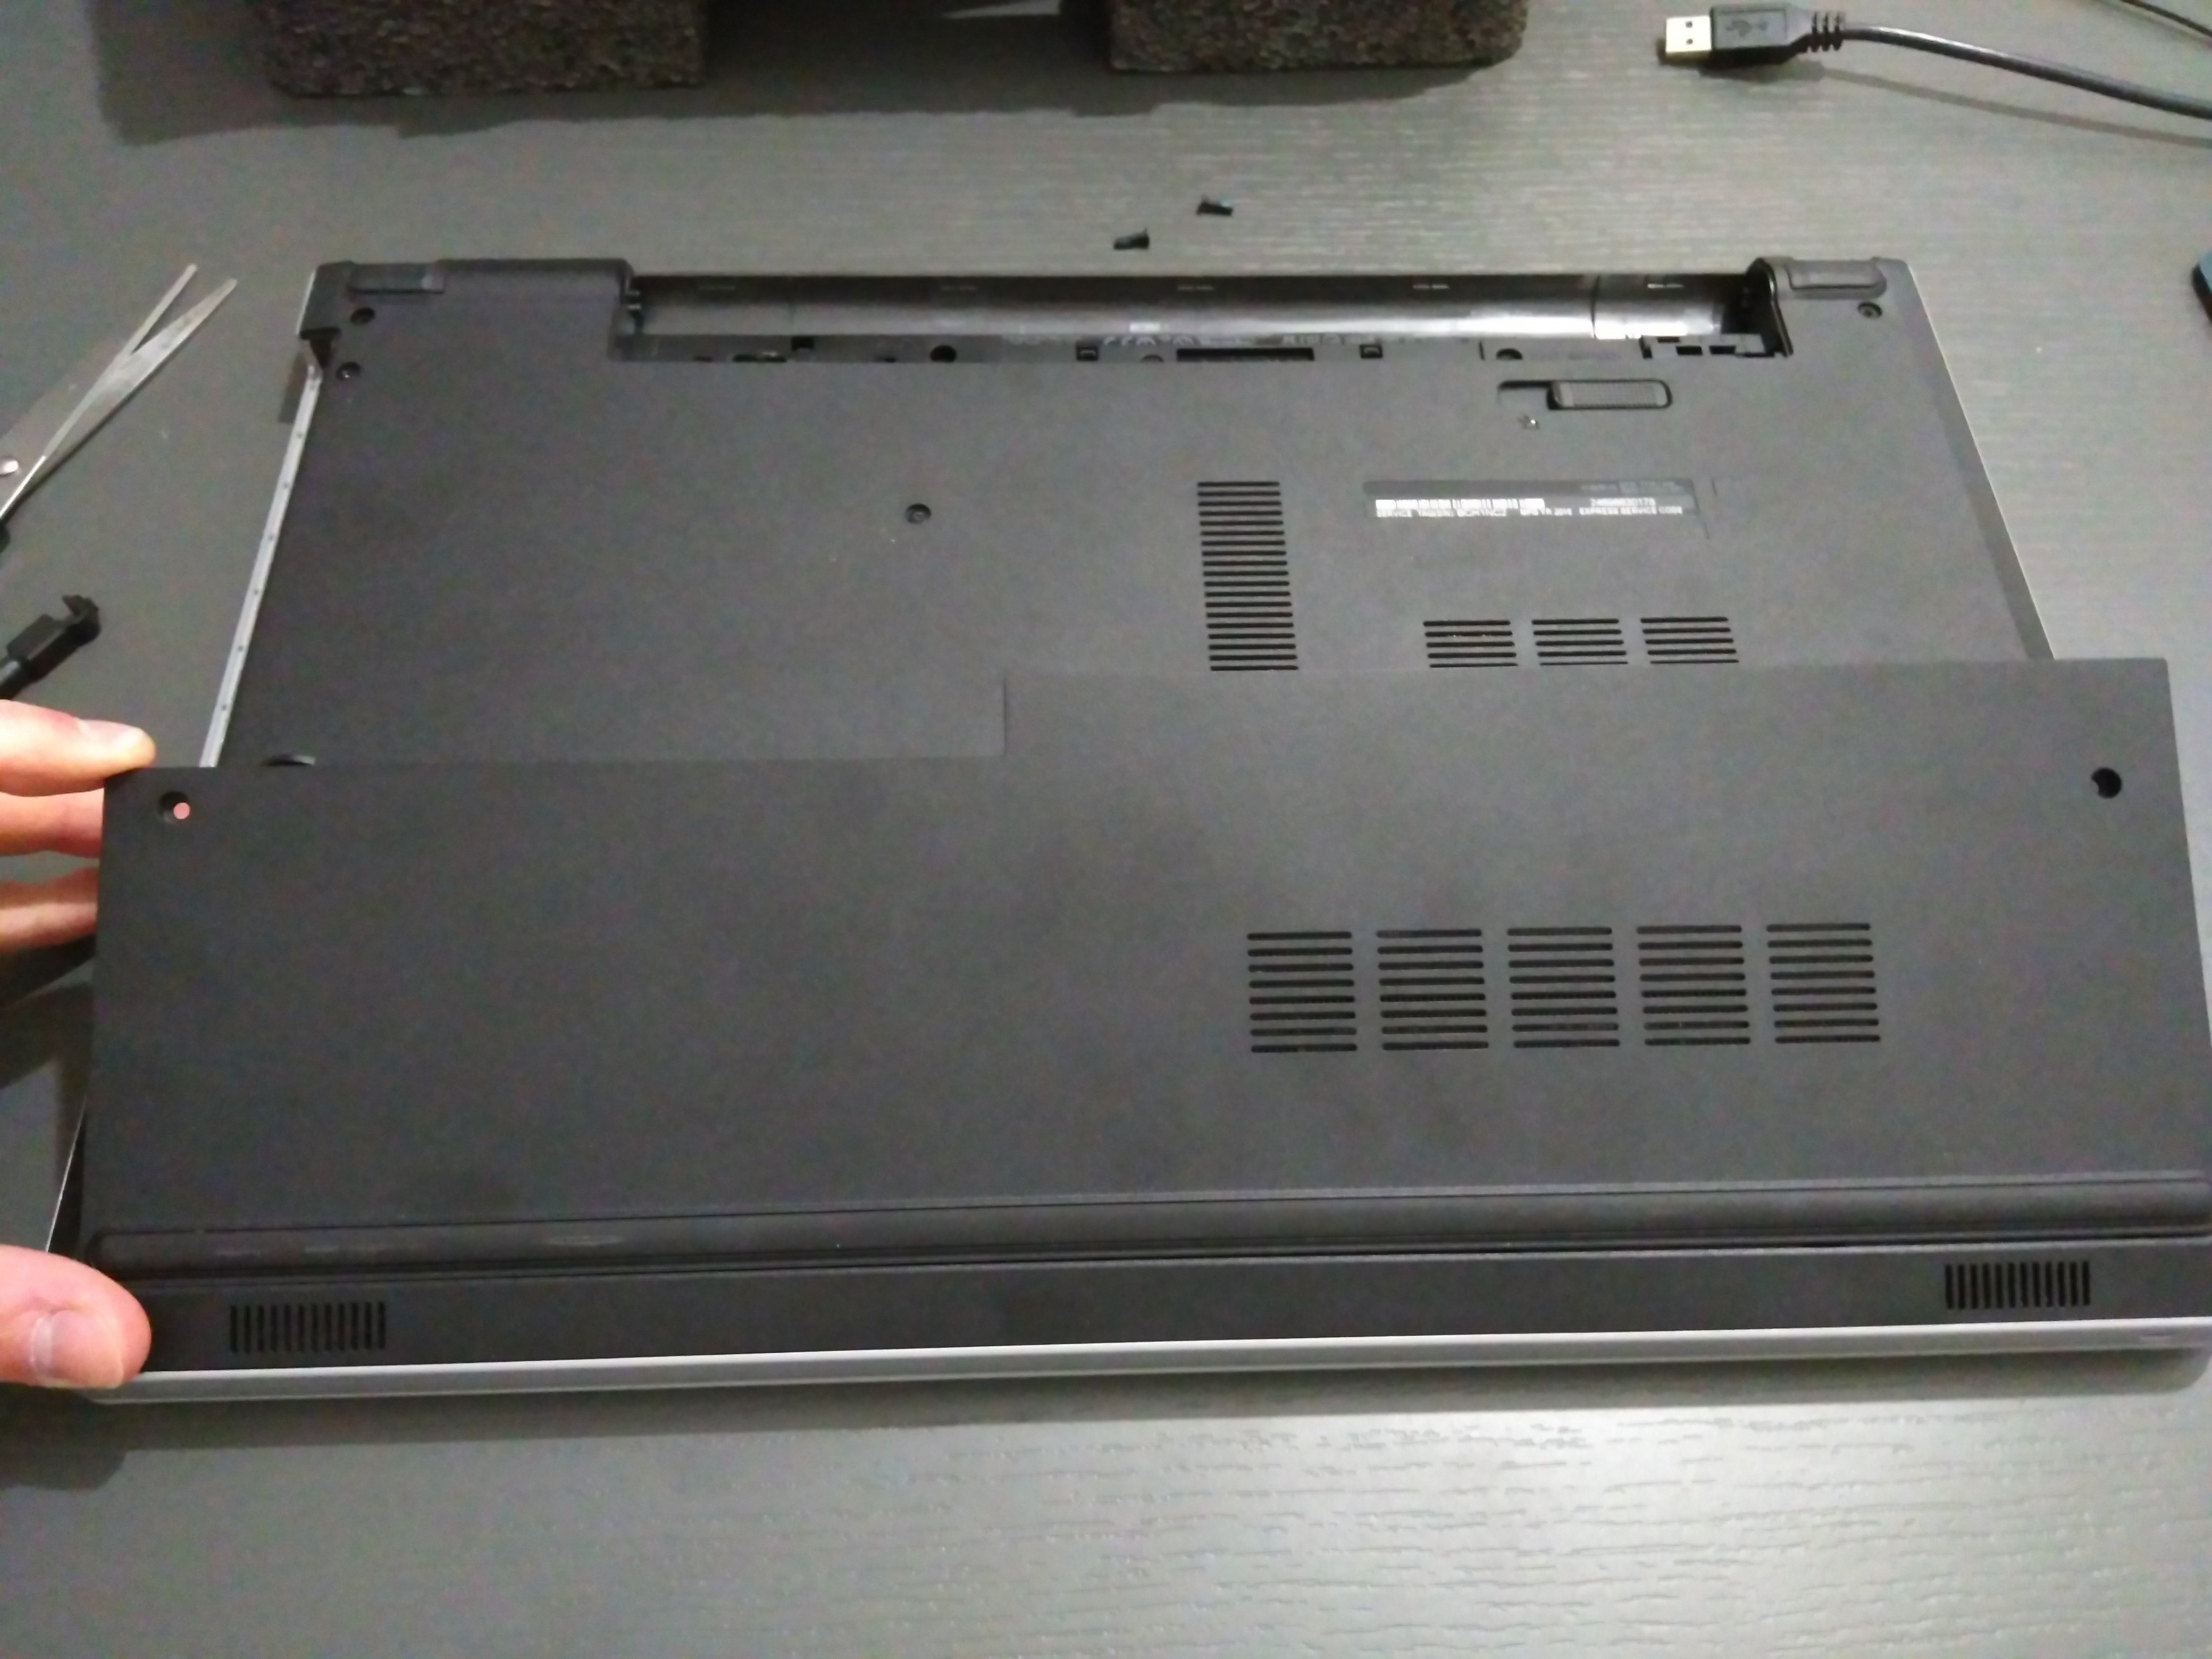
Place your laptop upside down, slide latch to the left to unlock and remove battery
Remove both marked in red screws and push the DVD drive by using the screwdriver
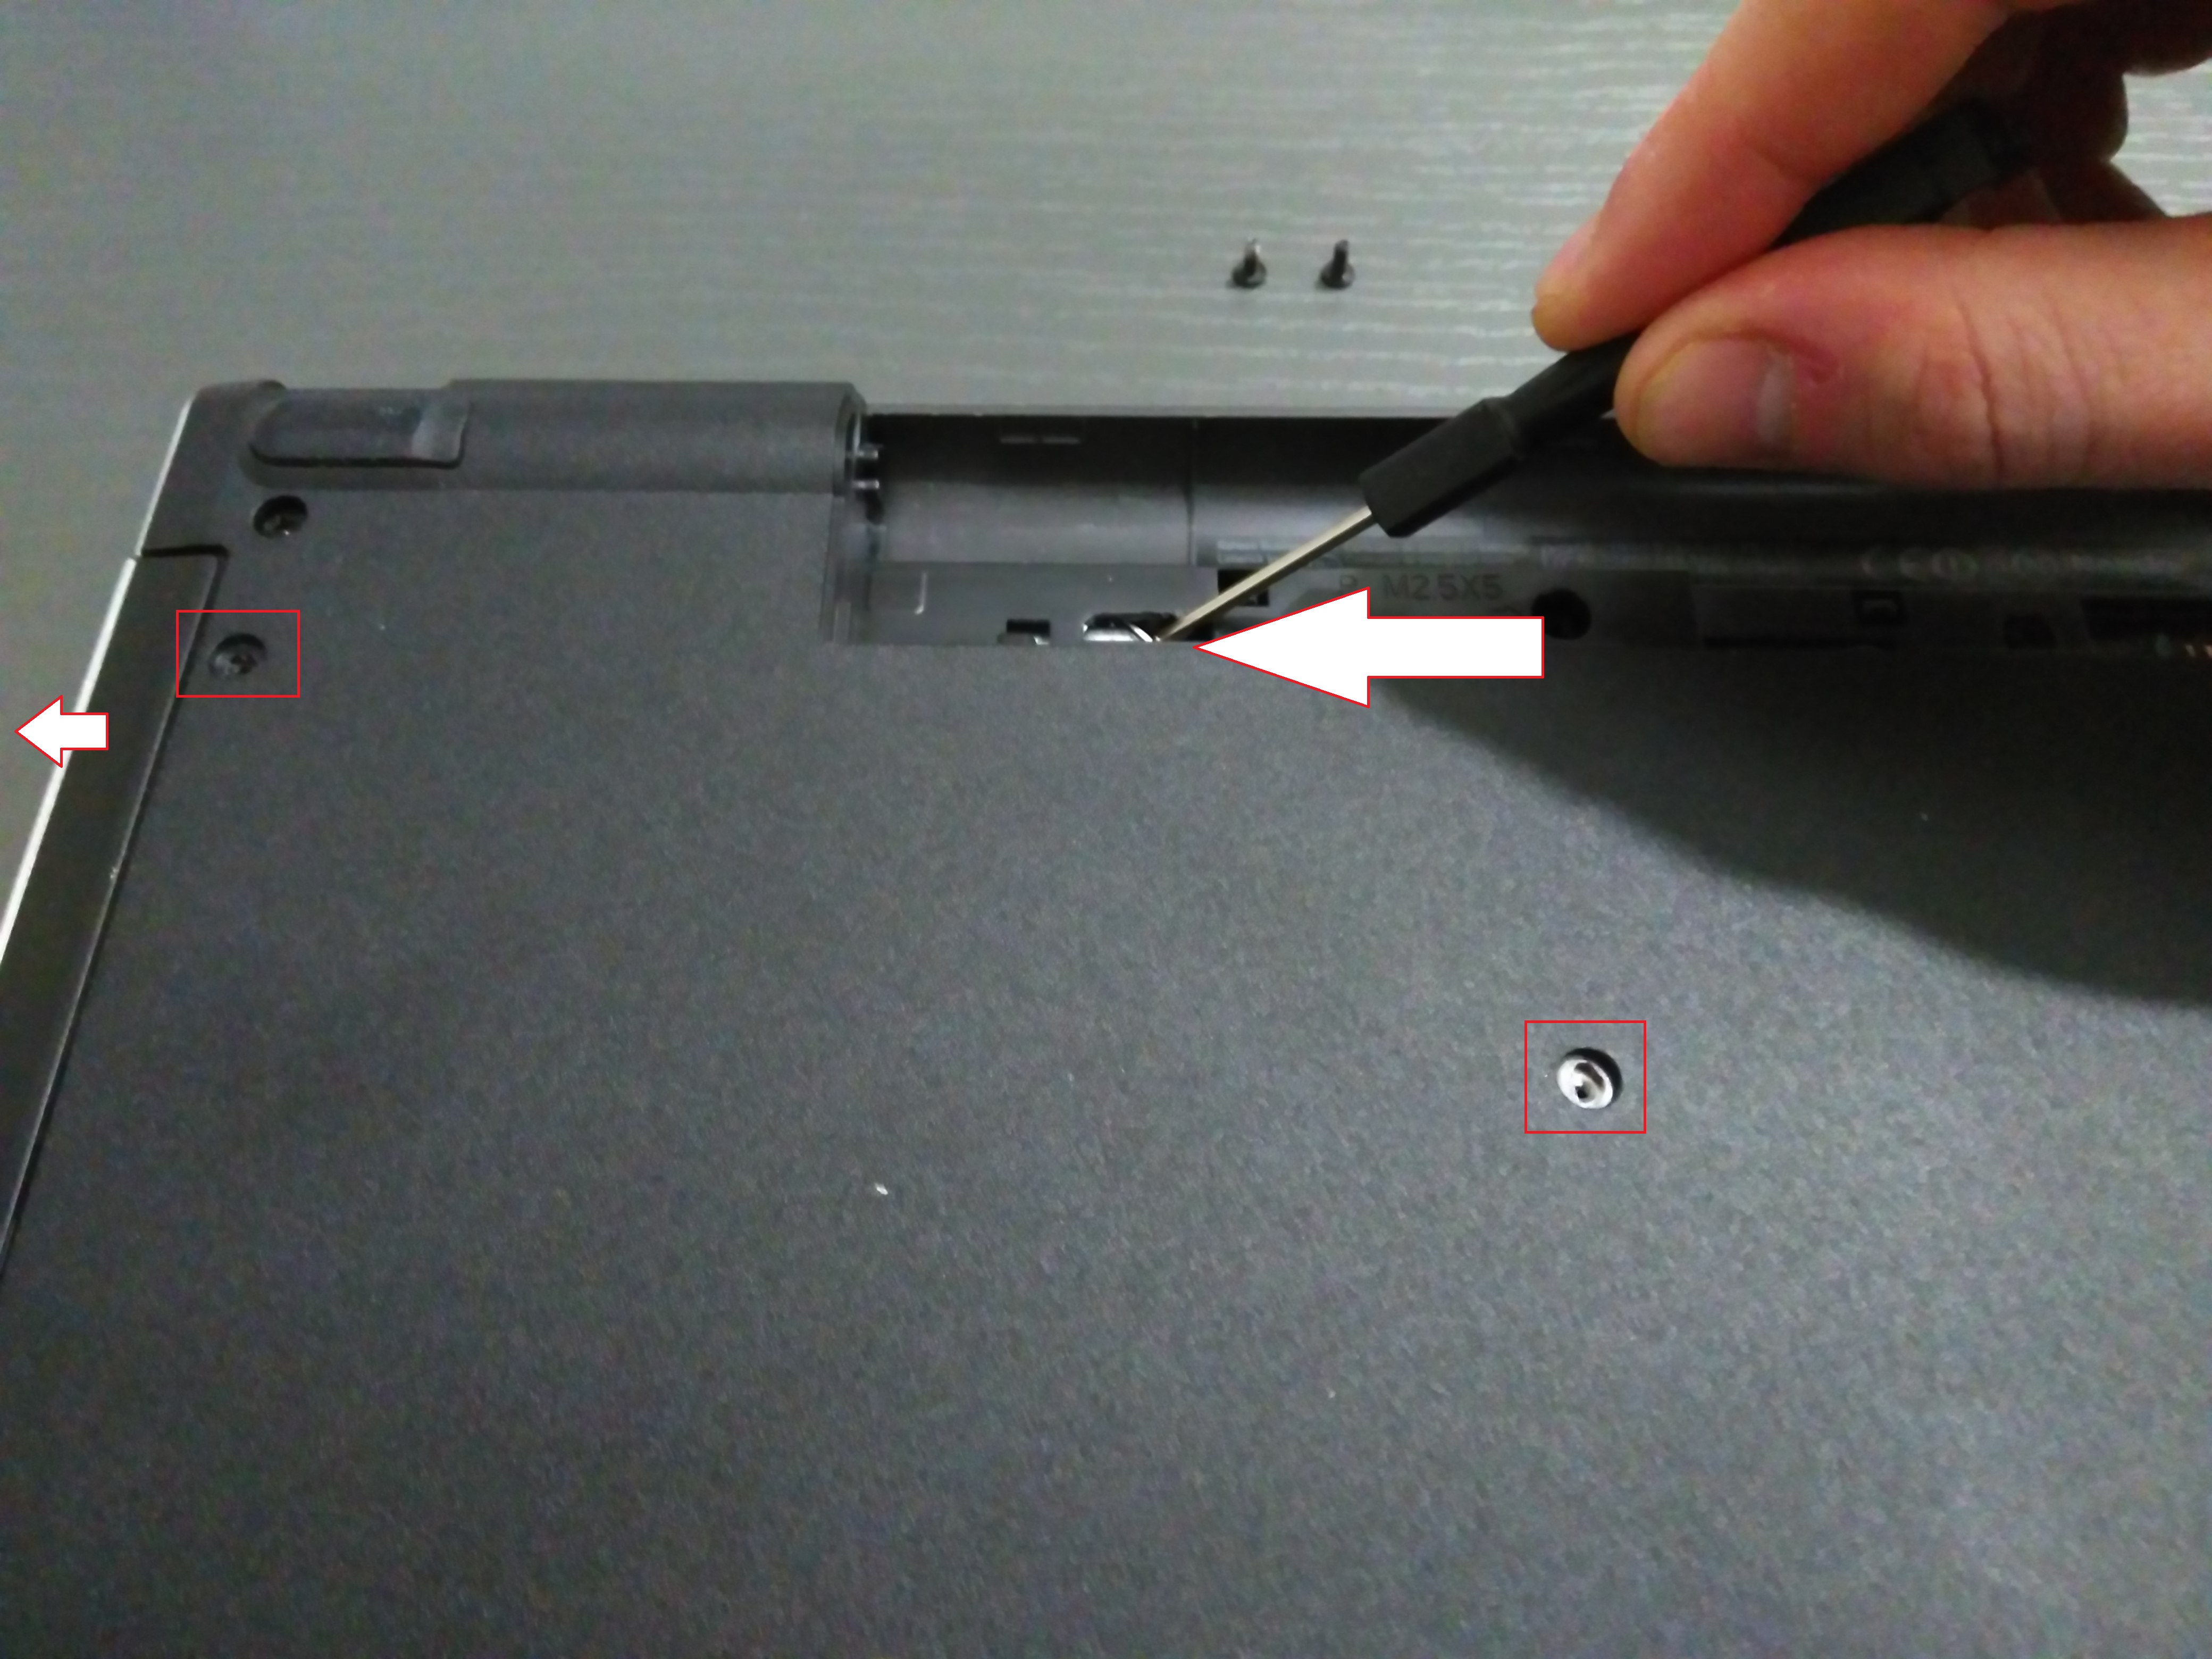
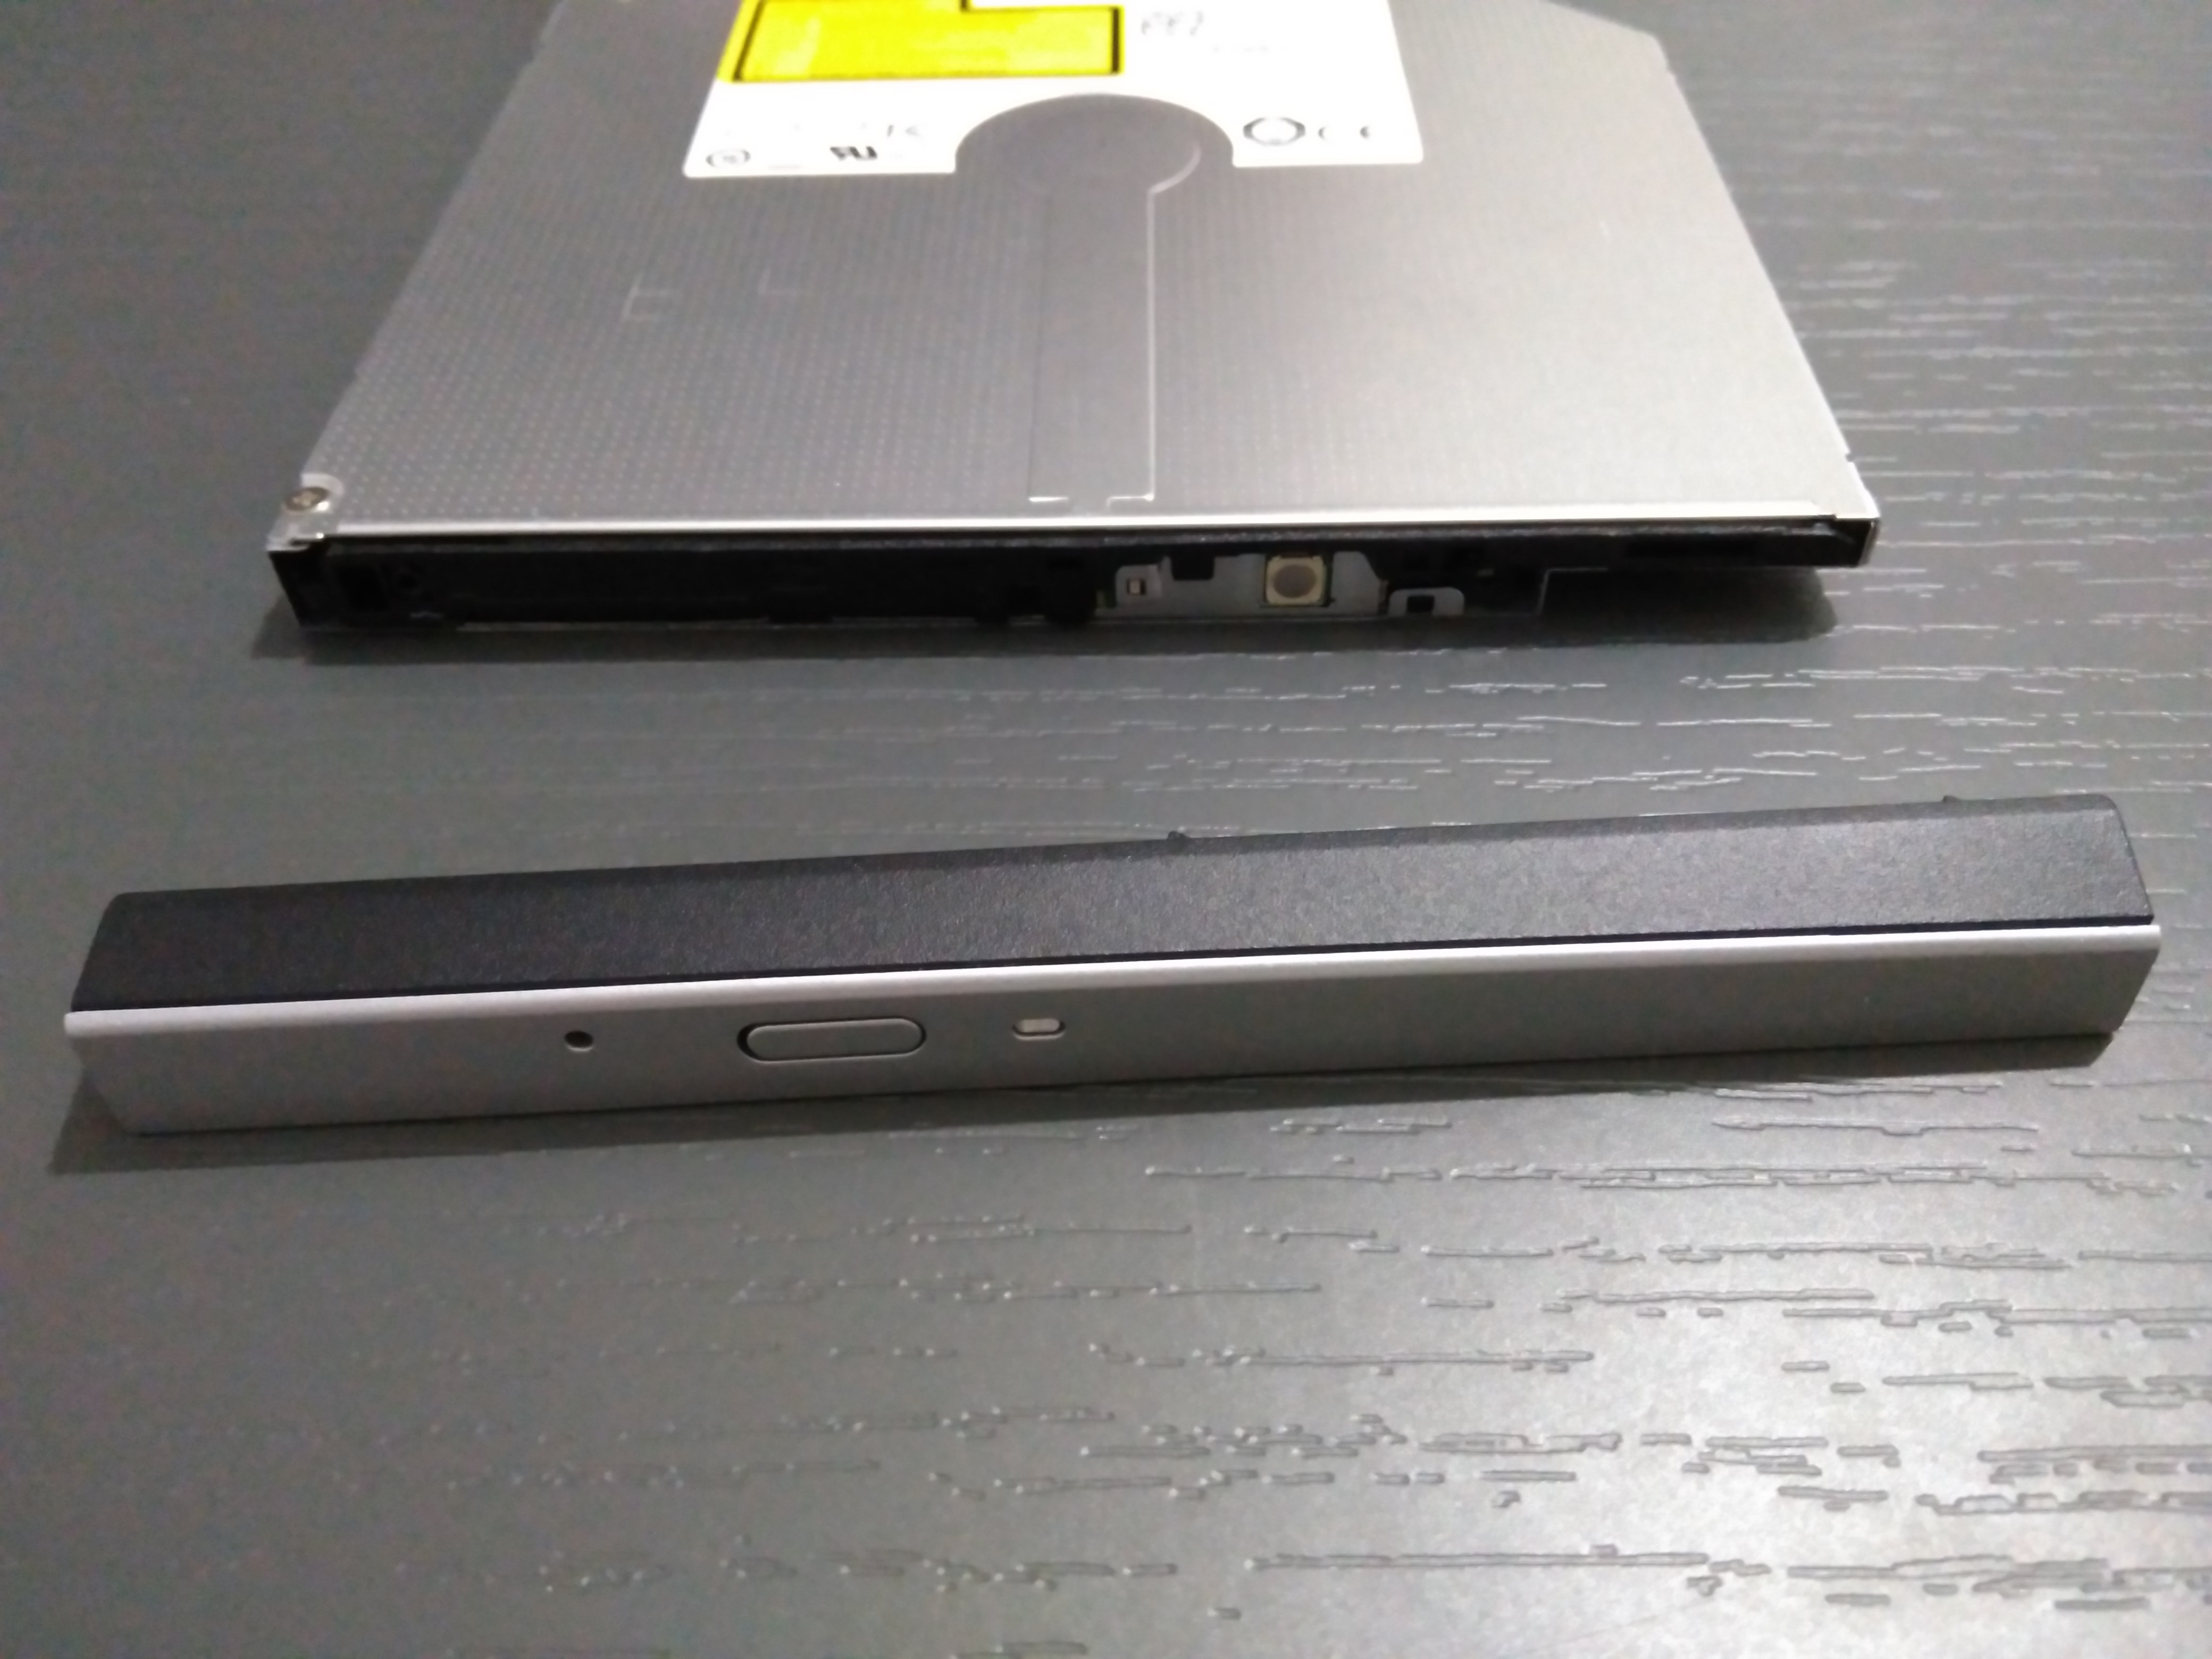
Extract the DVD drive completely
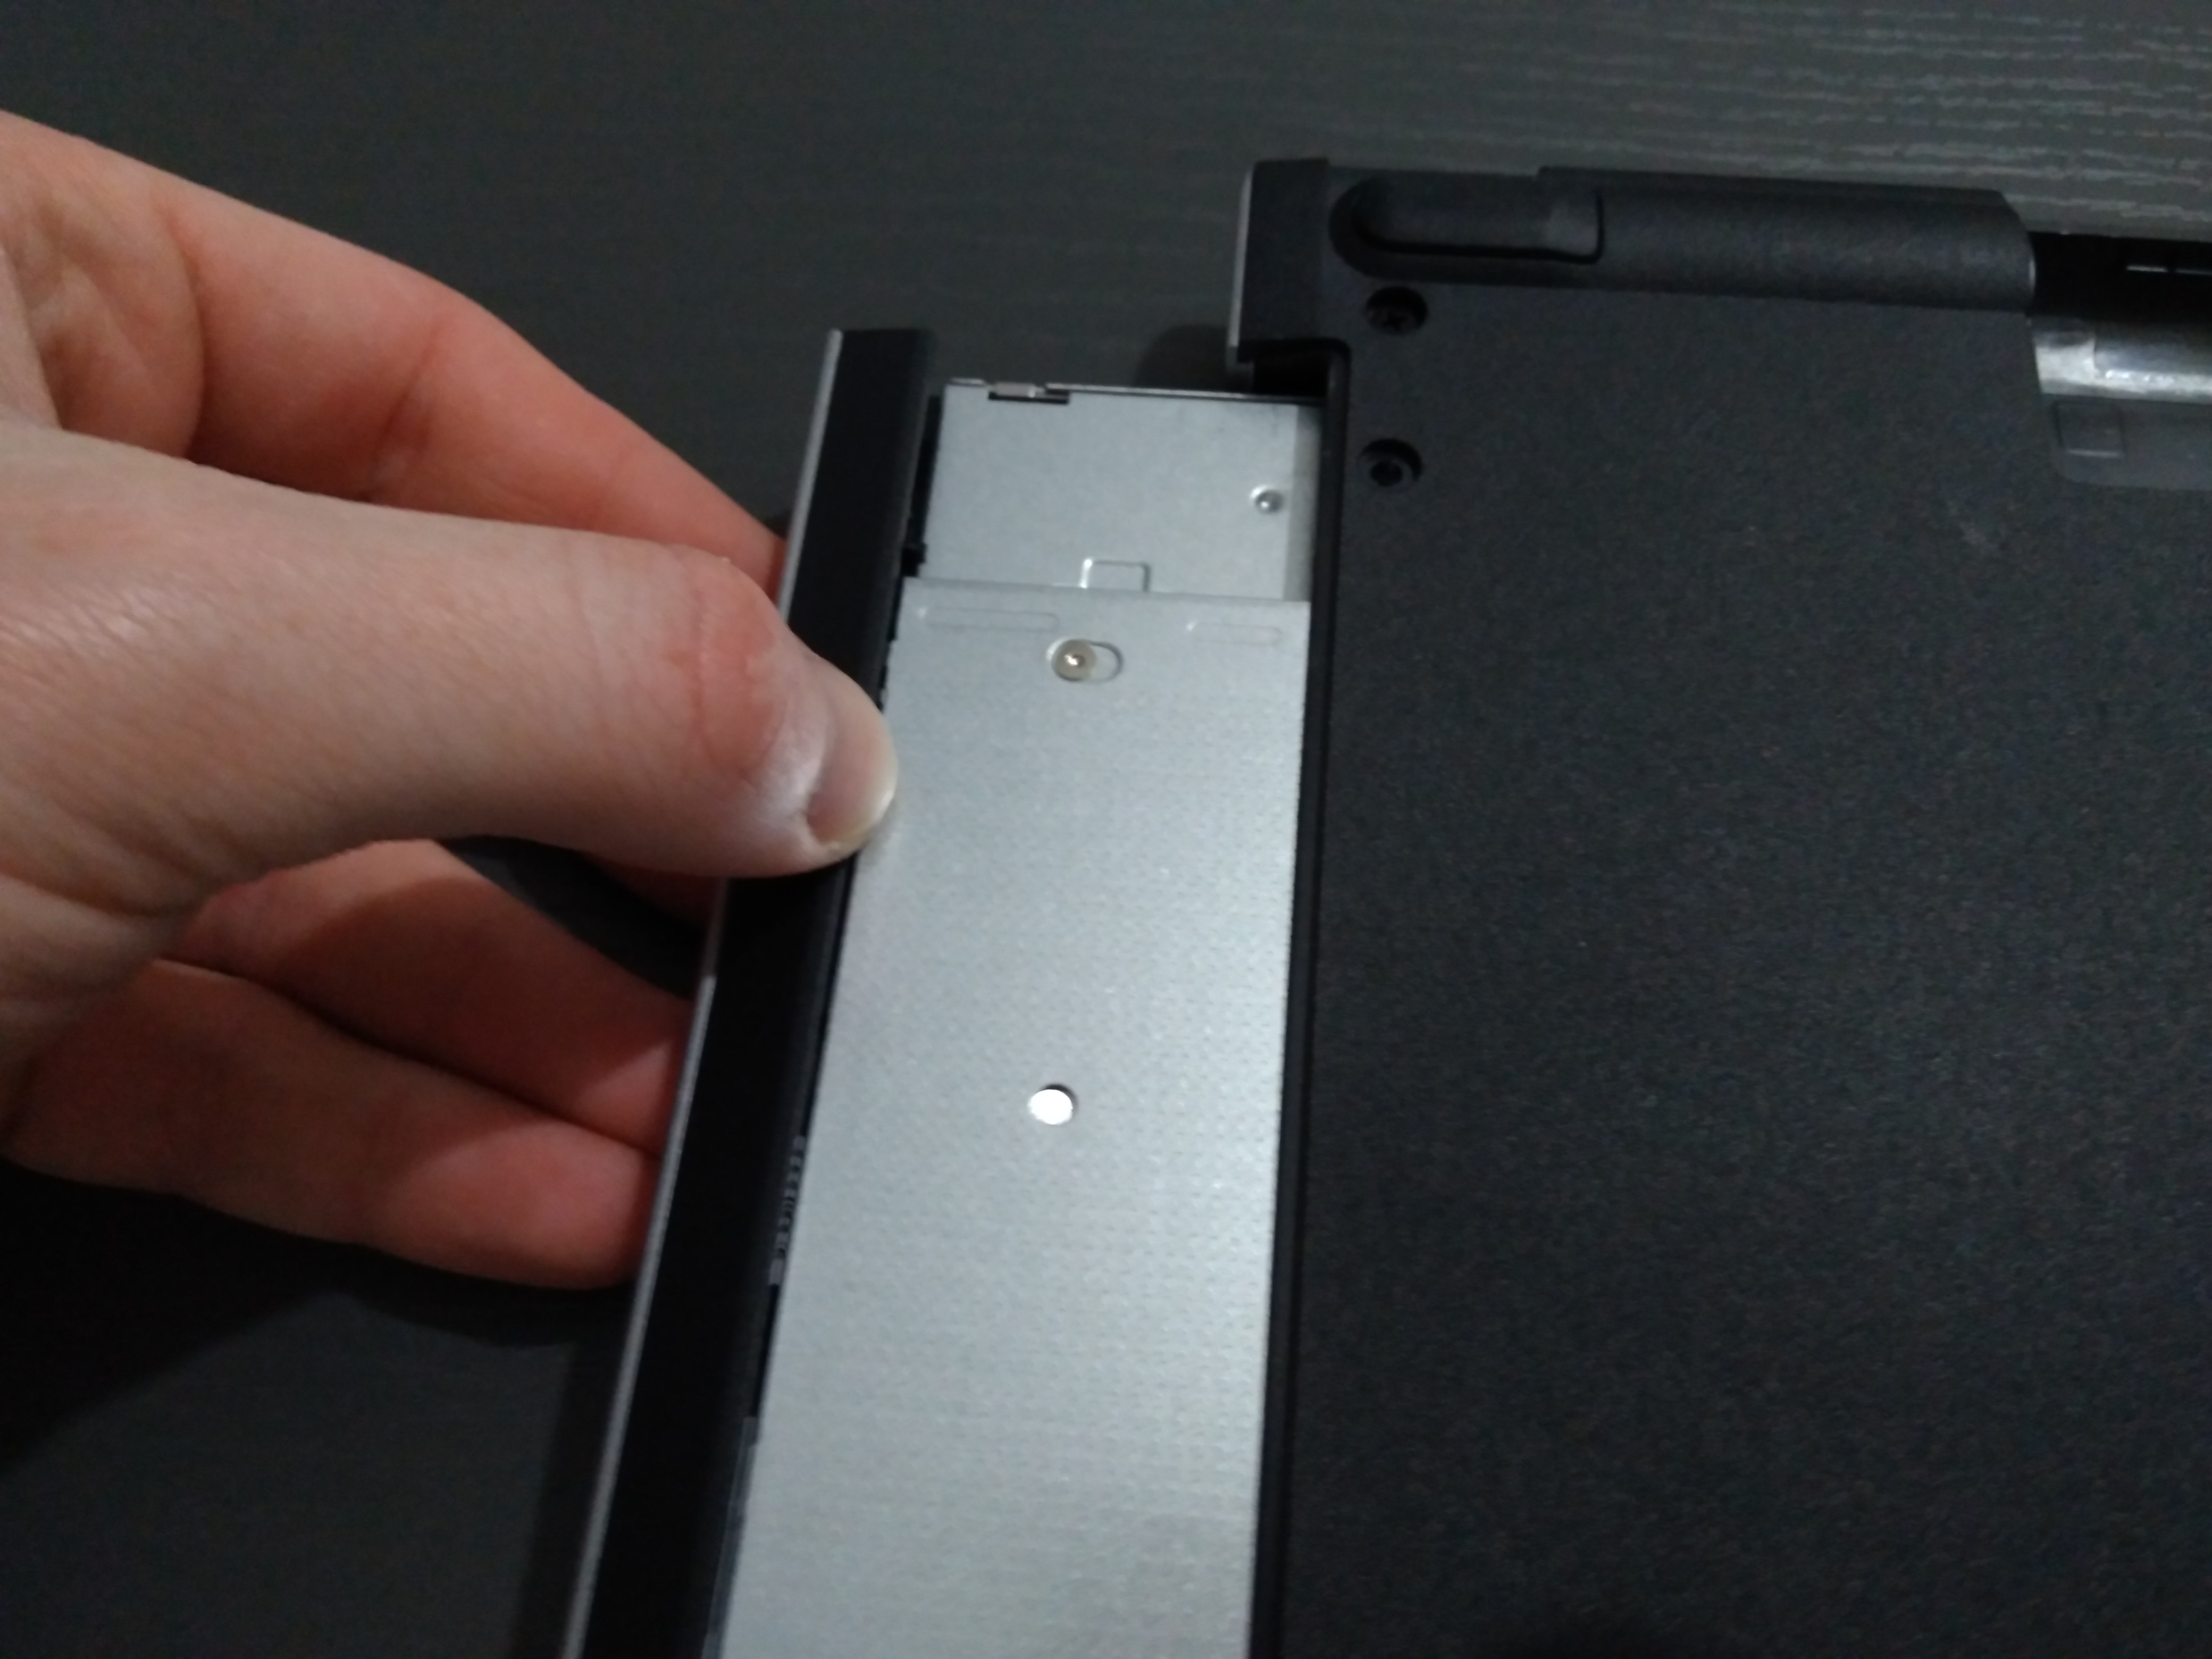

Remove the front panel
Remove the metalic piece

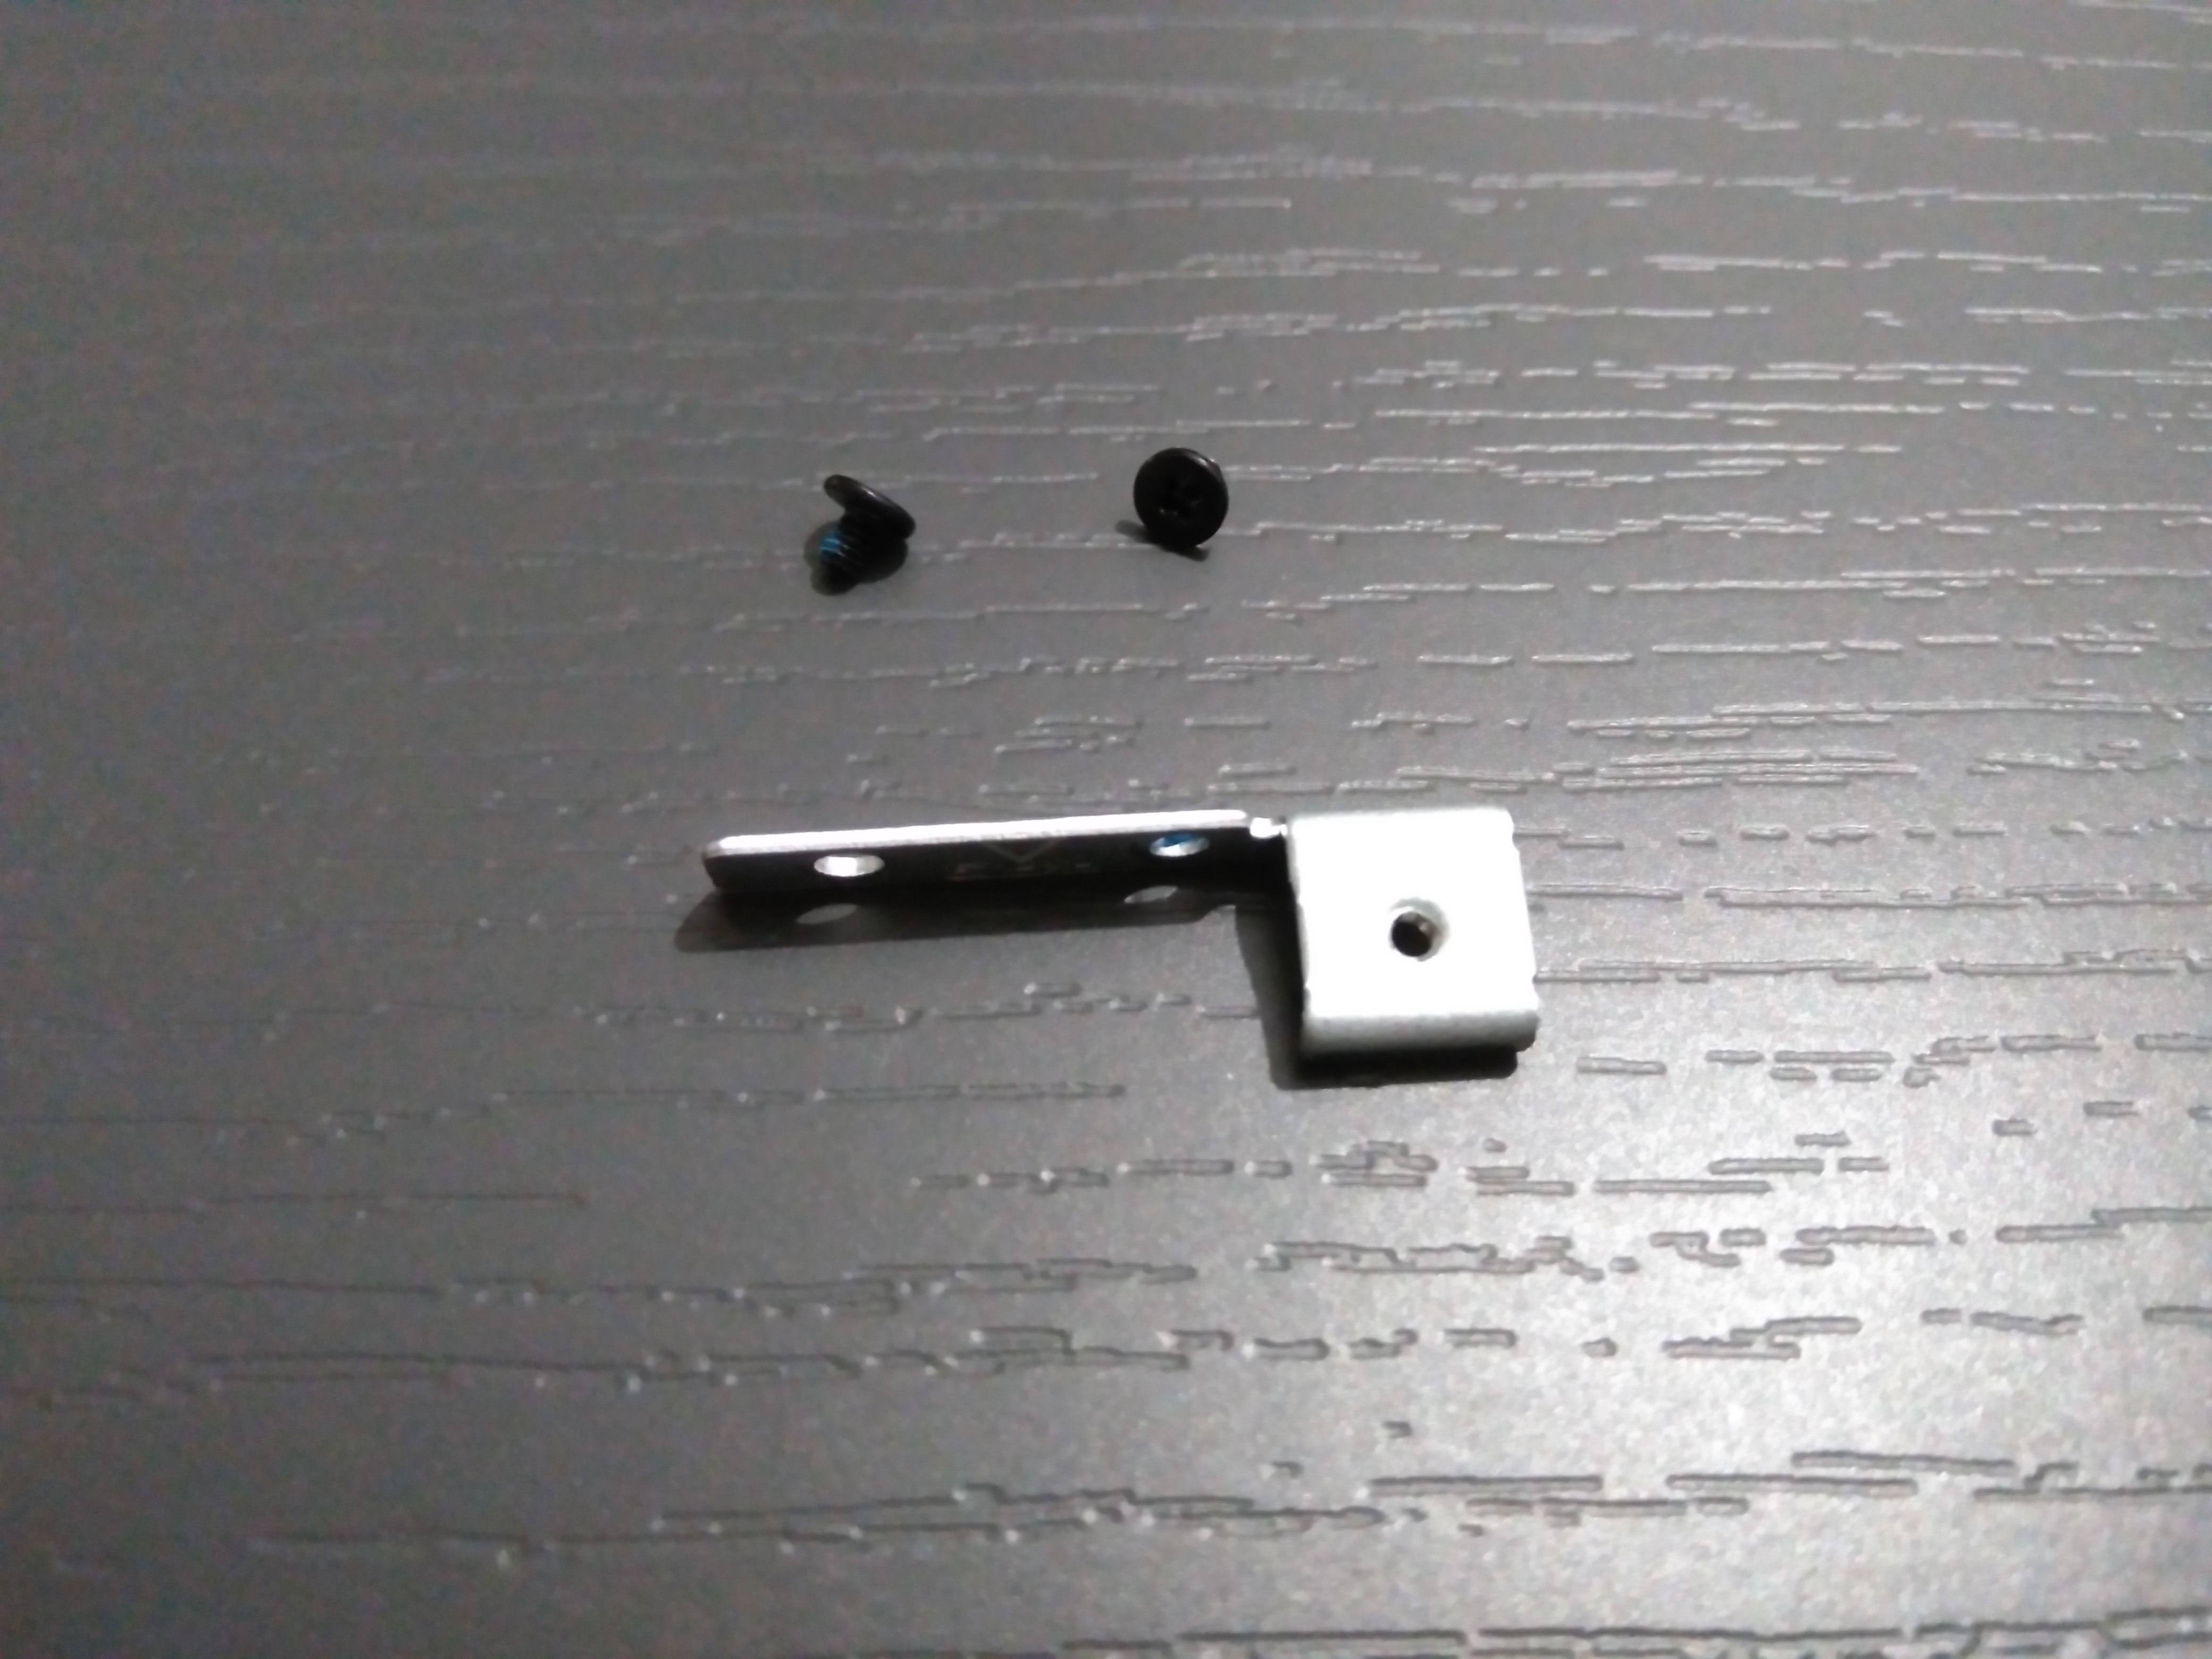
Insert caddy
Adjust the removed metalic piece in the caddy
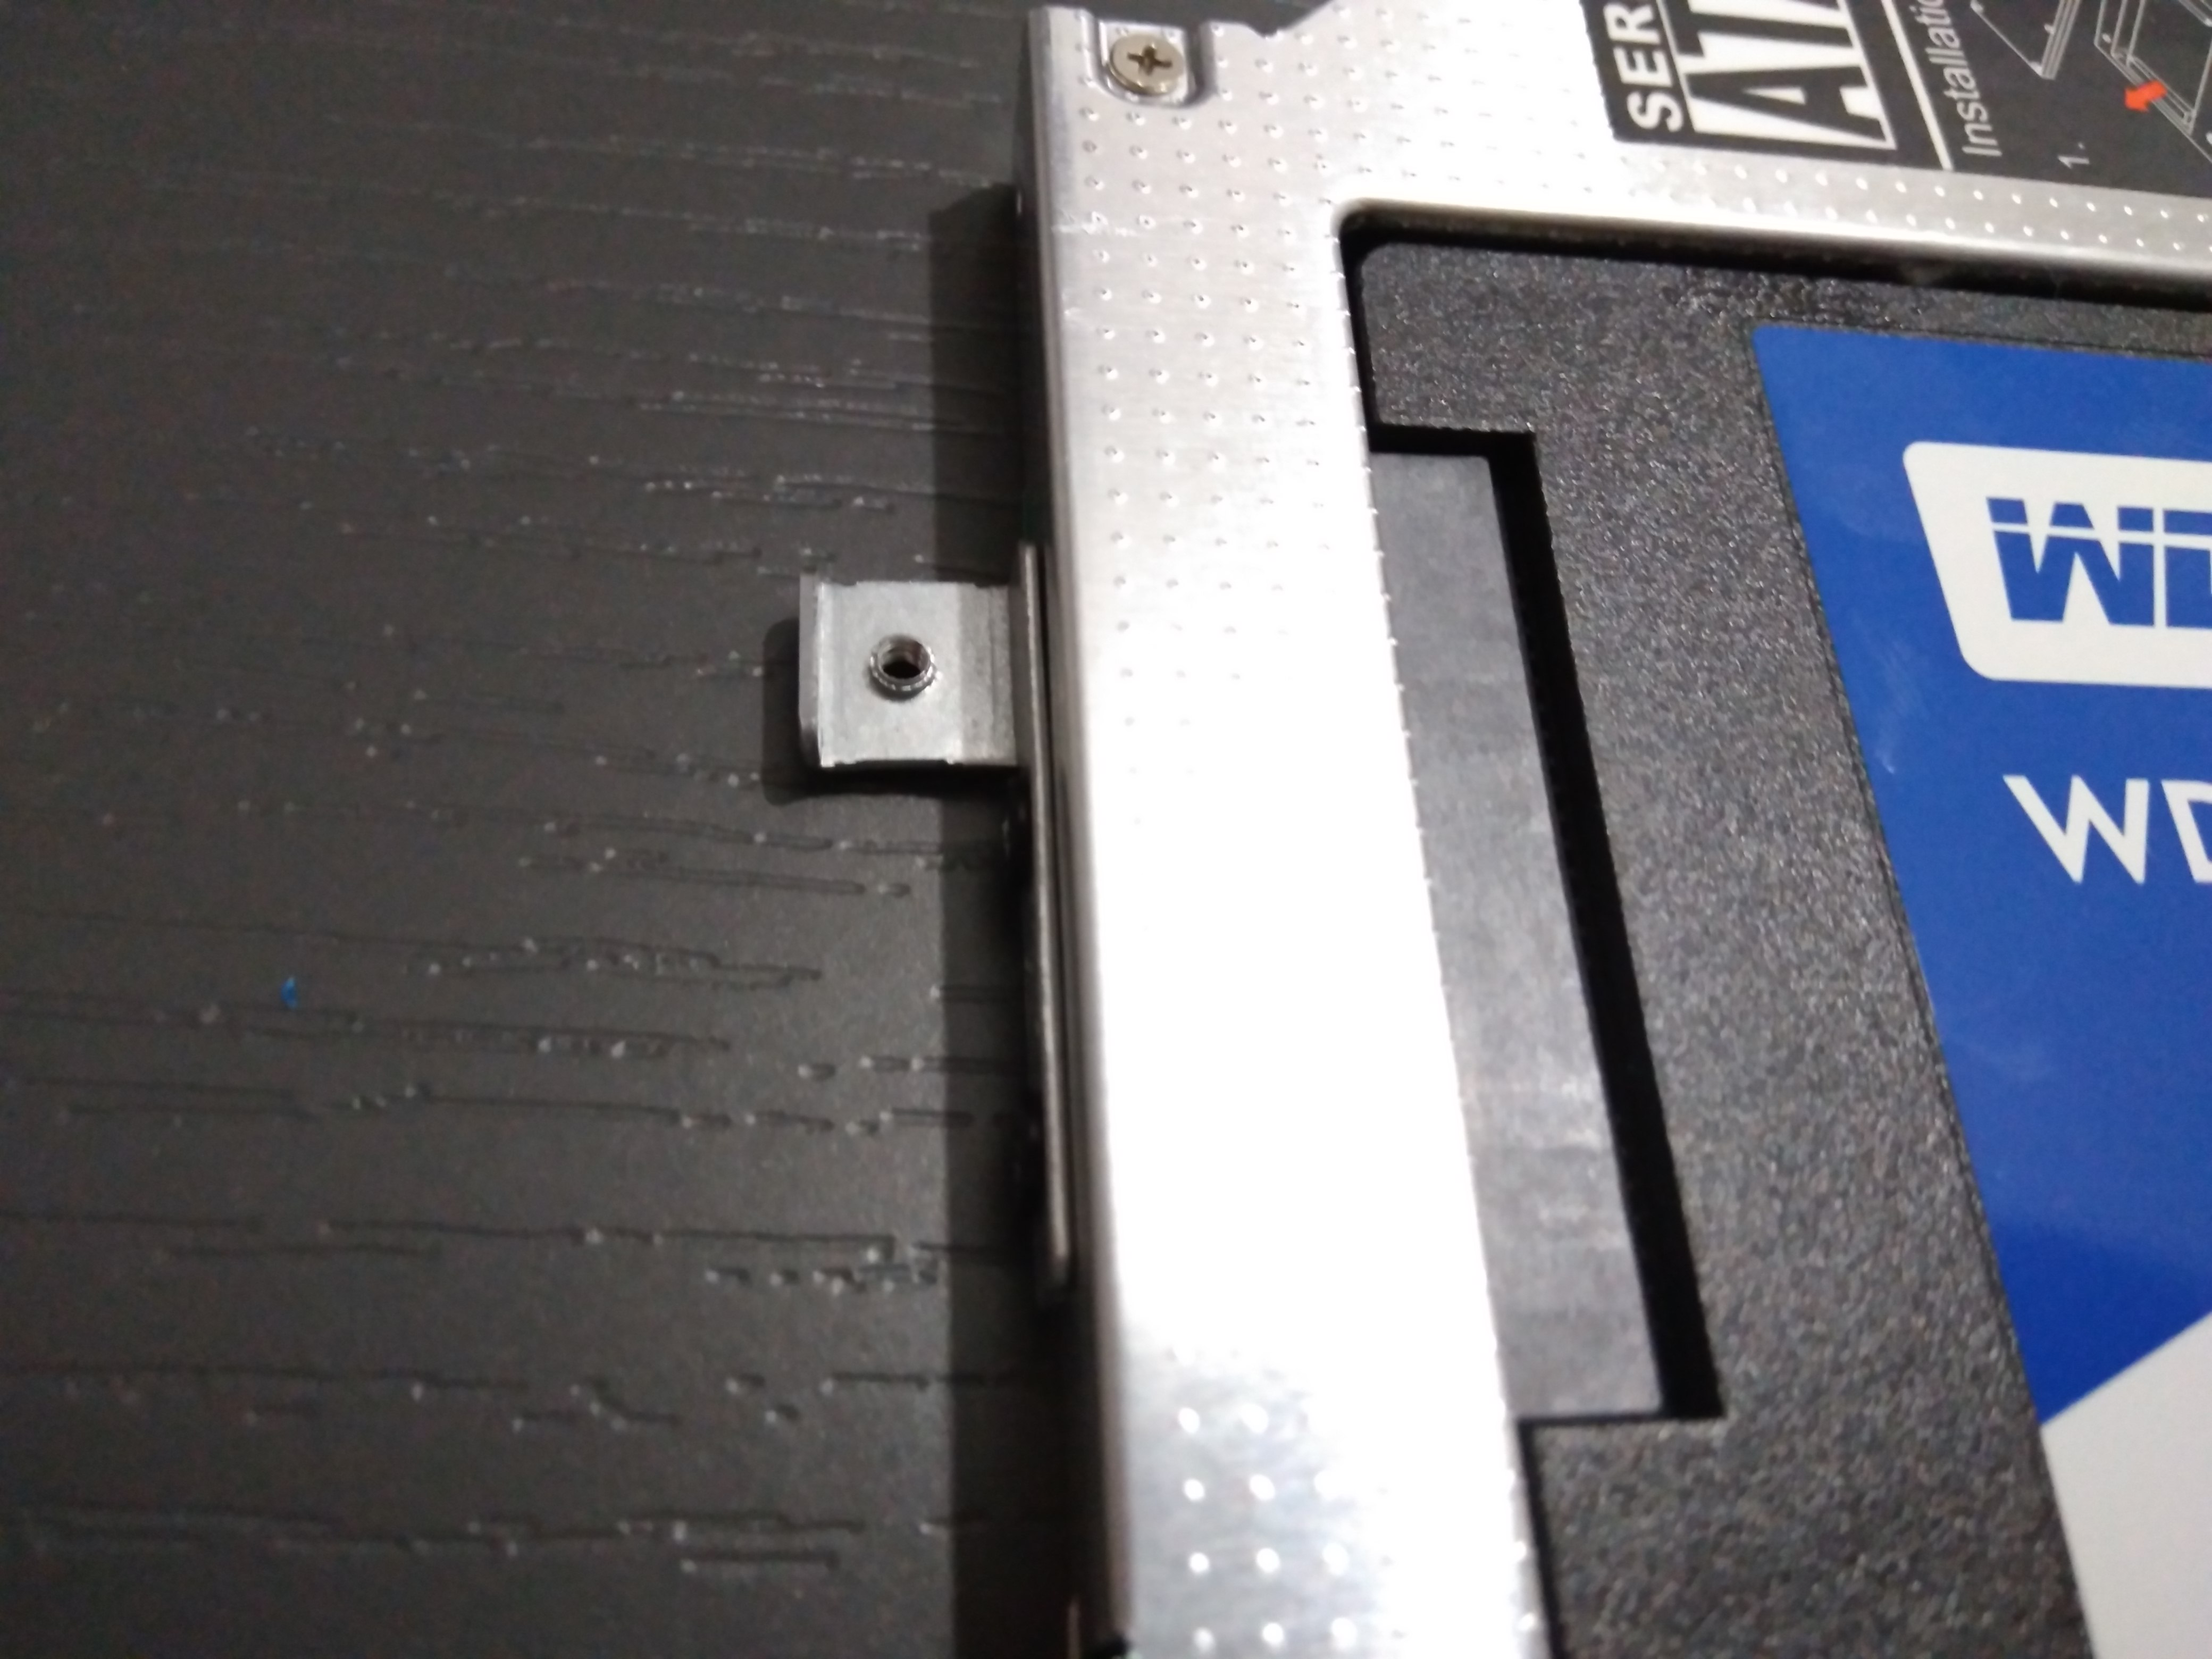
And insert the caddy with the SSD in the DVD bay (follow the previous section steps backwards).
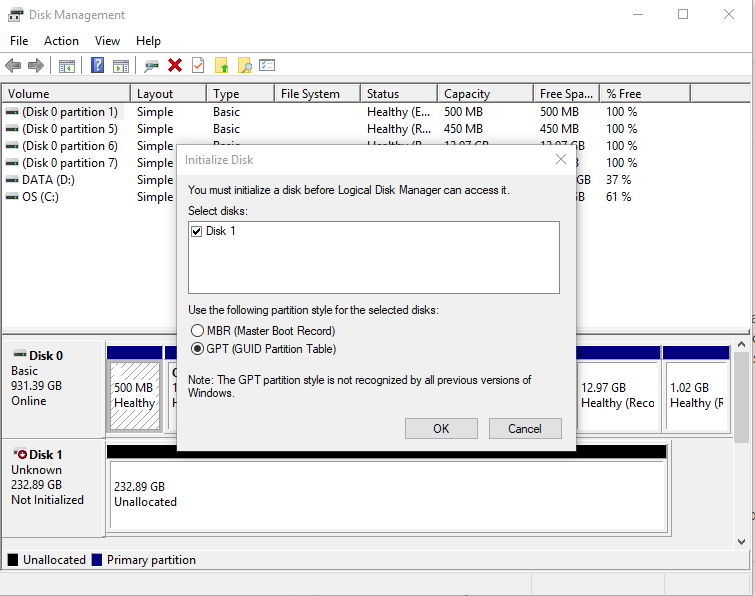
Initialize SSD disk
If its a newly bought disk you have to initilize it (otherwise, the cloning software would not show the SSD as a target disk):
- Run diskmgmt
- The Disk Management Tool will show a popup like the one showed in the image below. Select the same partition style (MBR or GPT) than your current disk (mine was GPT).
Clone system partitions from HDD to SSD
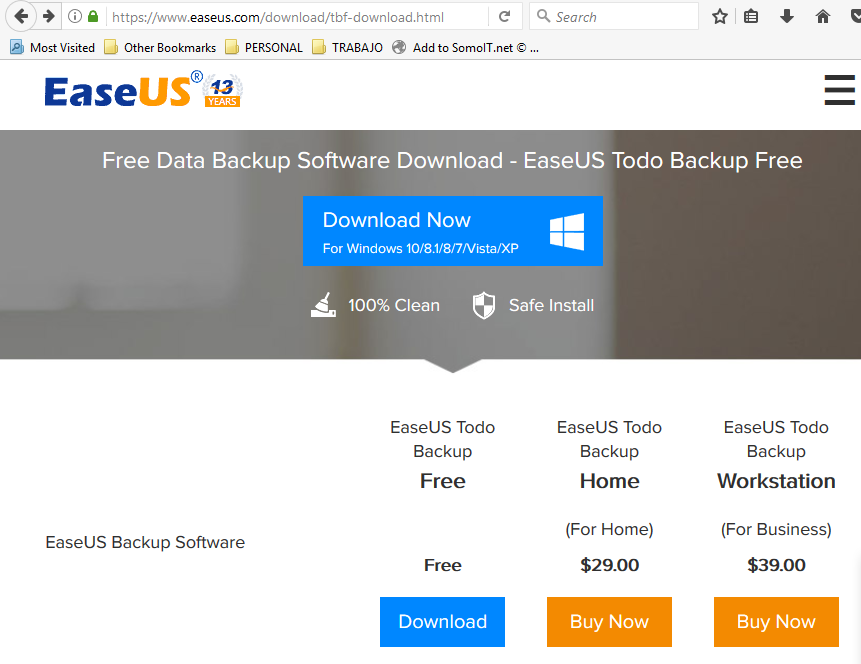
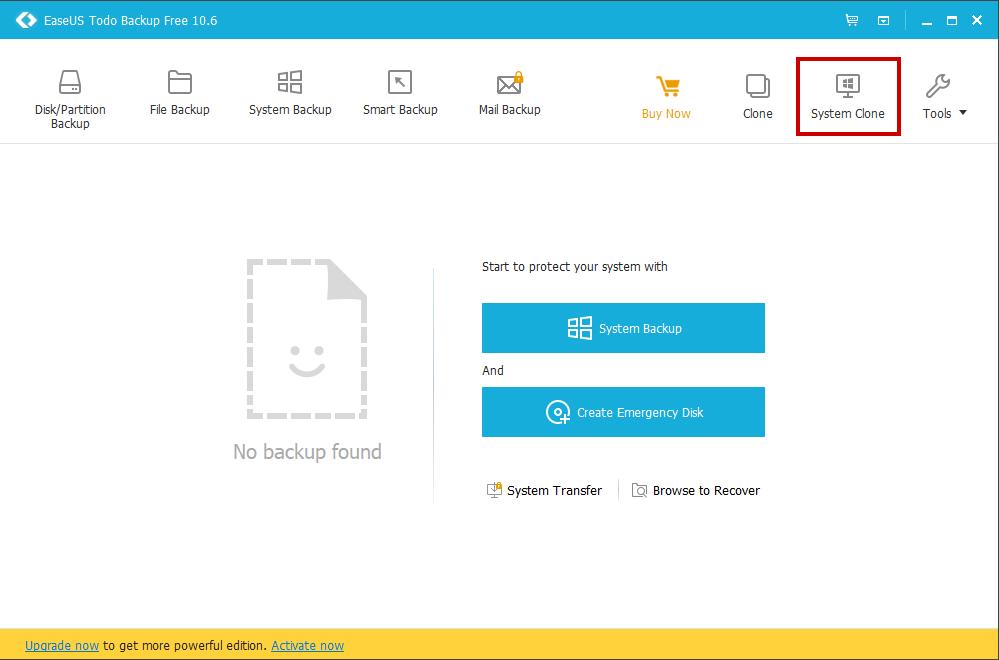
There are multiple options to clone the disk, but I used Ease Us Todo Backup Free
After installing it, select the “System Clone” option
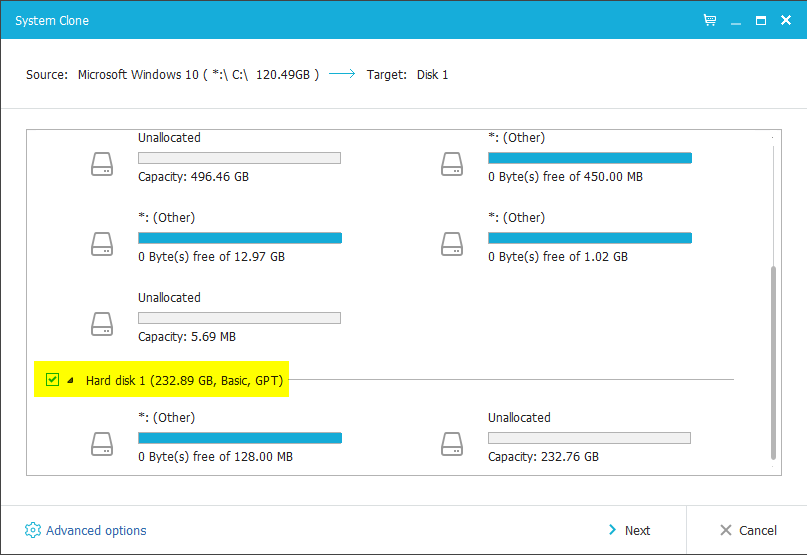
The software will select automatically the source partitions. Now, you must the destination disk. Select the recently initialiazed SSD drive as target and press “Next”
Depending on the source partitions sizes the time can vary. Wait until it finishes and press “Finish”:
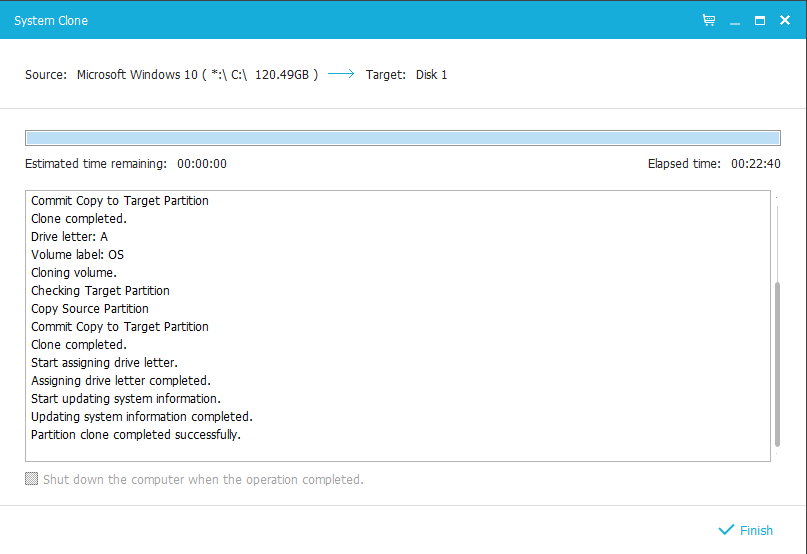
Once cloned you can power off your laptop to proceed to swap the SSD with the HDD
Install SSD primary and HDD secondary
Extract the SSD from the caddy
Like performed in this previous step, extract the caddy from the DVD bay and then extract the SSD from the caddy.
Swap HDD with the SSD
Once again, remove battery. Slide latch to the left to unlock and remove battery:
Remove both marked screws and then you can open the panel
Unplug hard drive bus, remove all 4 screws to lift out the HDD from the laptop
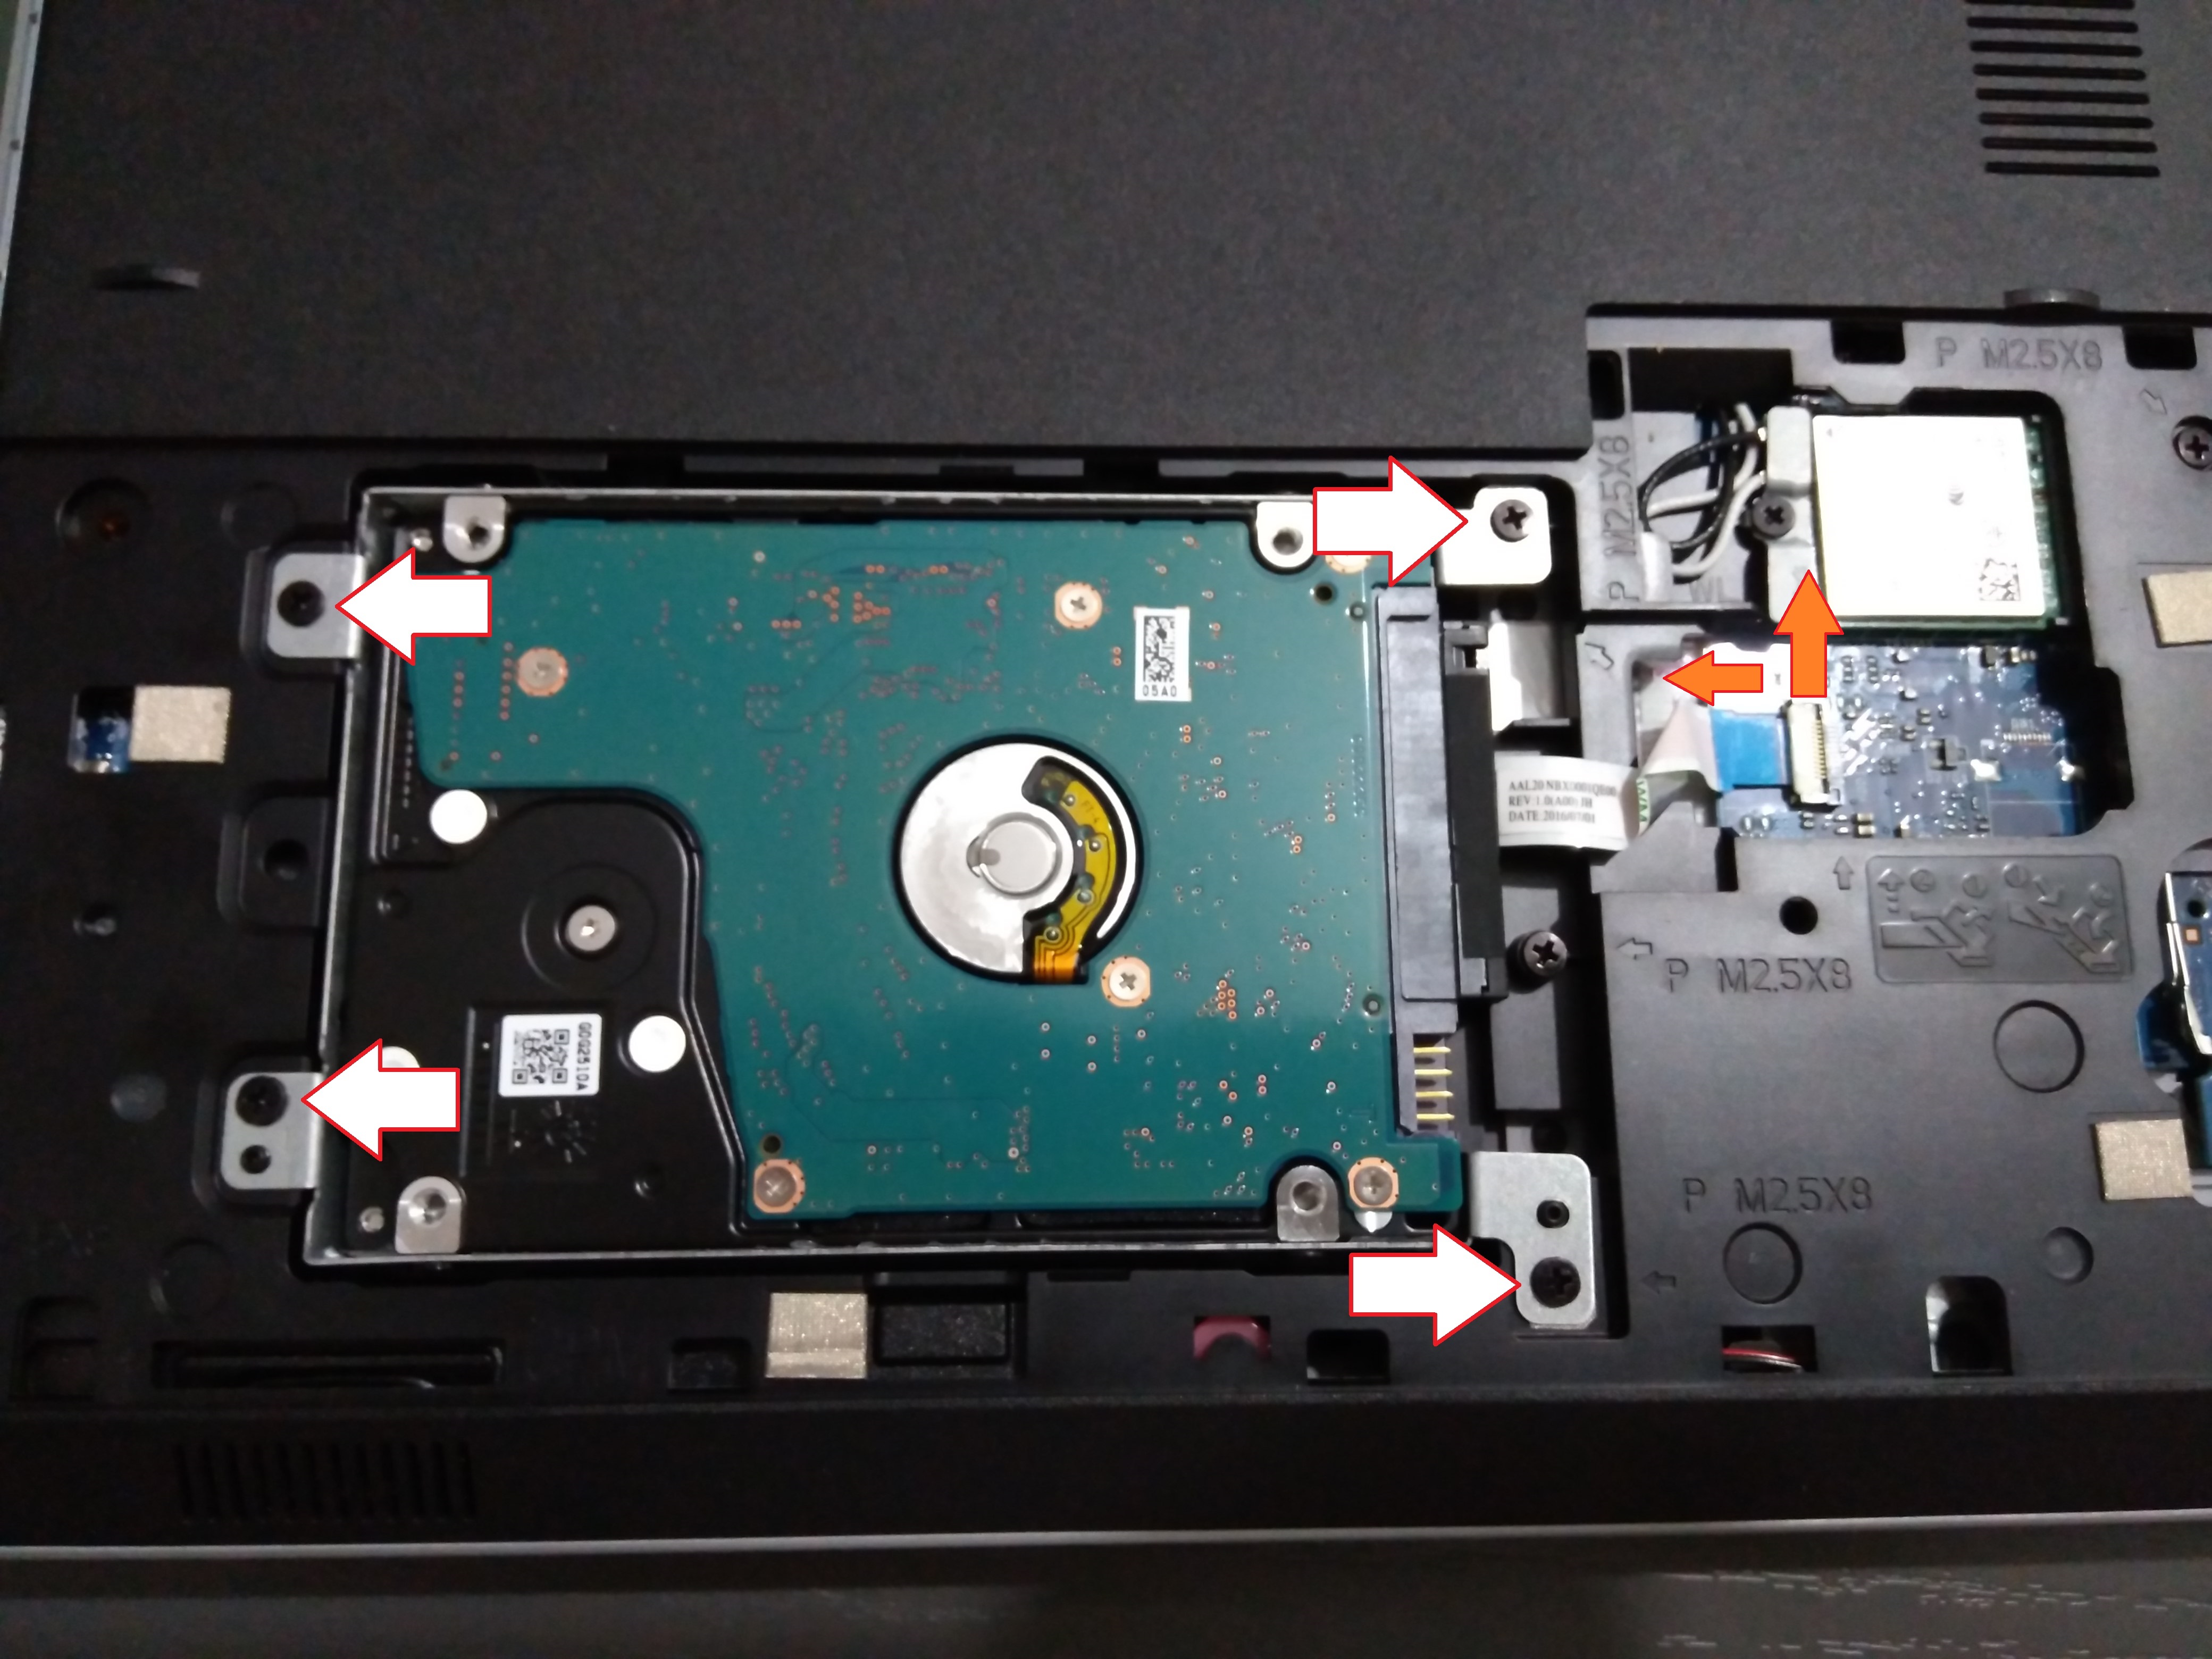
Remove another 4 screws to remove the hard drive from the caddy
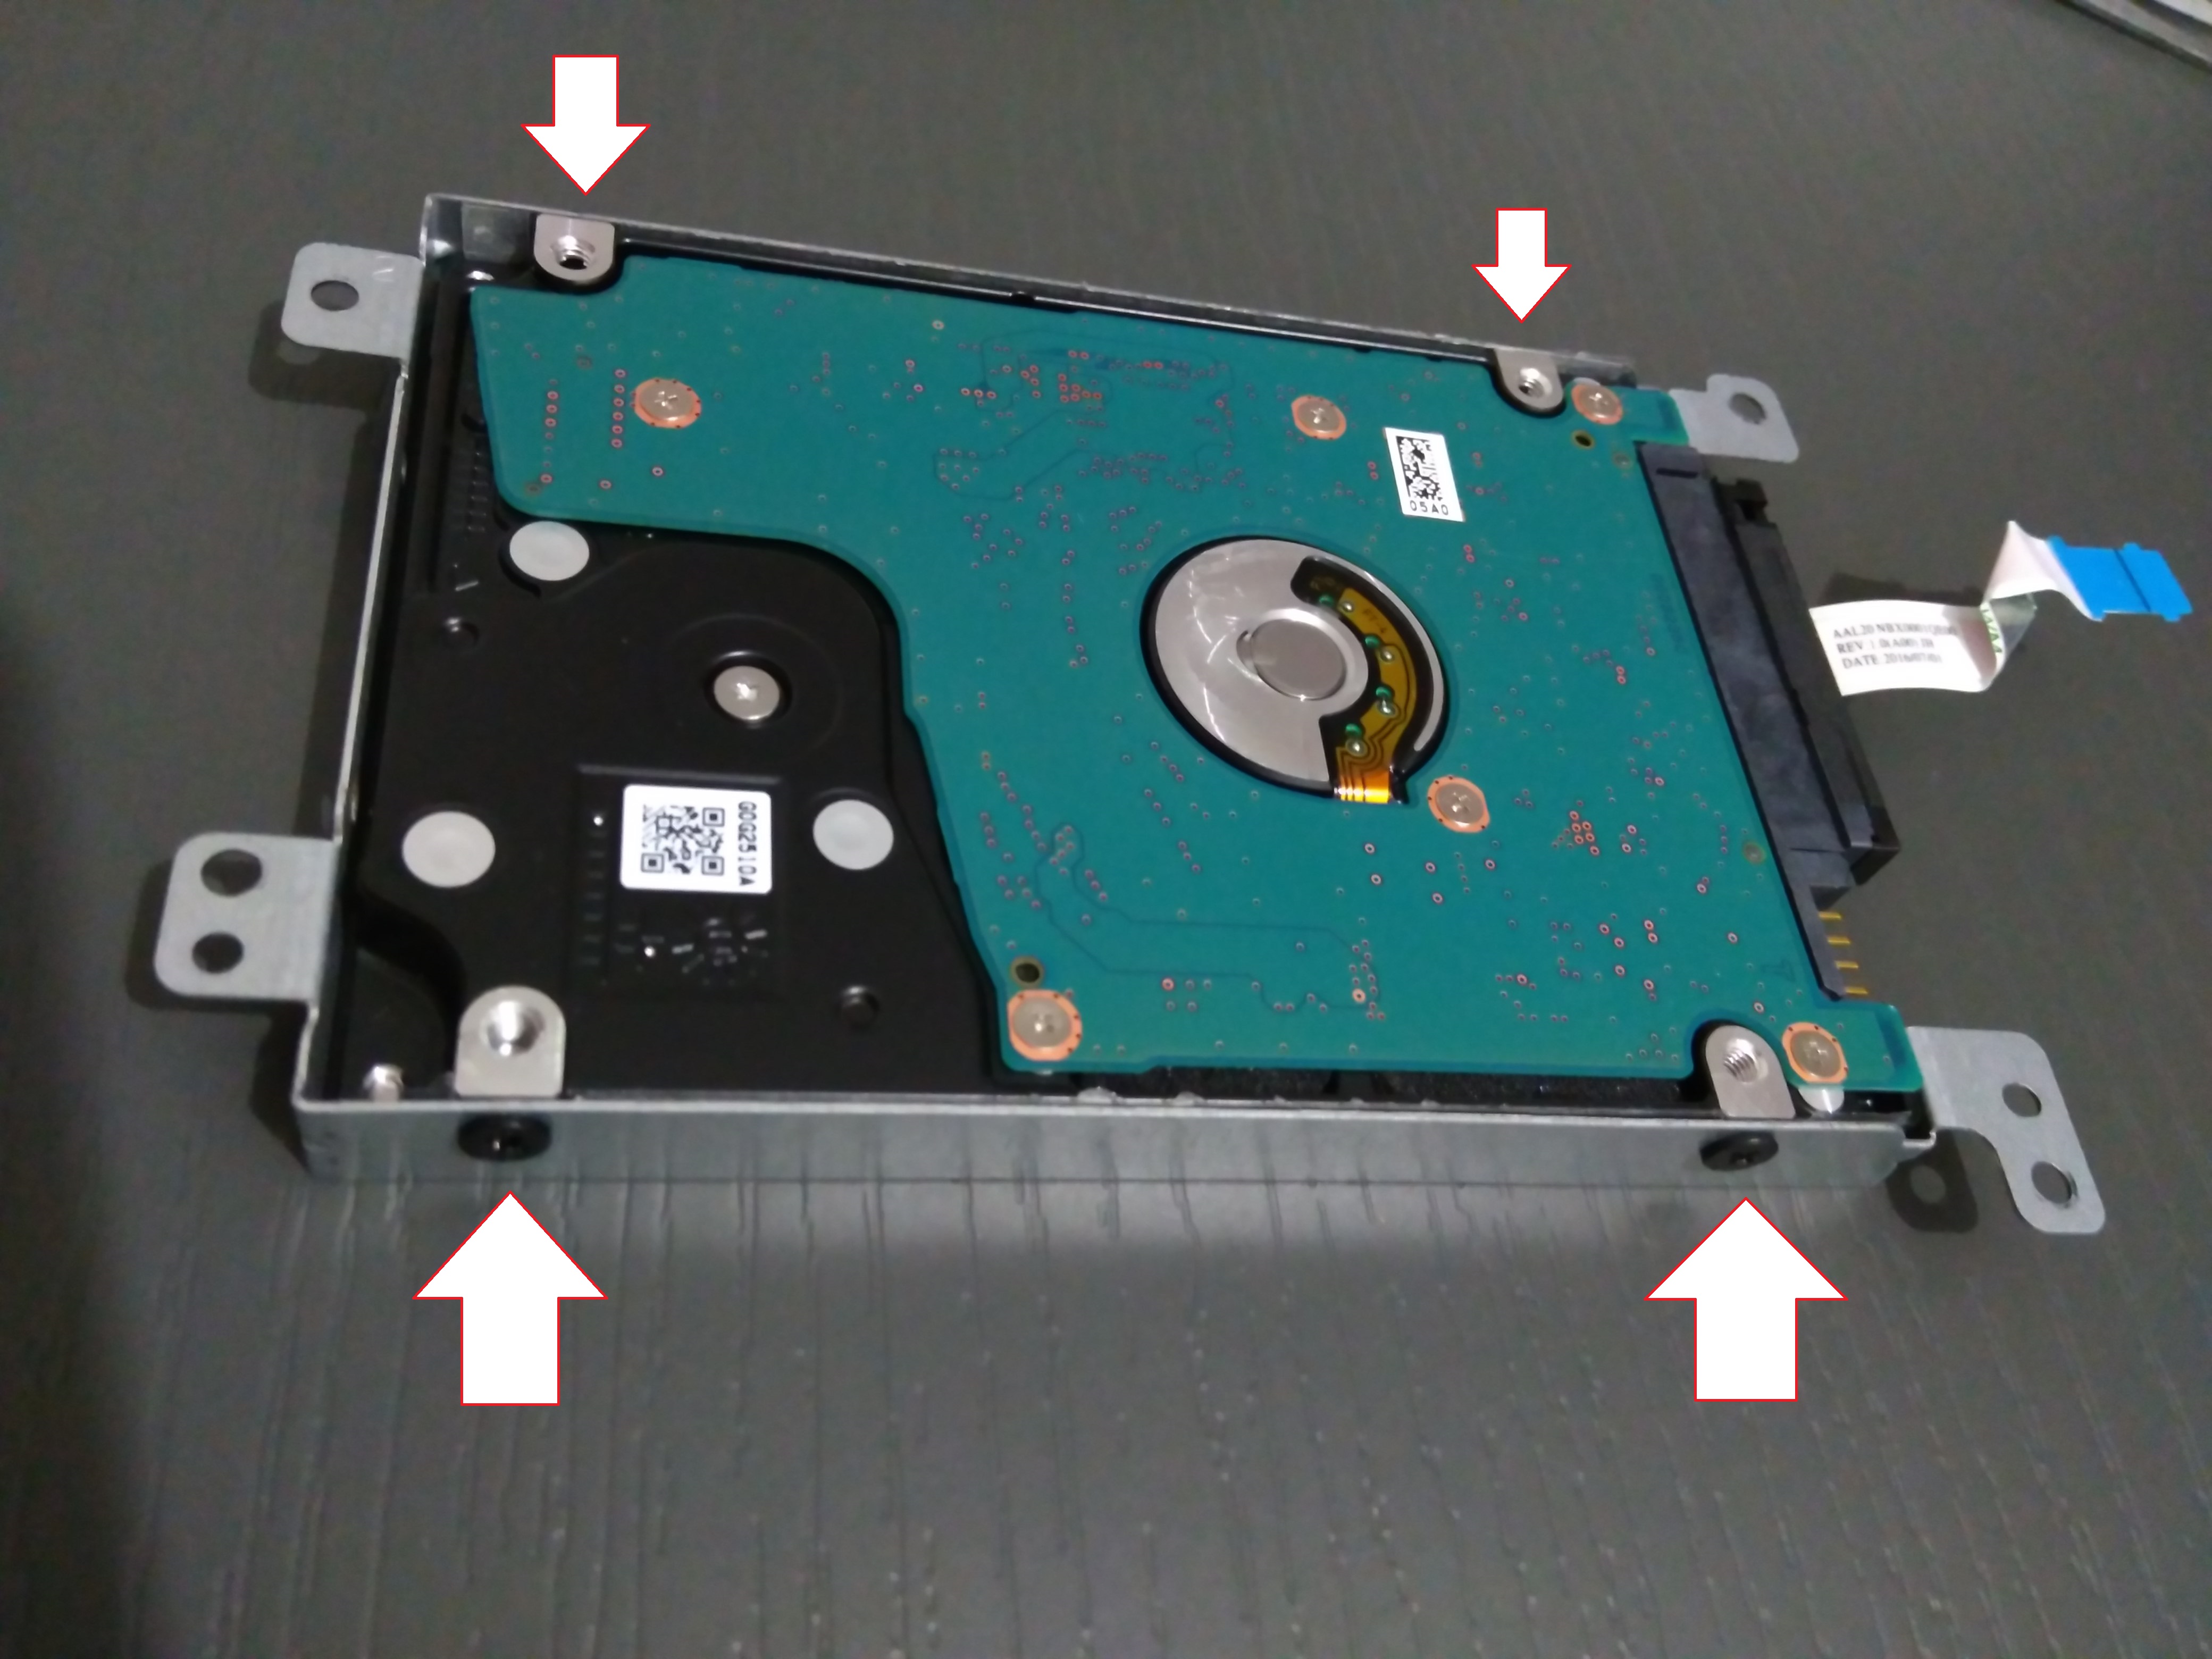
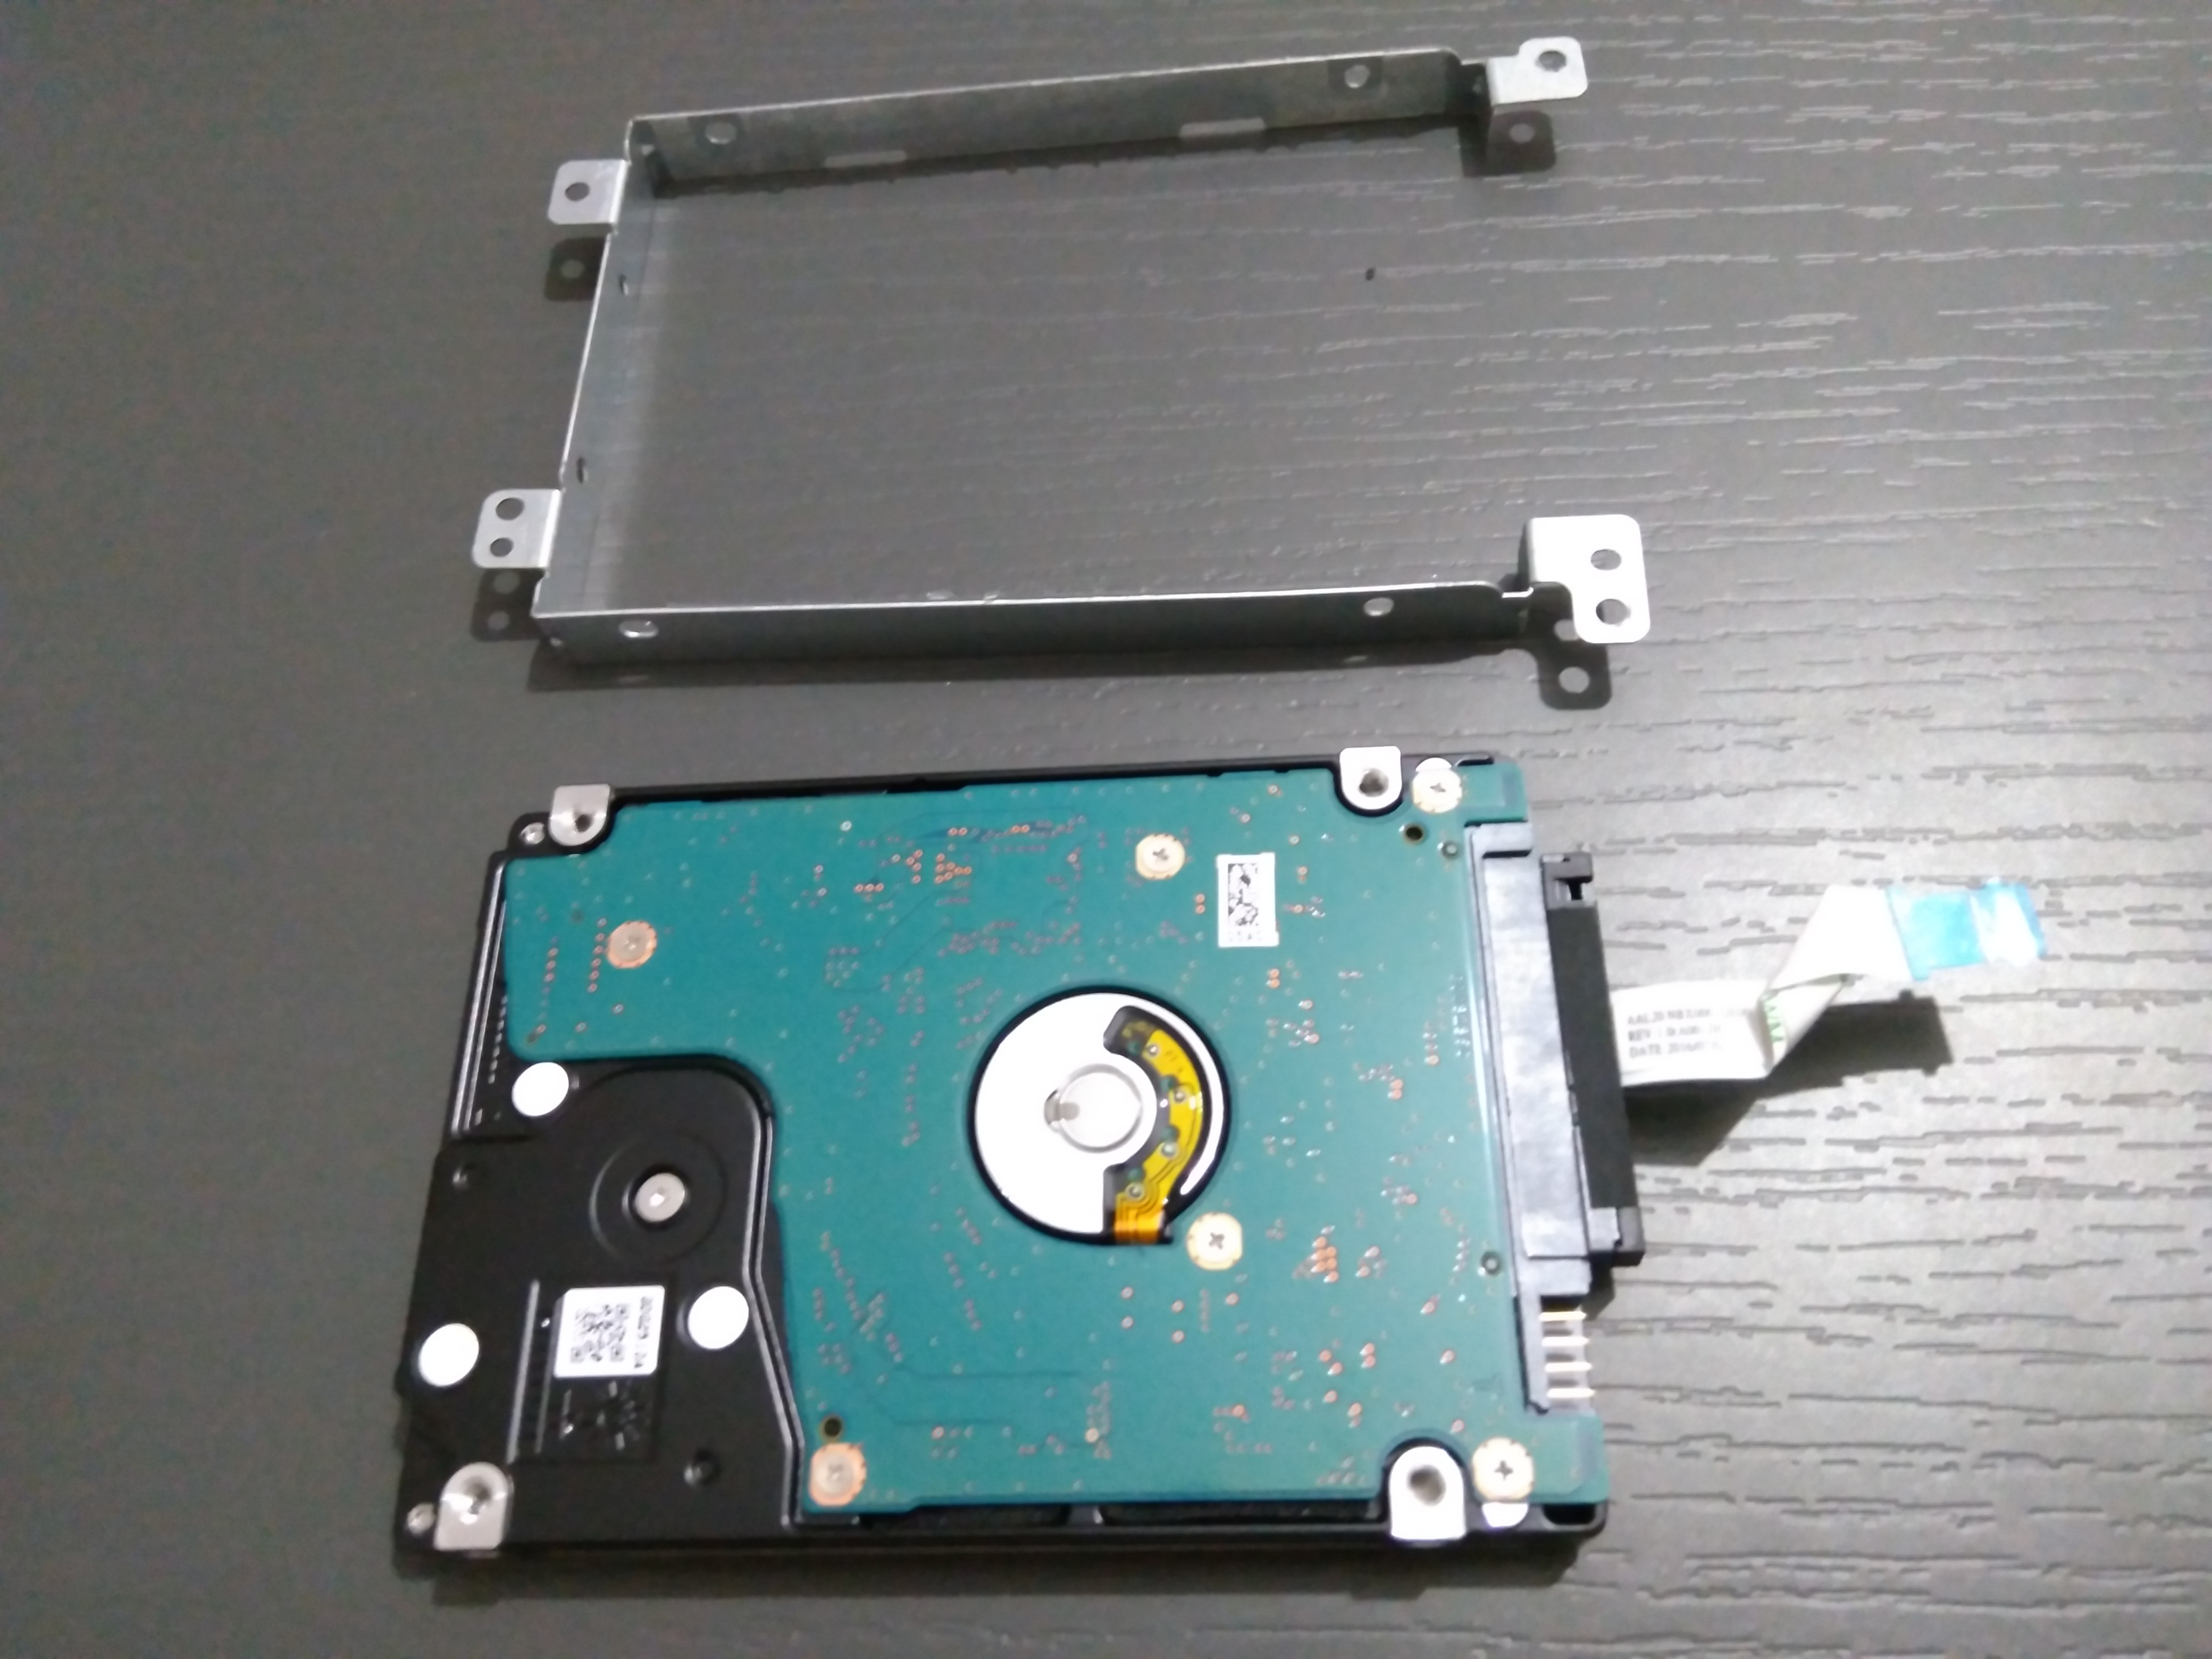
Remove the SATA connector
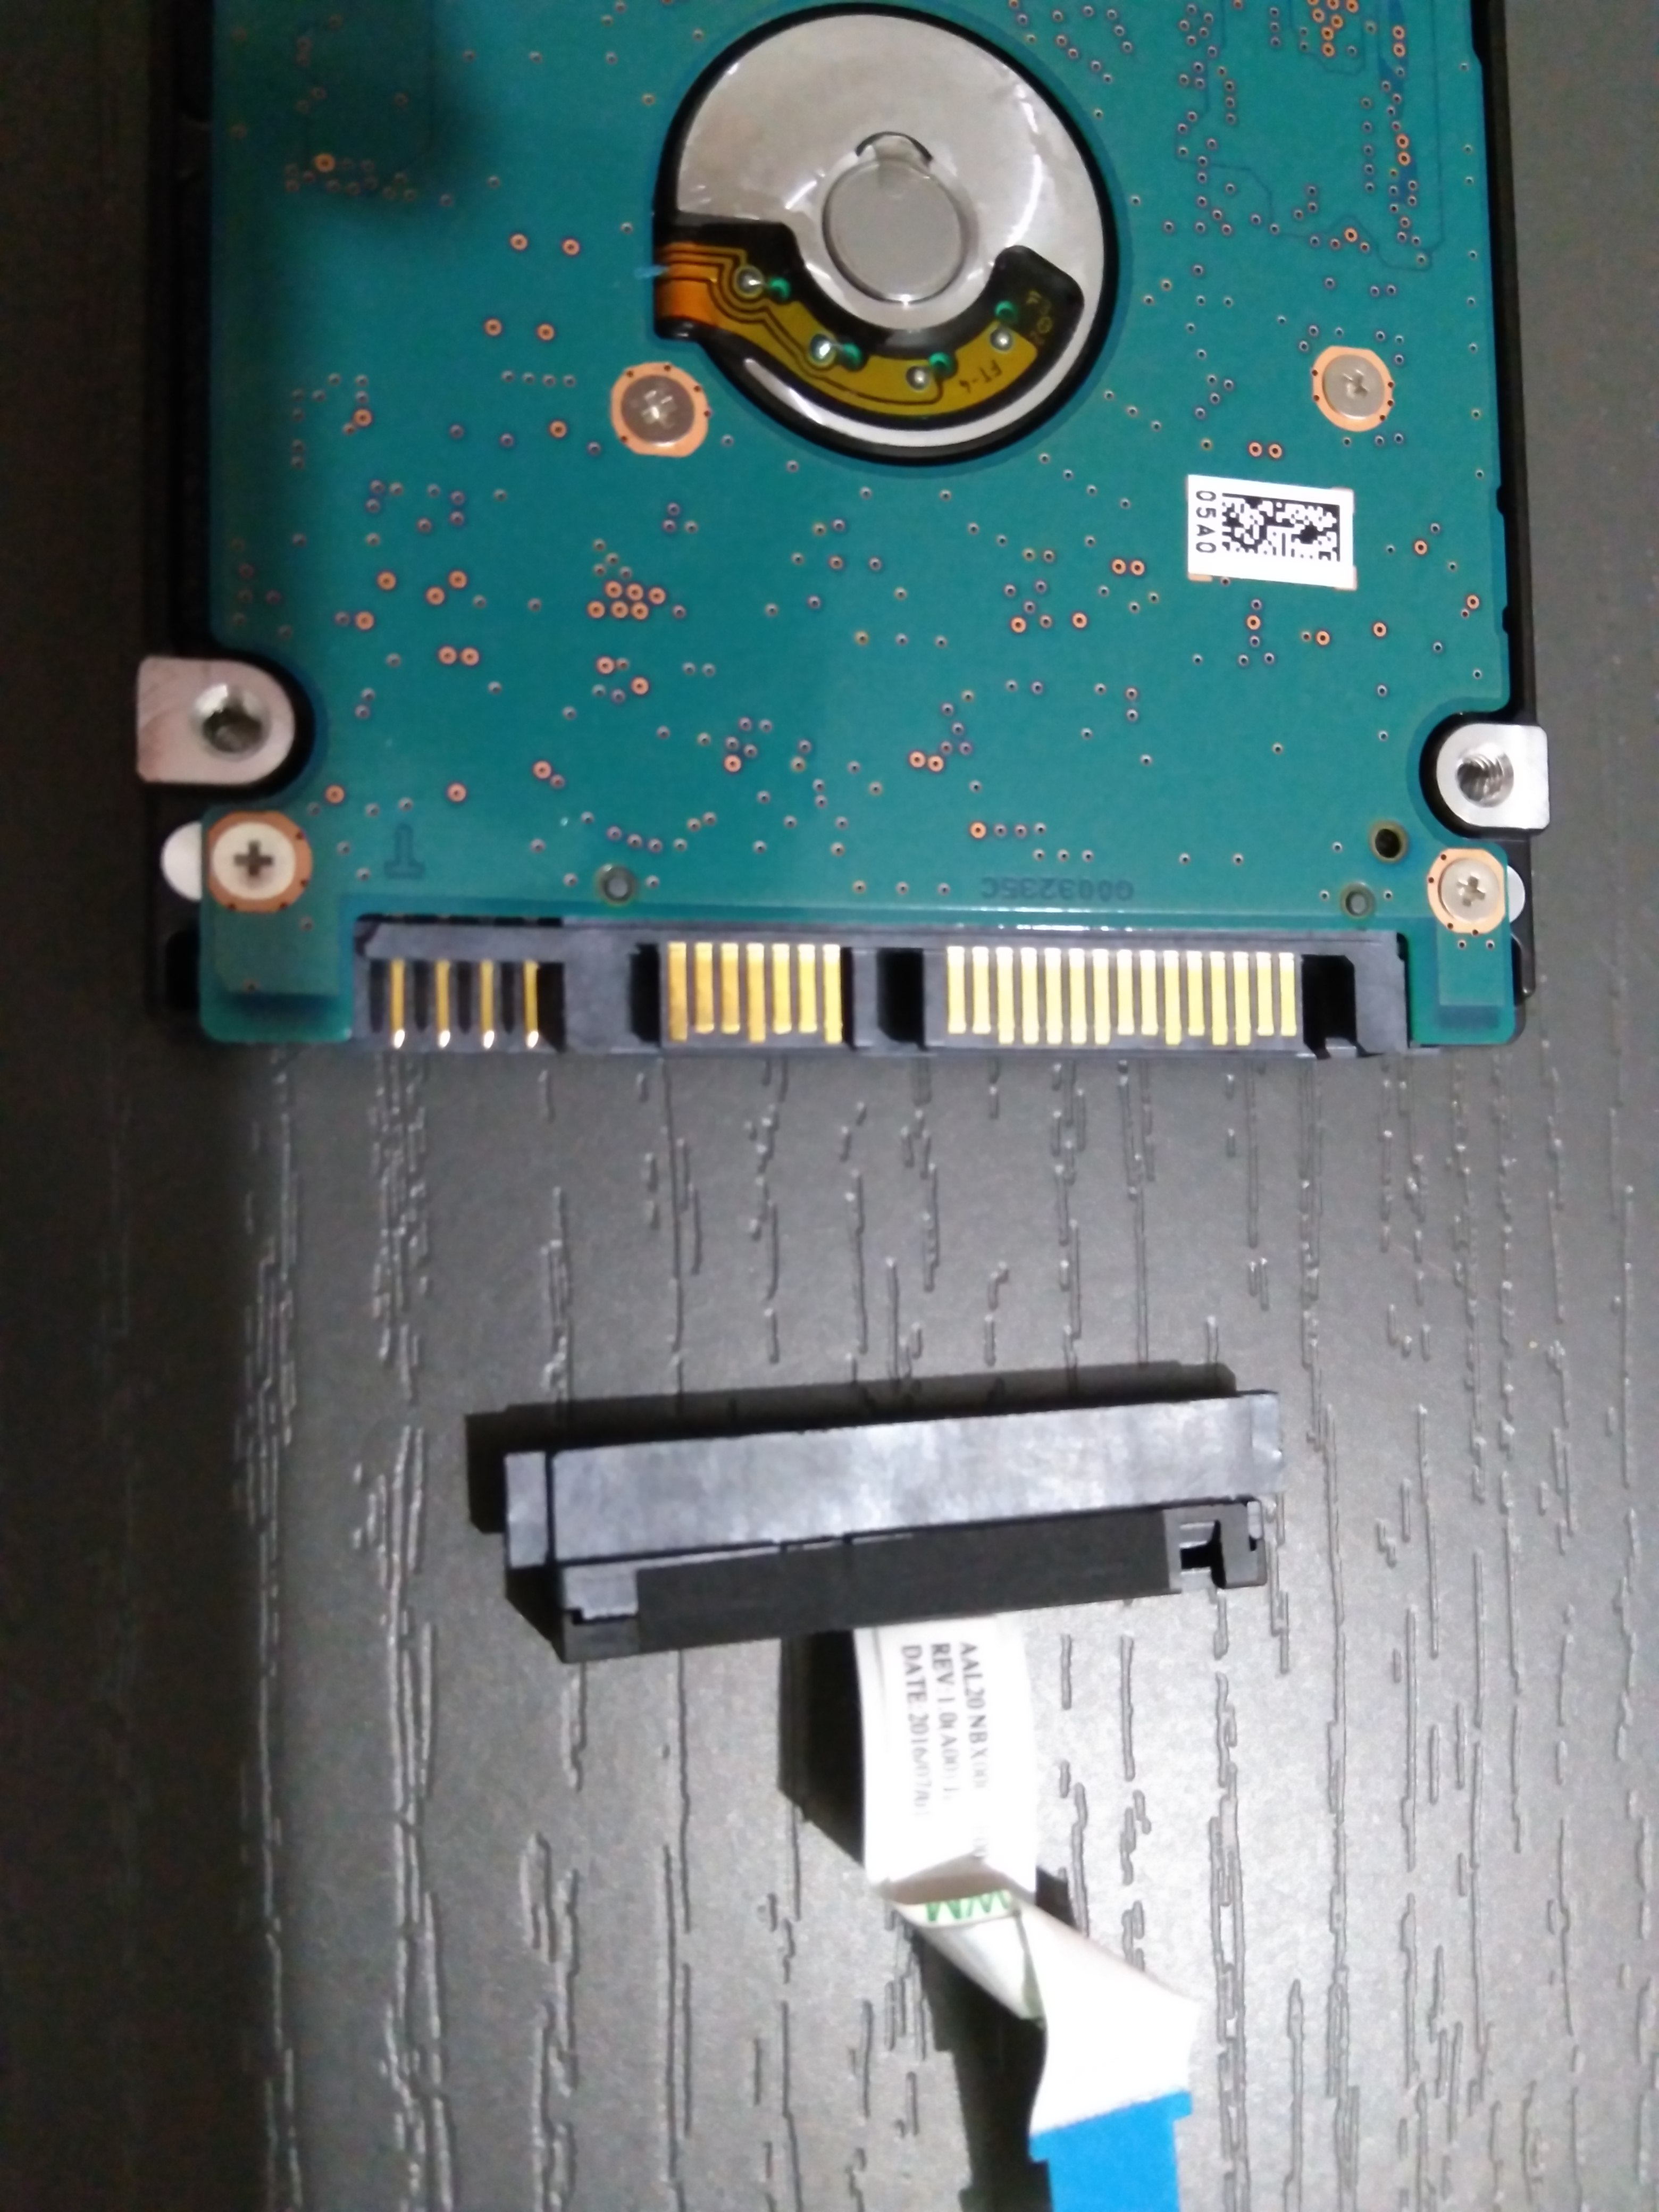
Now you can revert the procedure to install the SSD in the laptop…
Place the SSD in the caddy and fix it by adding the screws
Insert it in the laptop and fix it with another 4 screws
Dont forget to connect the SATA bus again

Replace ODD with HDD
Now, the same procedure explained previously here can used to connect the SSD in the DVD bay can be applied for the HDD.
Boot up and ensure disks are detected
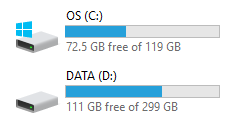
The moment of truth has now arrived. Power on your laptop and wait for windows to boot up. You should see it boots up much more faster and that you have all your settings and software like before migrating to the new disk…
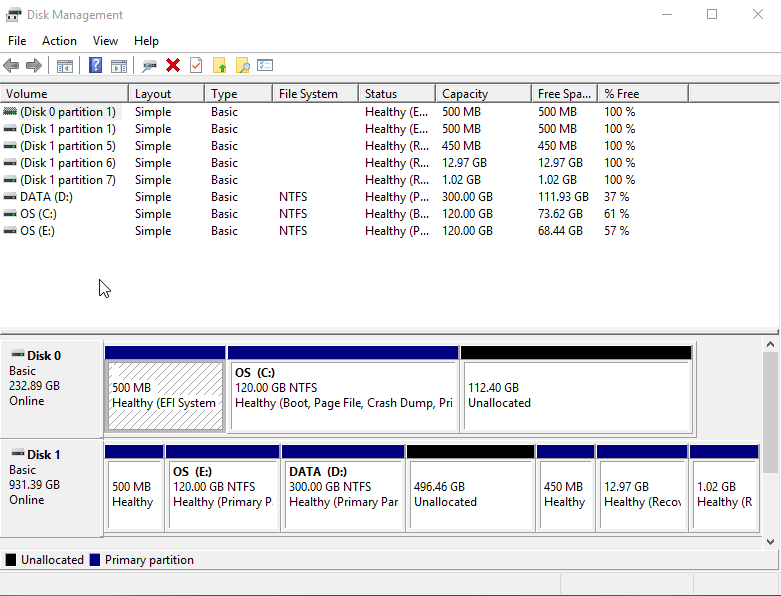
Check both disks are detected:
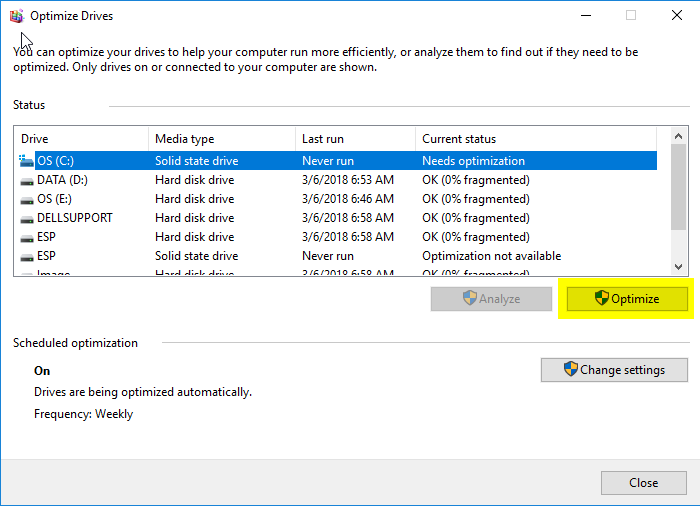
Optimize SSD disk partition
For better performance, run “defrag”, the tool to defragment and optimize drives. The Solid State drive should have been recognized. Select it and press “Optimize”
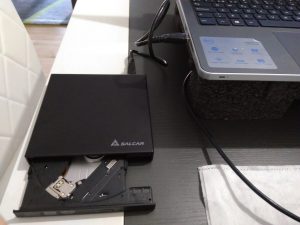
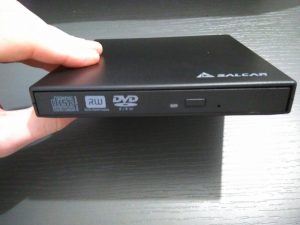
DVD as external device (optional)
Now the laptop is working with both disks, its time to use the adapter to allow using the internal optical disk drive with a USB connection.
Insert the DVD in the adapter.
Ensure you insert it correctly to make fit the SATA connectors.
Add the front panel
Use the USB cable to connect it to the laptop and test it works correctly!