This is the 6th post of the “Home Server” series. In the last post we installed the ESX system in the SSD disk. The idea is to use 2 disks in Raid1 as data storage (RAID1 data mirroring. If one disk fails, you can still work with a single one until the failed is replaced without any data loss!).
Physical disk installation
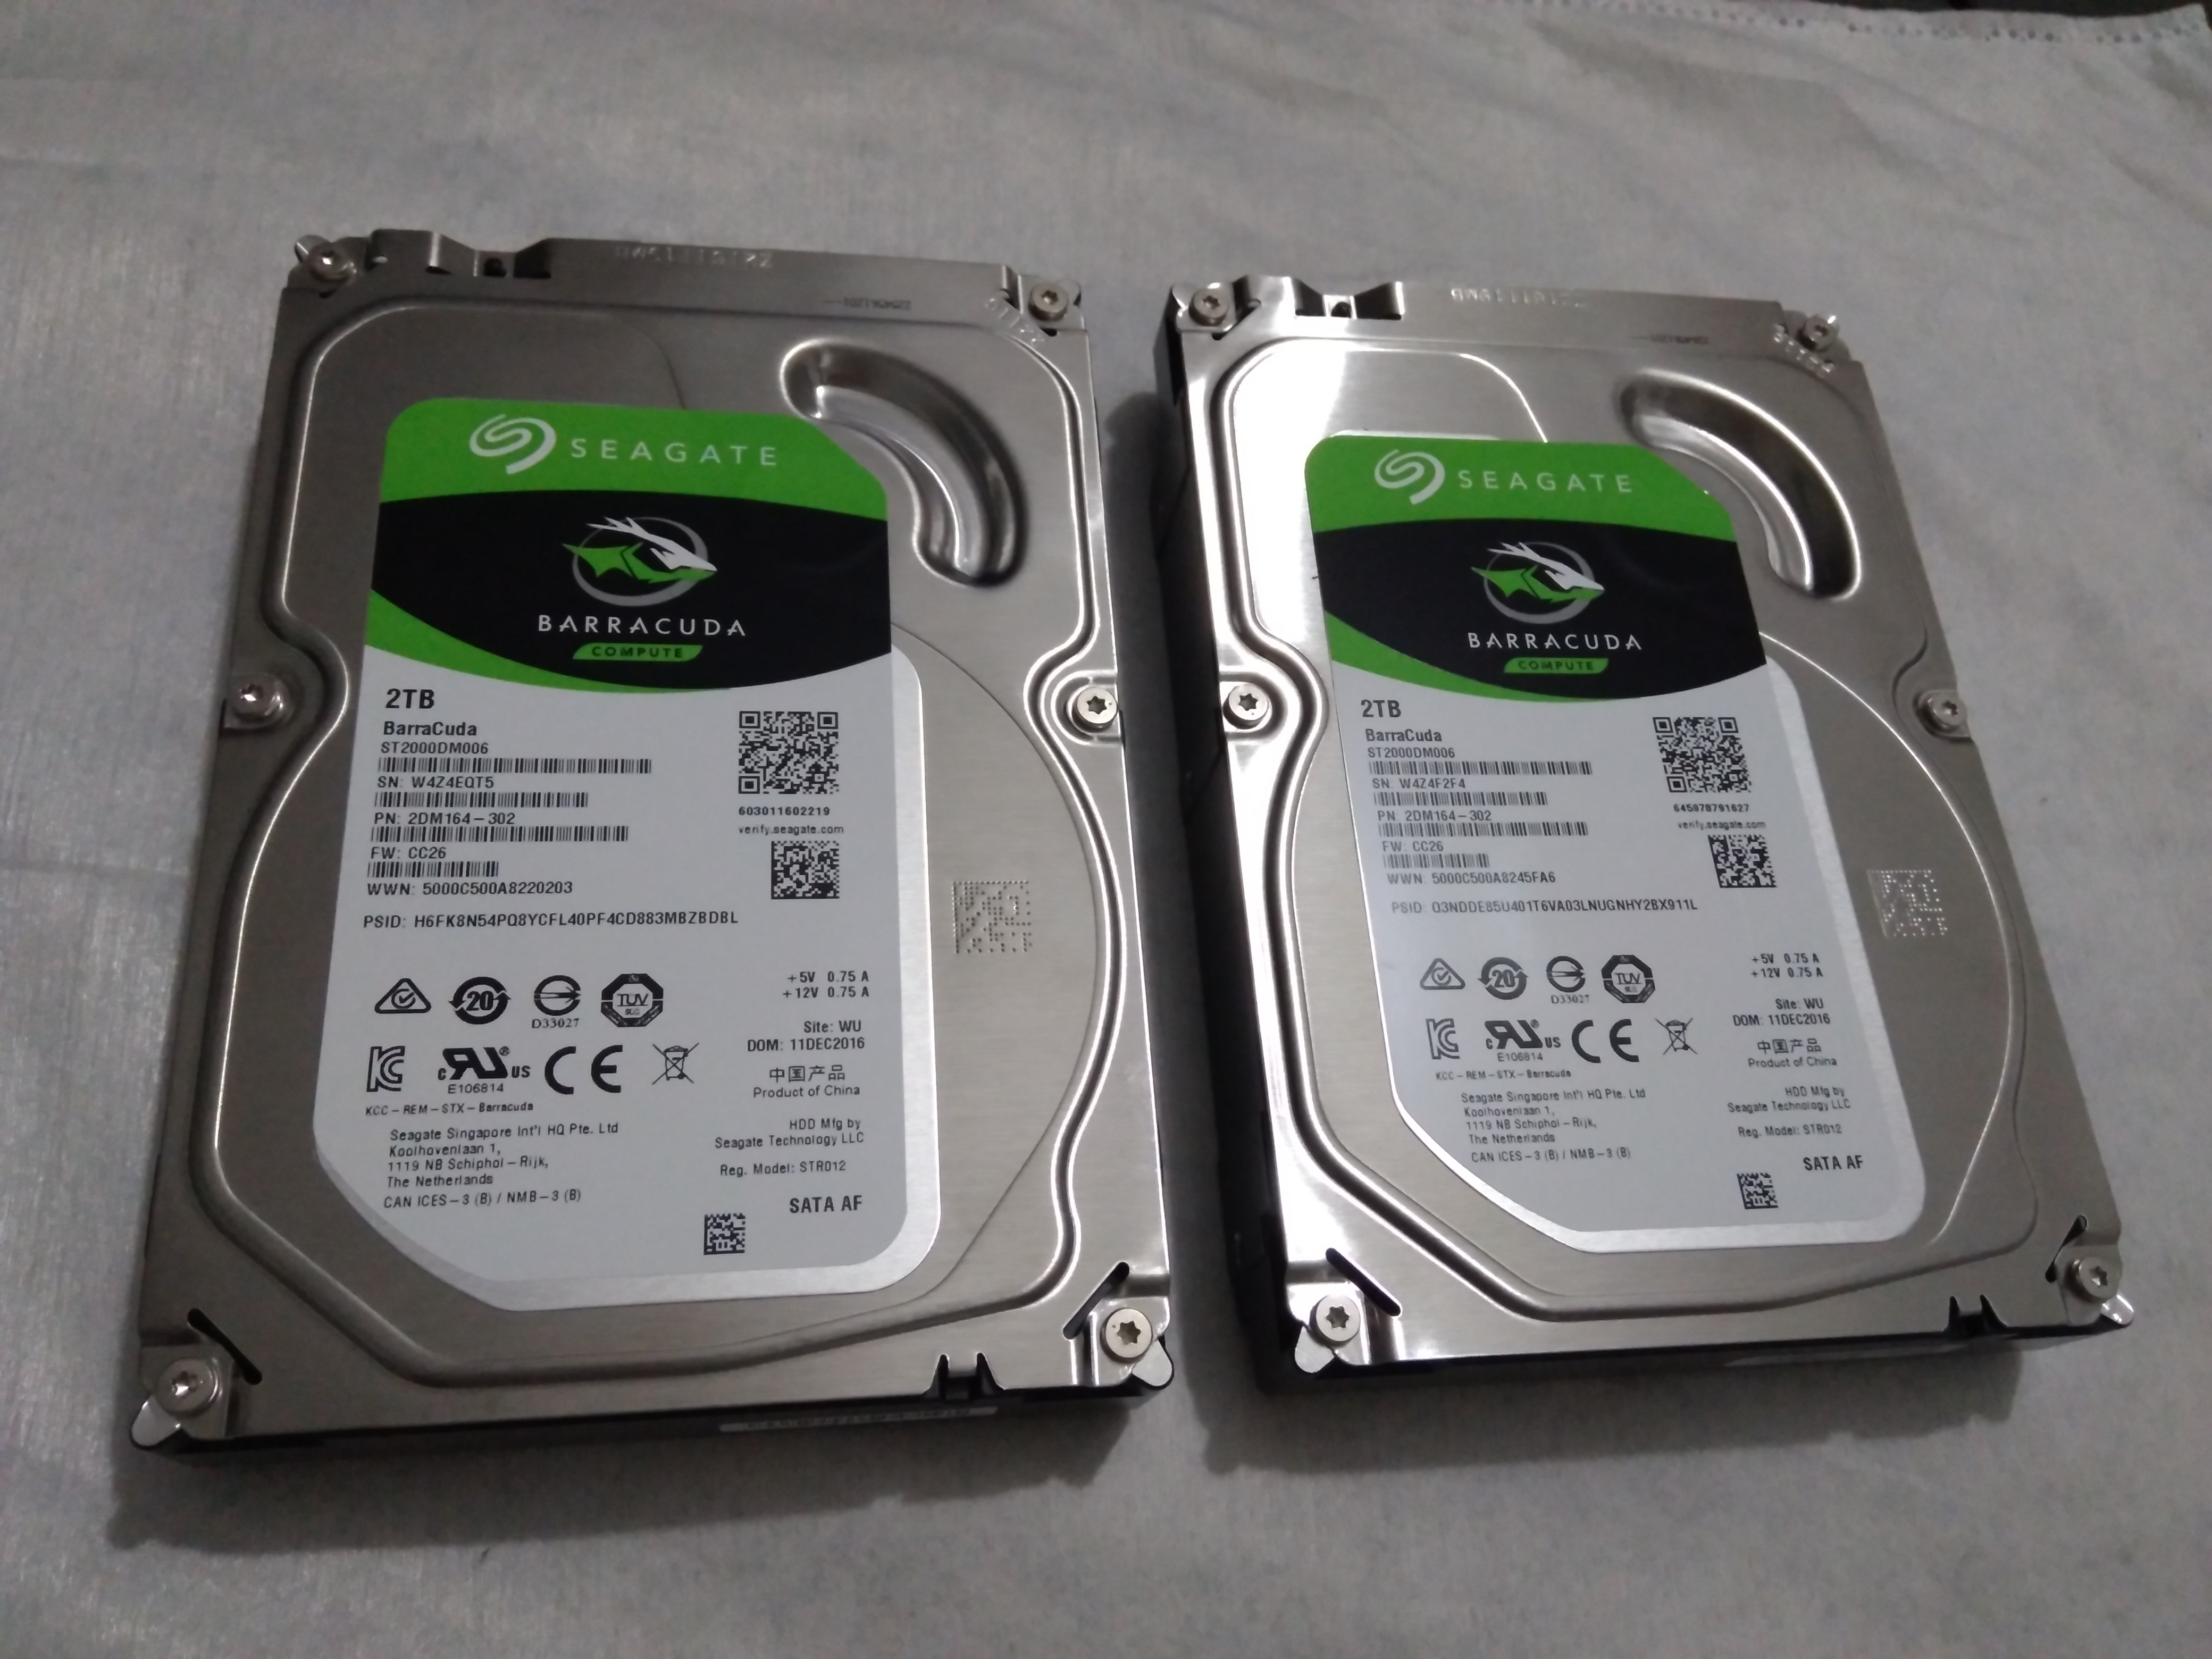
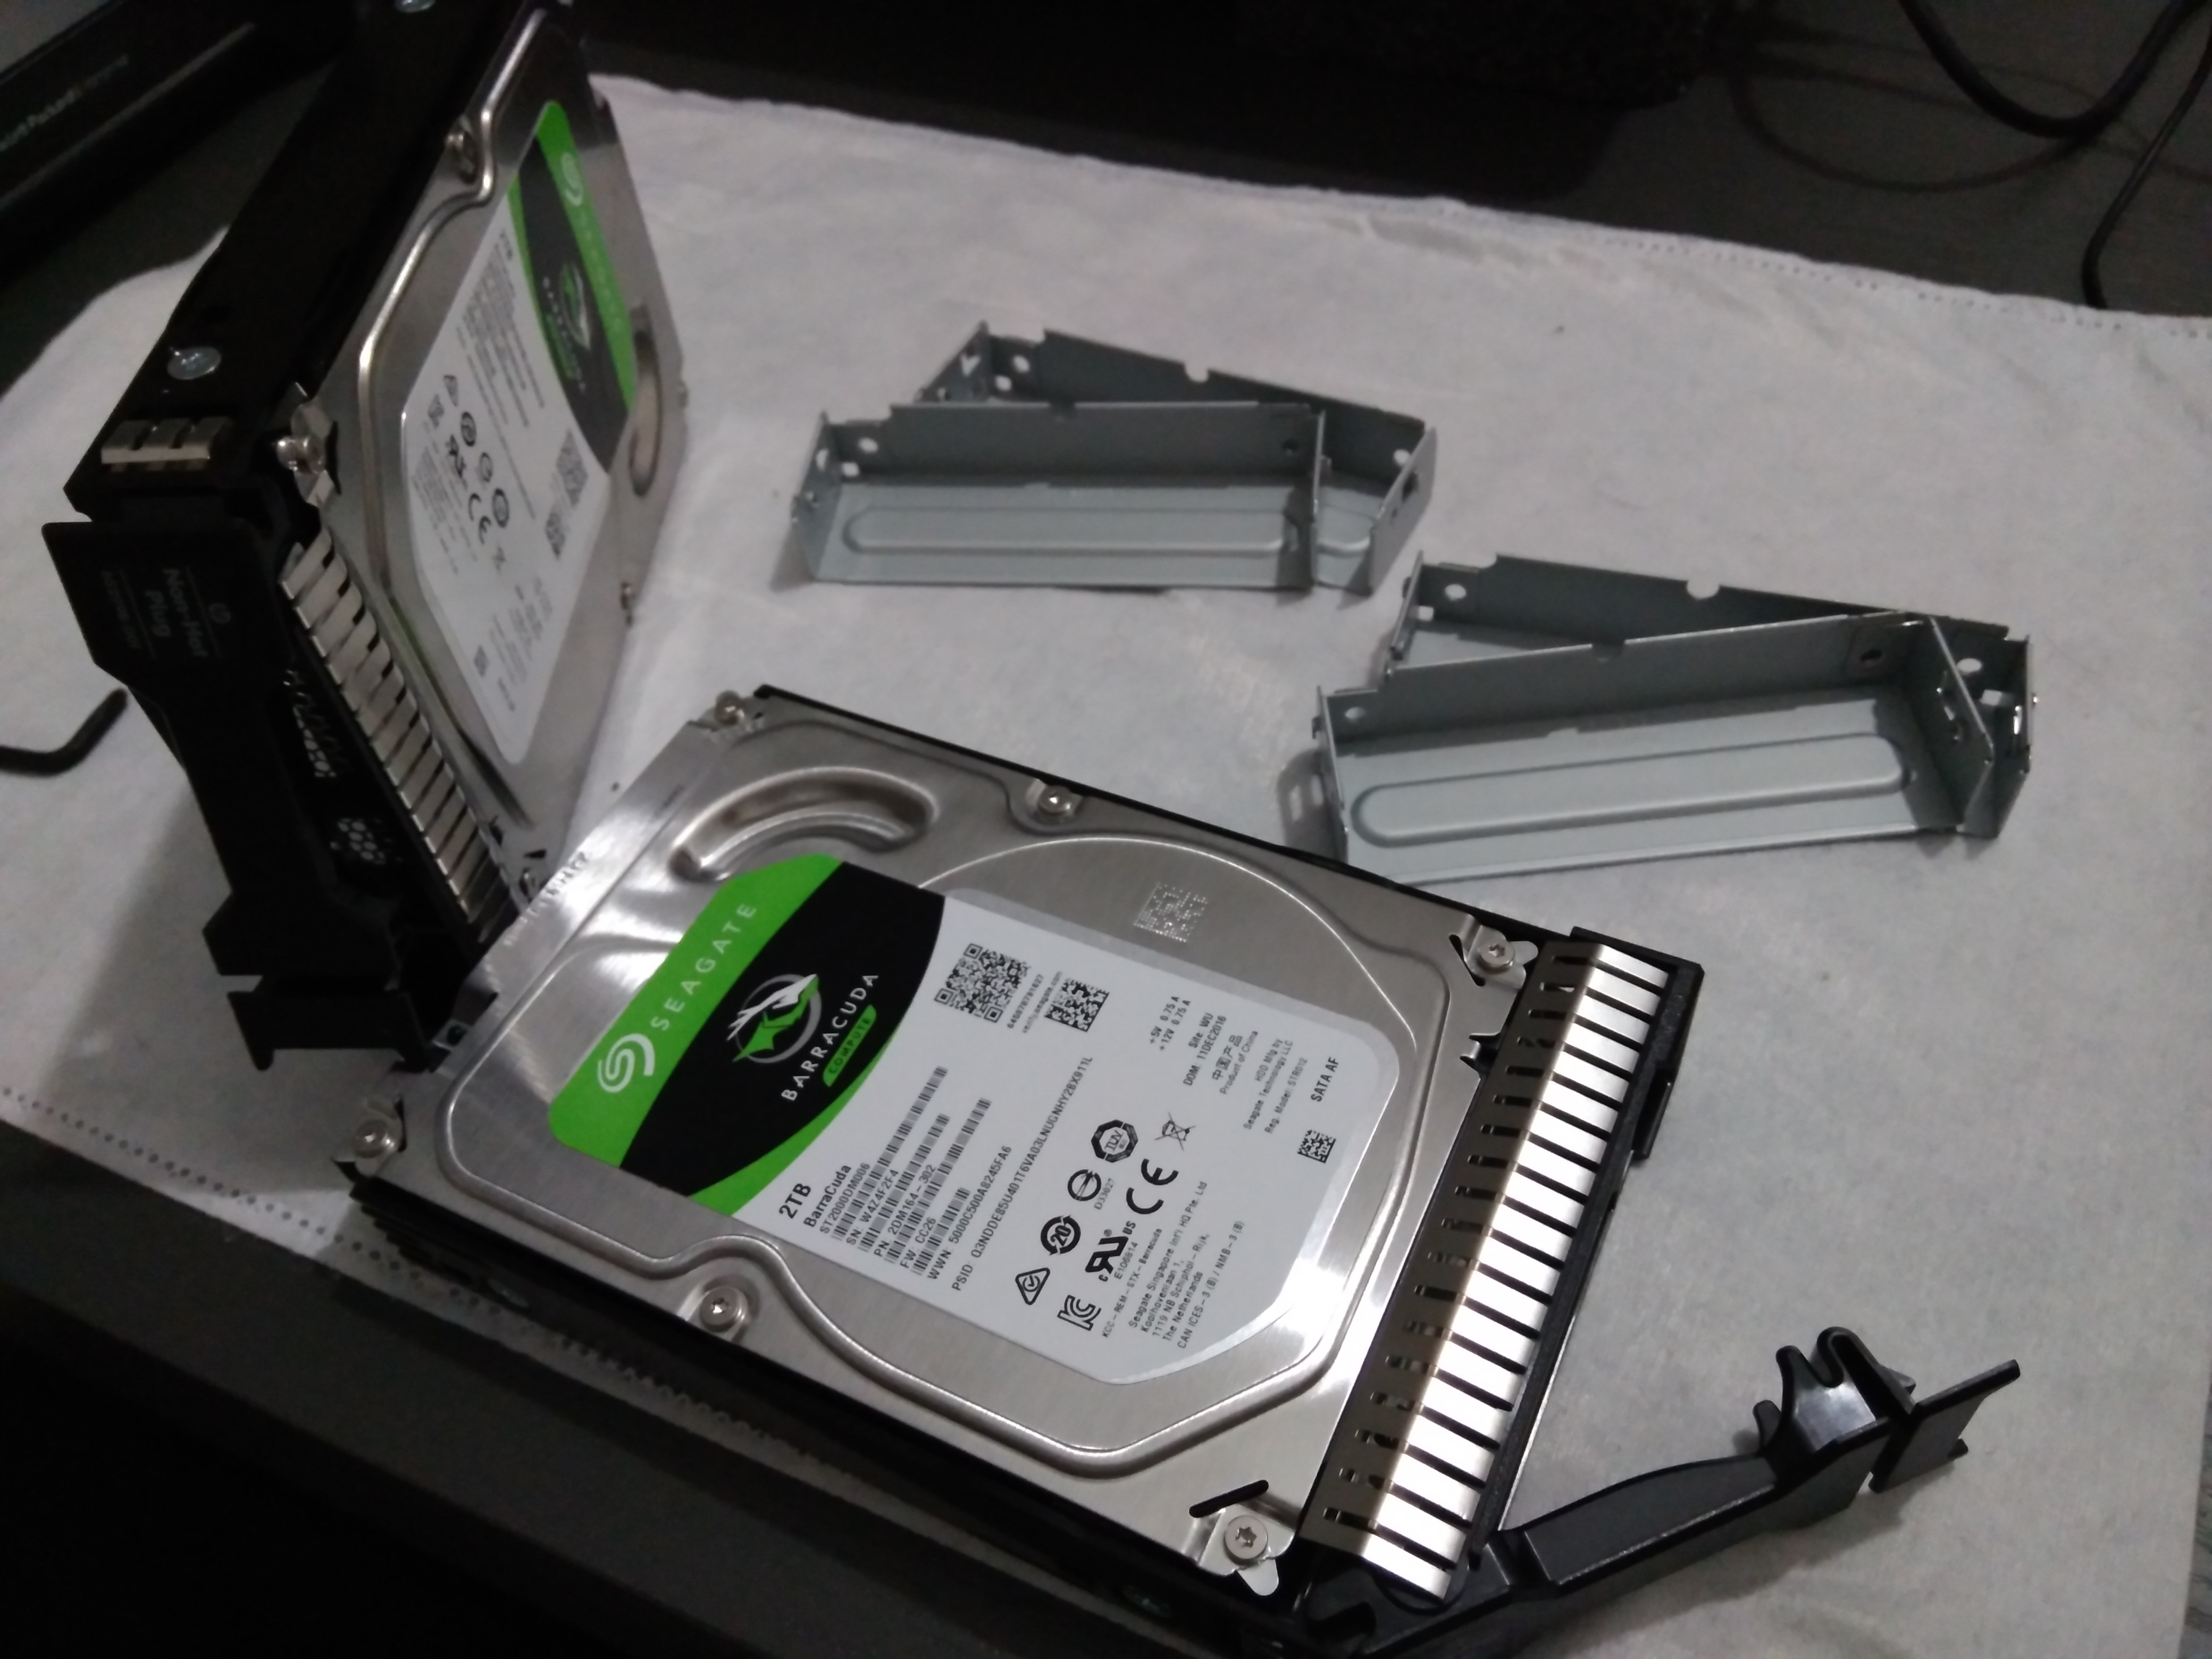
You can use any compatible SATA disk you want. I bought this Barracuda 2TB disks at good price.
Take out the hard disk drive carriers from the bays by pulling from the bottom of each slot.
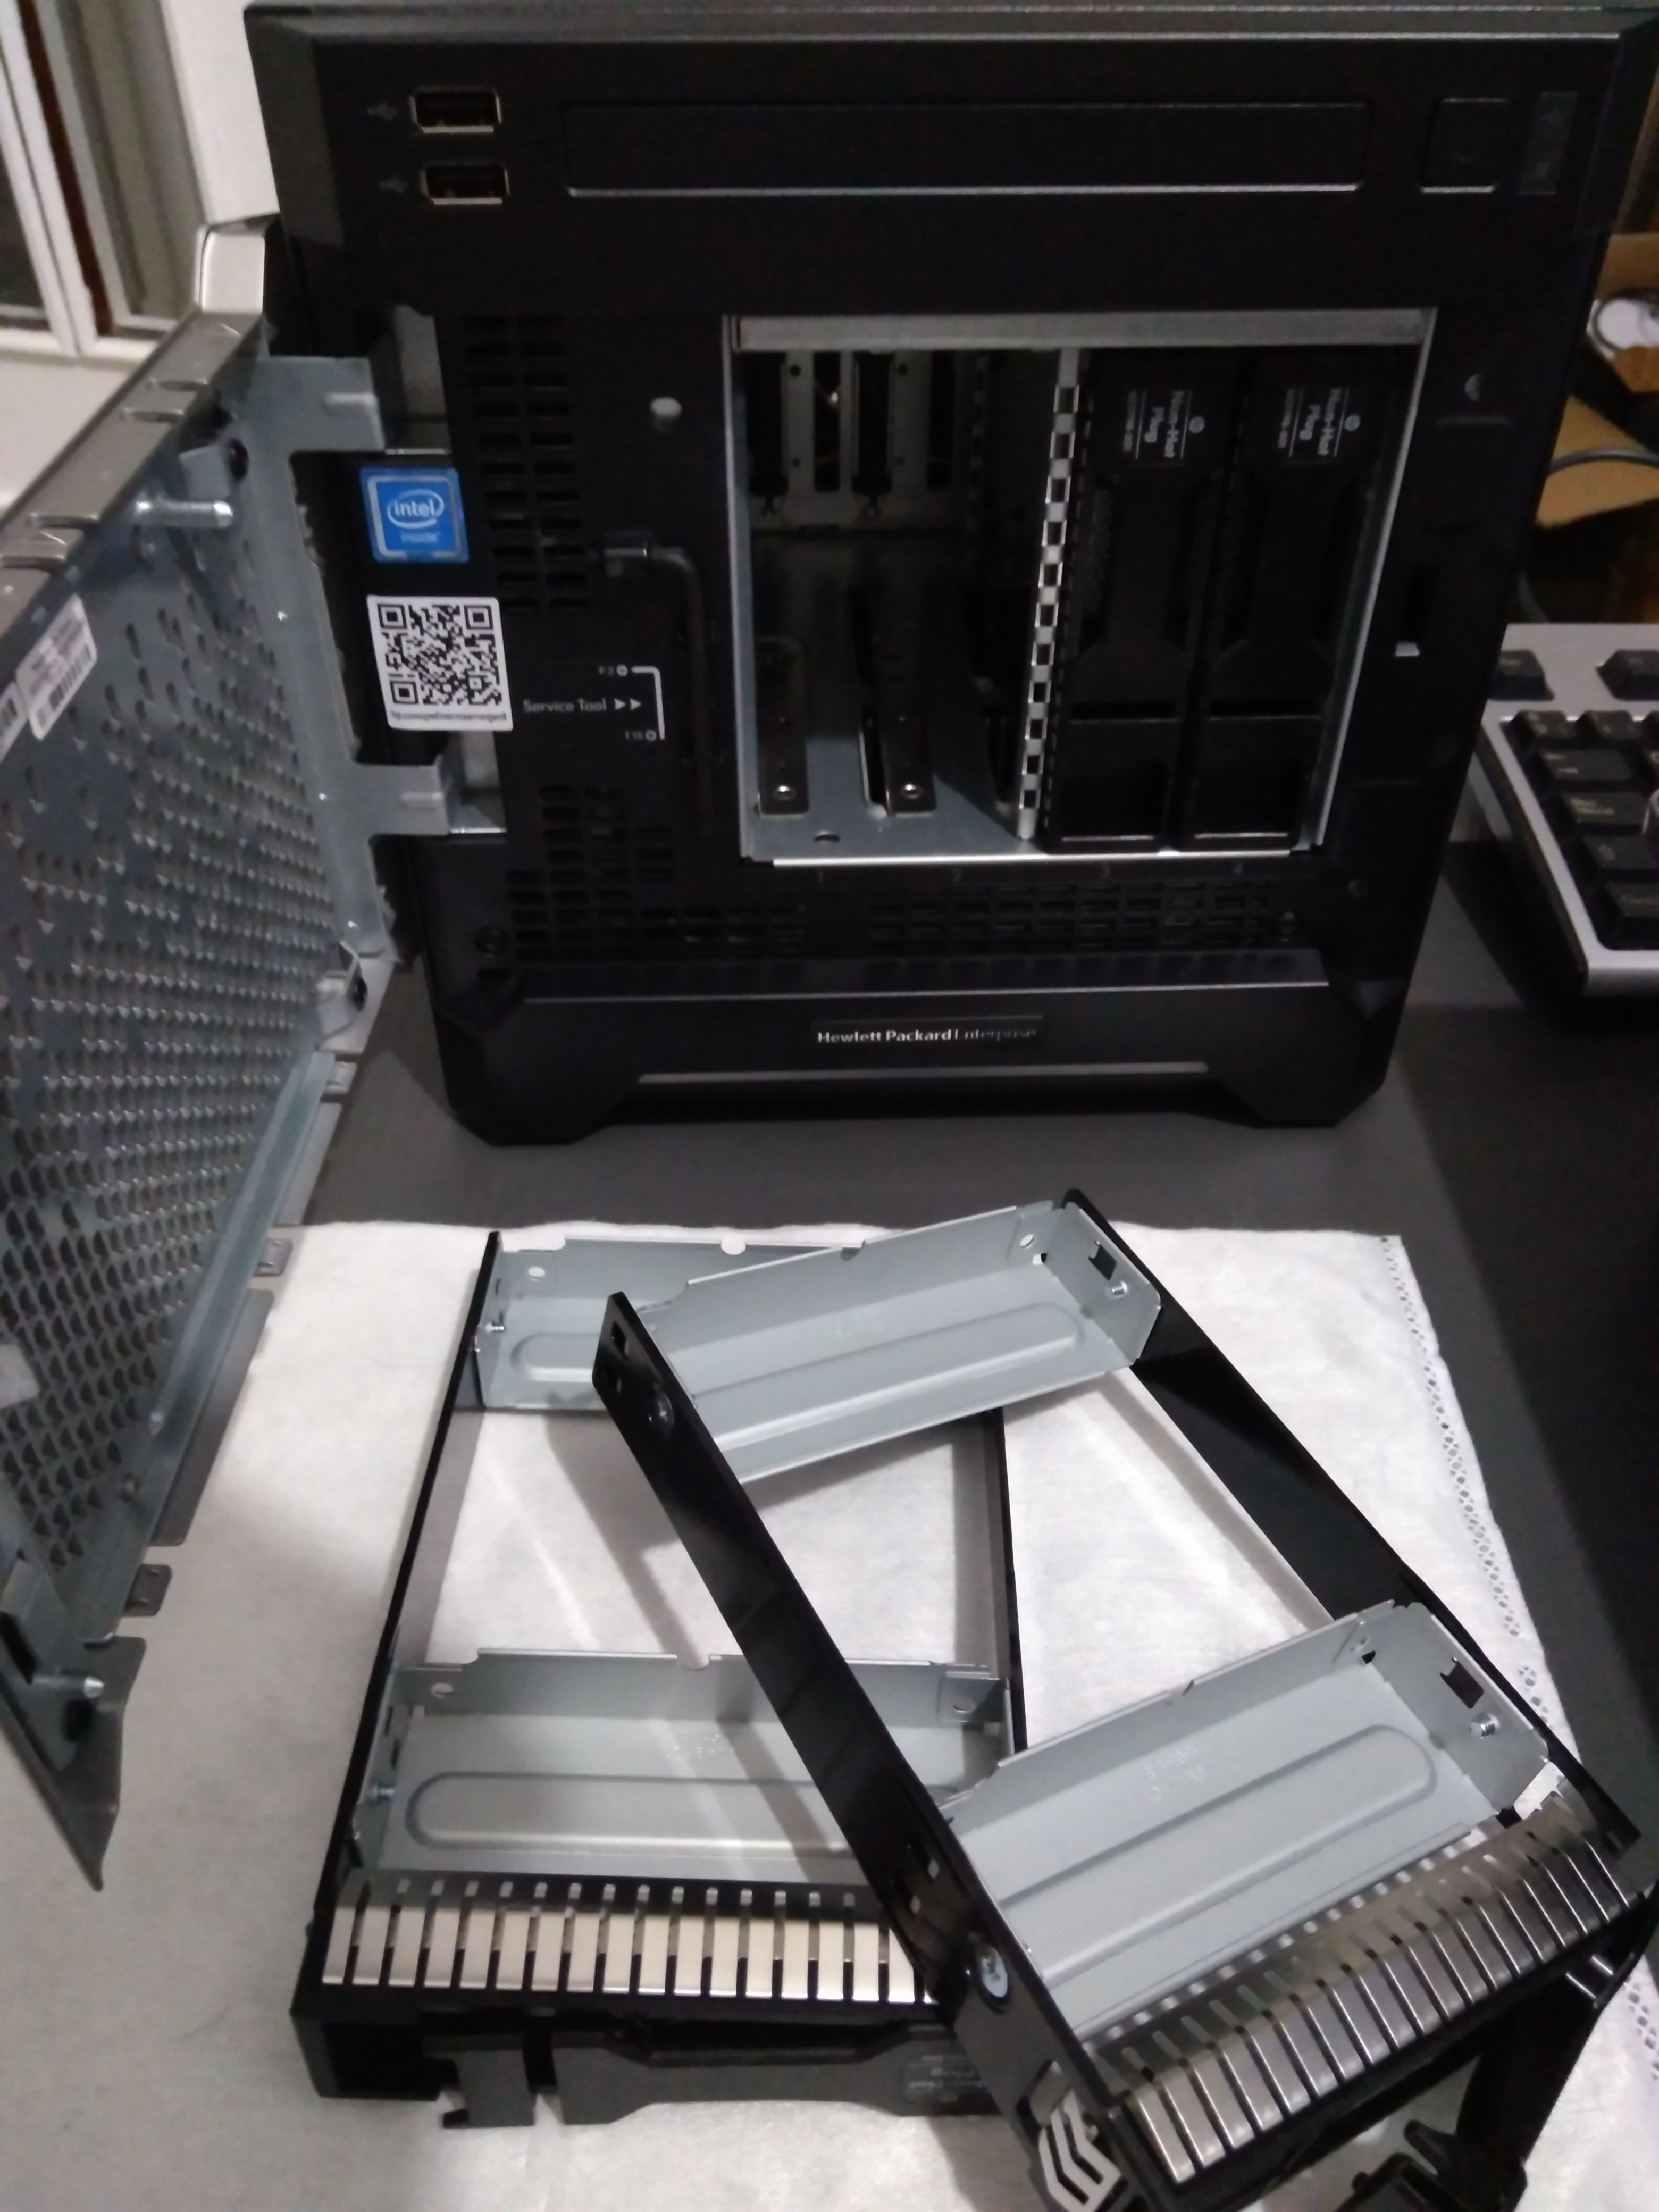
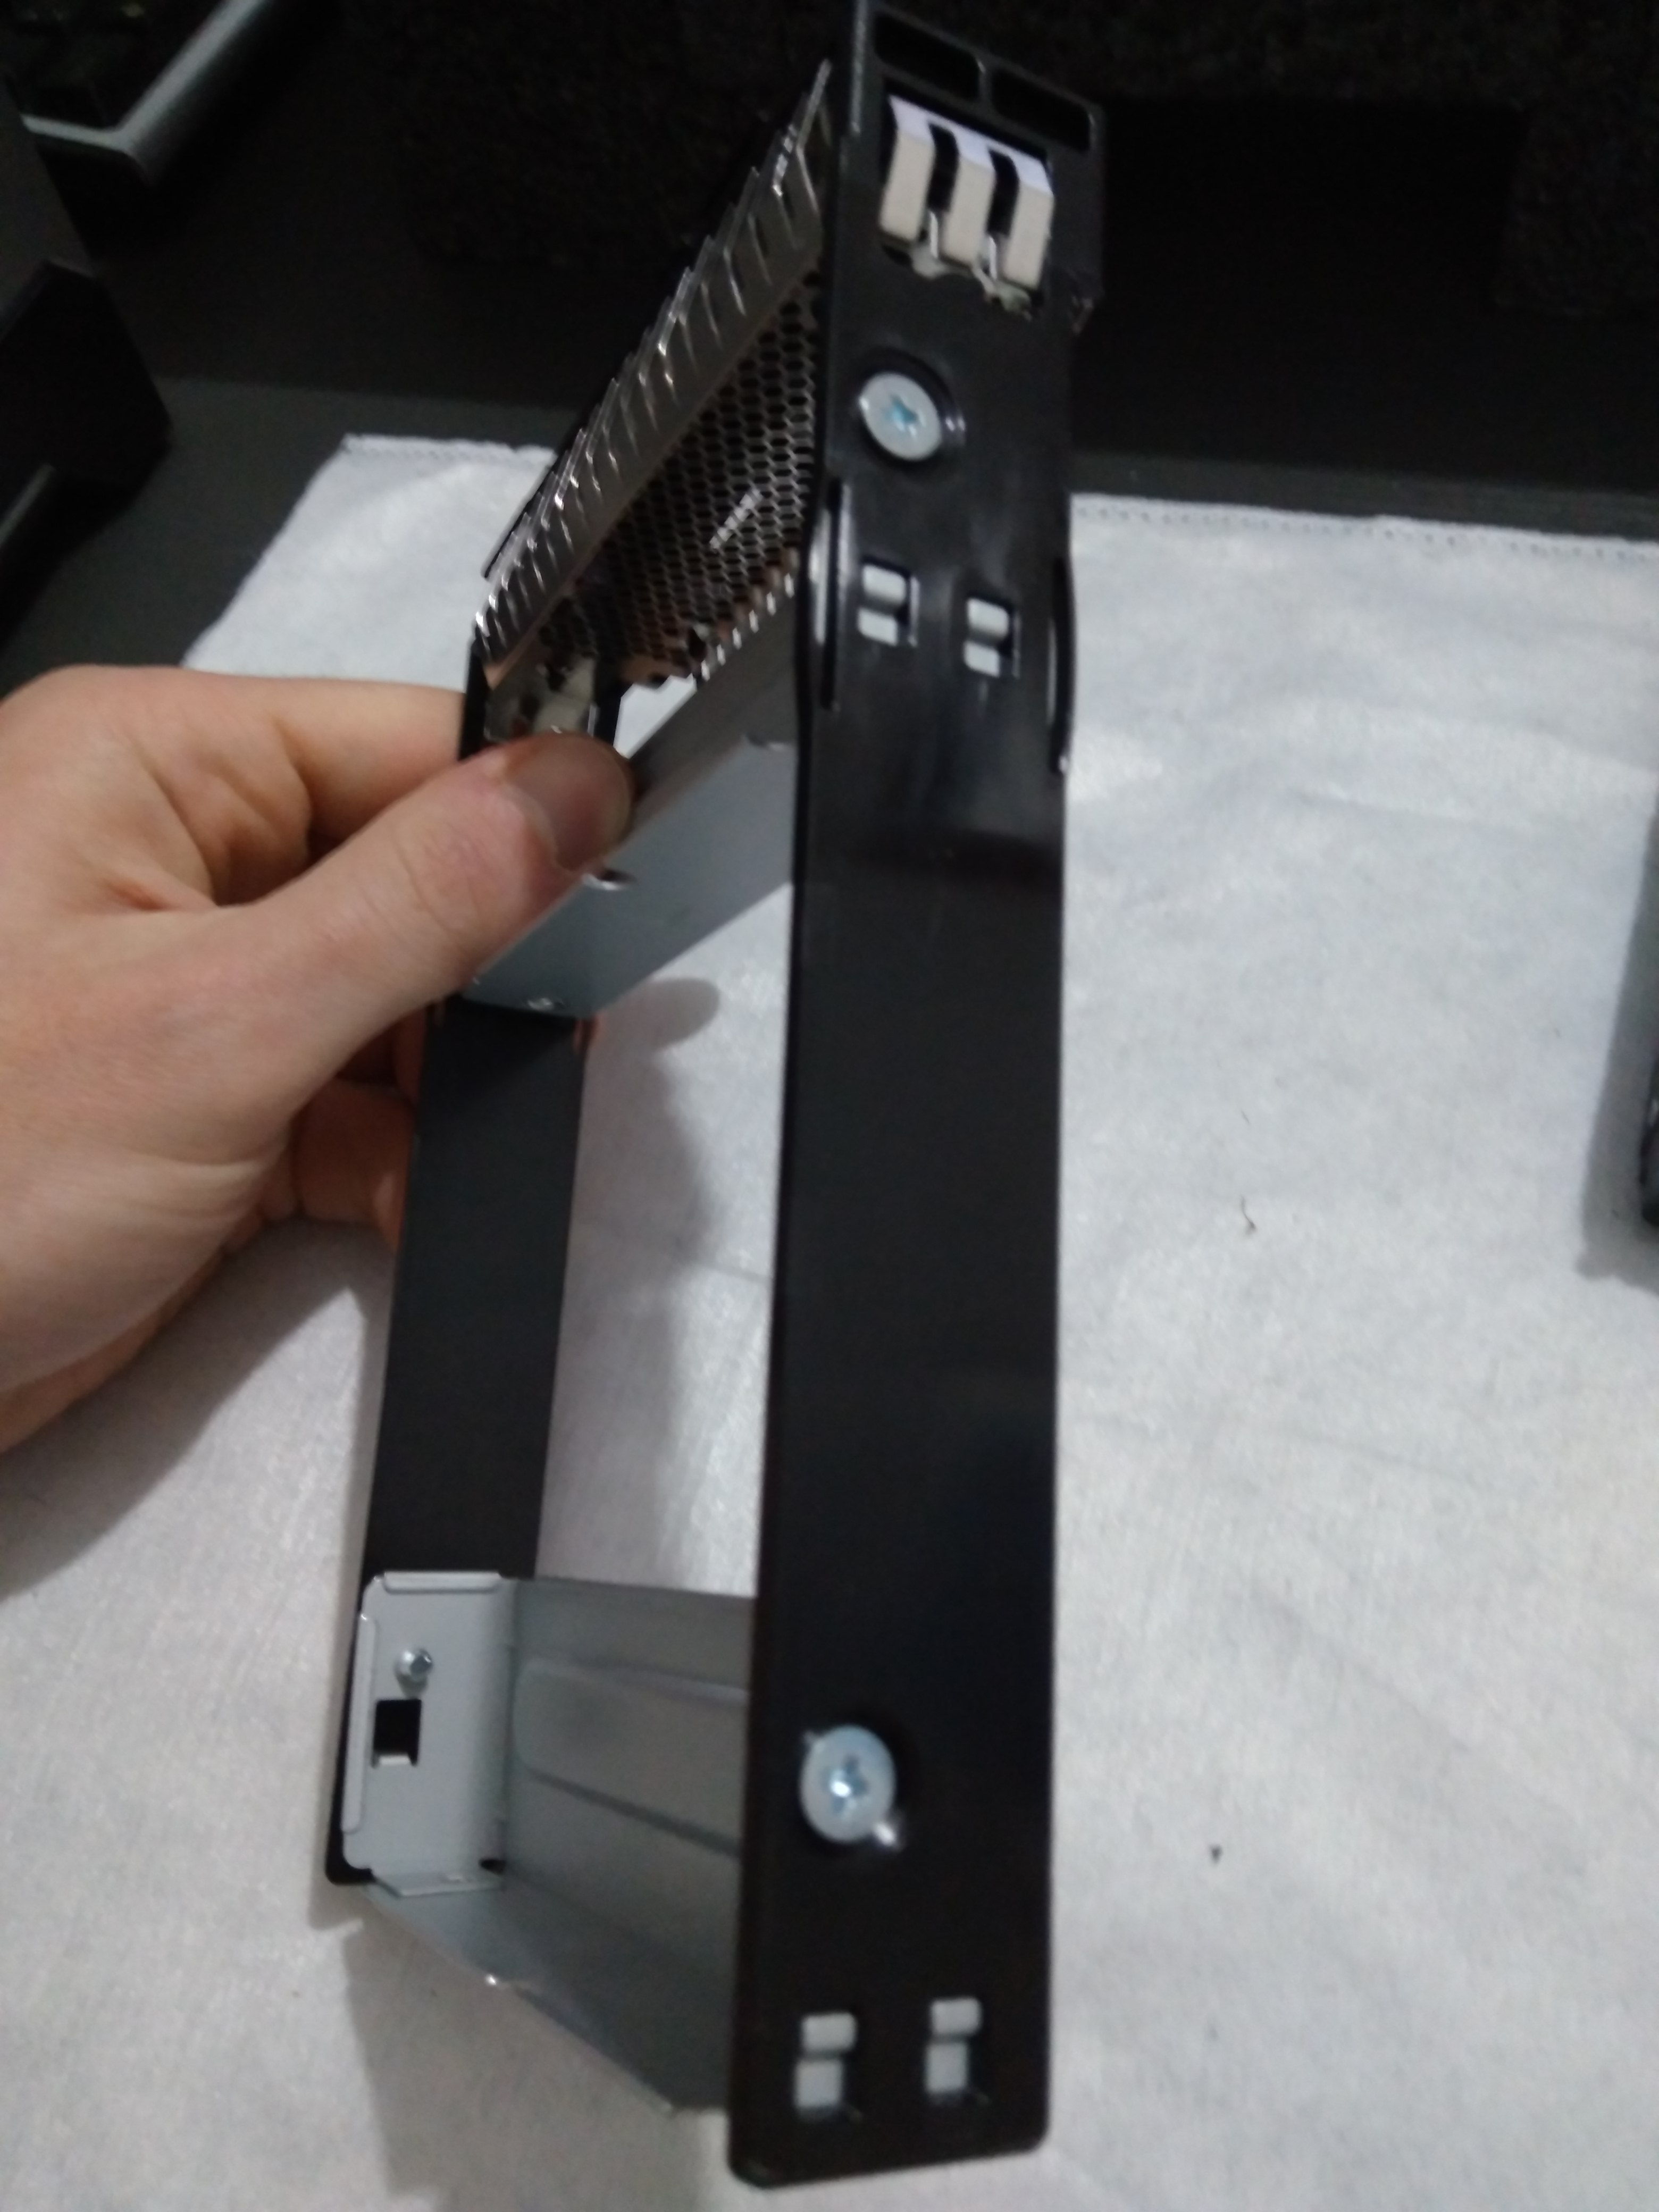
Remove the four screws from each hard disk drive carrier
Align the drives with the carriers and fix the screws to secure the HDD to the carrier
Insert the hard disk drive carrier into the drive bay (with the handle extended, not like the photo example XD)
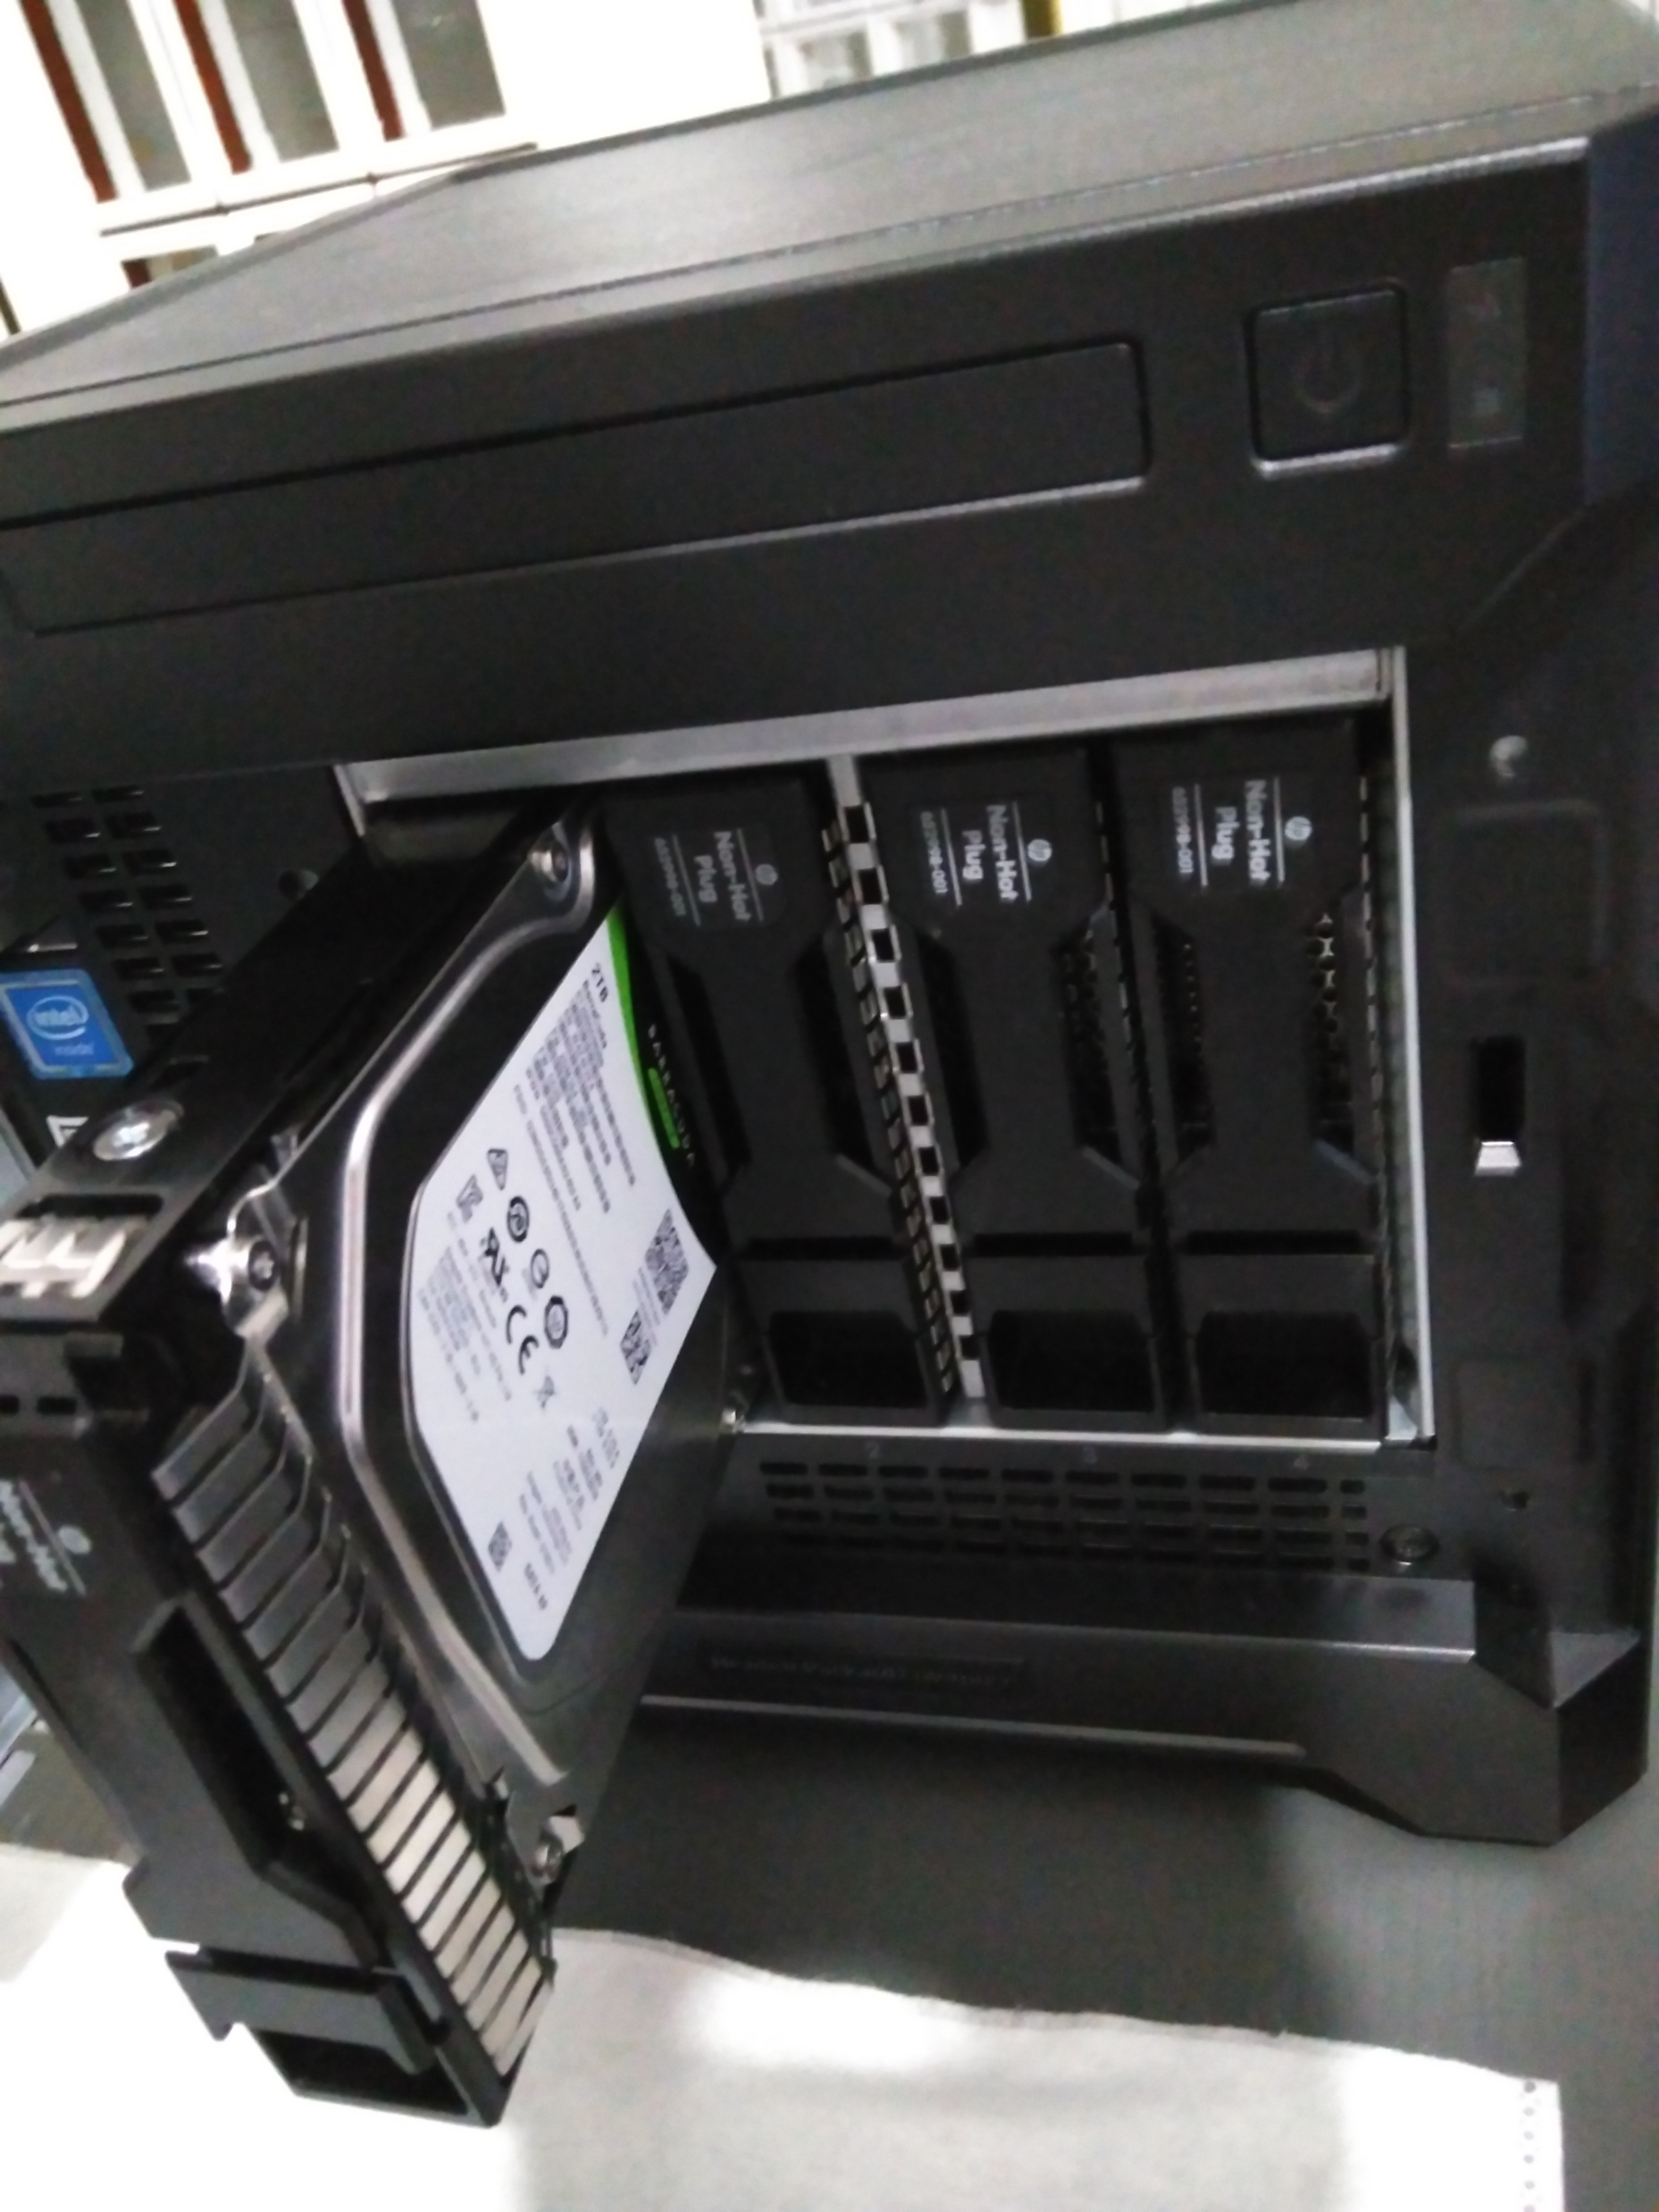
Pull to the bottom until the handle gets locked.
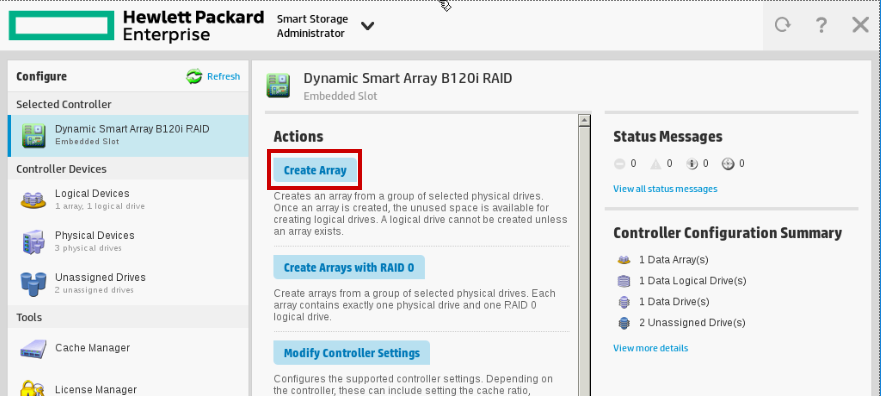
Configure Array
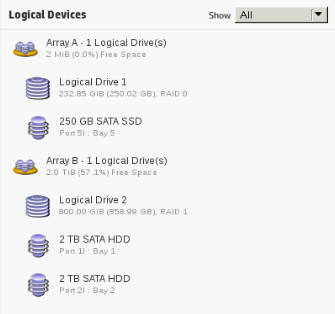
After installing the disks, load The SmartStorage utility. It should have detected 2 new unassigned drives.
Push the “Create Array” button:
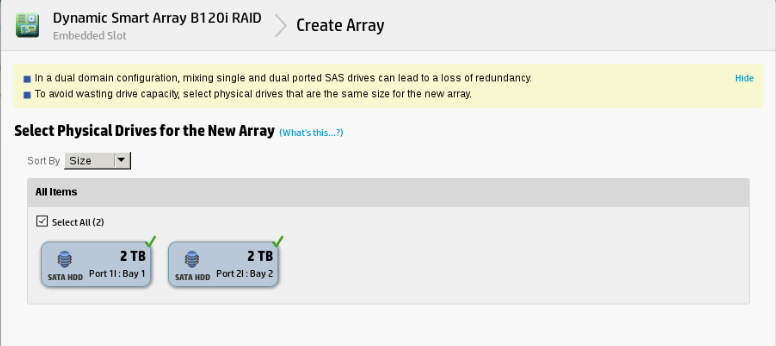
Select the unassigned drives (my disks as you have seen are 2TB each):
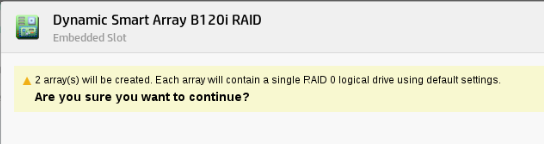
Confirm! Everything is ok until now
Now, when creating the Logical Drive, configure it as Raid 1 and use either the maximum size or a custom size you want. I selected 800GB out of 2TB:
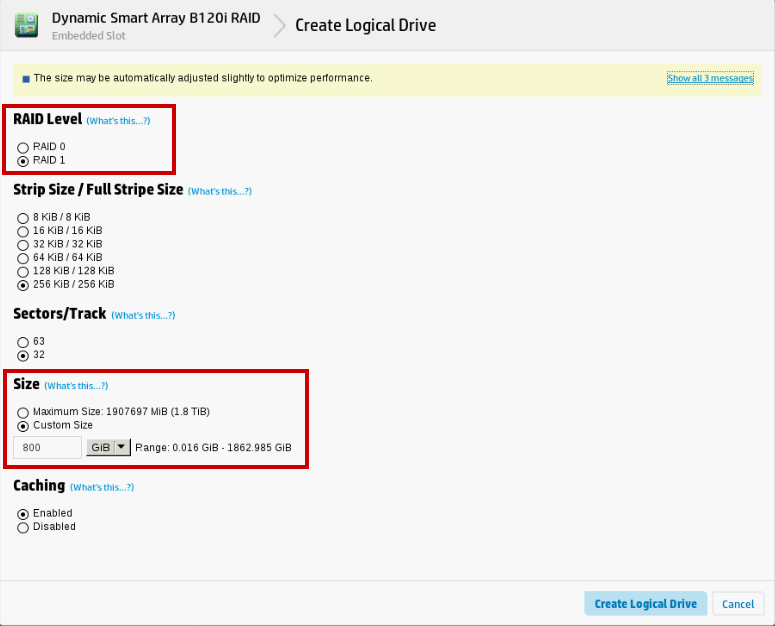
Your logical device is now configured! Let’s see if ESX is able to detect it!
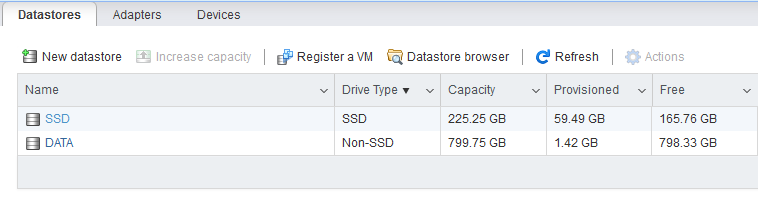
Configure DATA storage in ESX
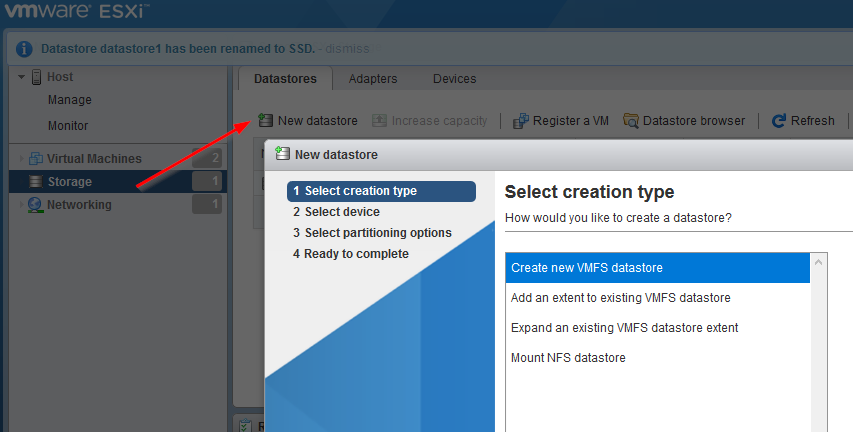
Login to your VMWare ESX web GUI, select “Storage”, press the “New datastore” option.
In this section, select the “Create new VMFS datastore”:
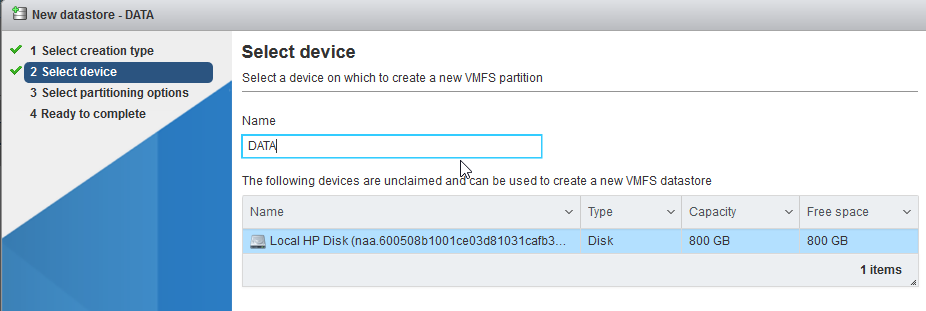
Fortunately, the 800GB logical drive was detected. Name the datastore (f.e. DATA), and select the device.
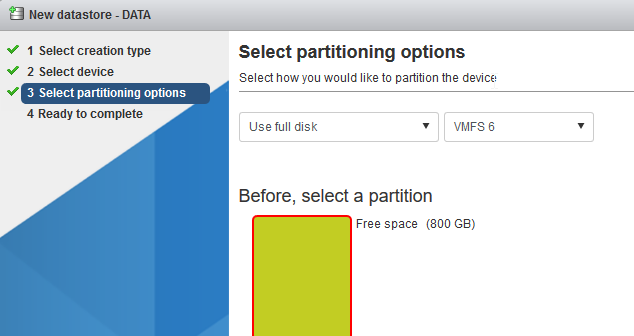
Use the amount of space of the logical disk you want (full disk for me) and select VMFS6.
The DATA datastore is now created!! Now I can use this datastore as system disks for virtual machines (i encourage you to use the SSD disk instead) or as an extra data partition for your virtual machines so that is more secure to data loss due to the RAID1